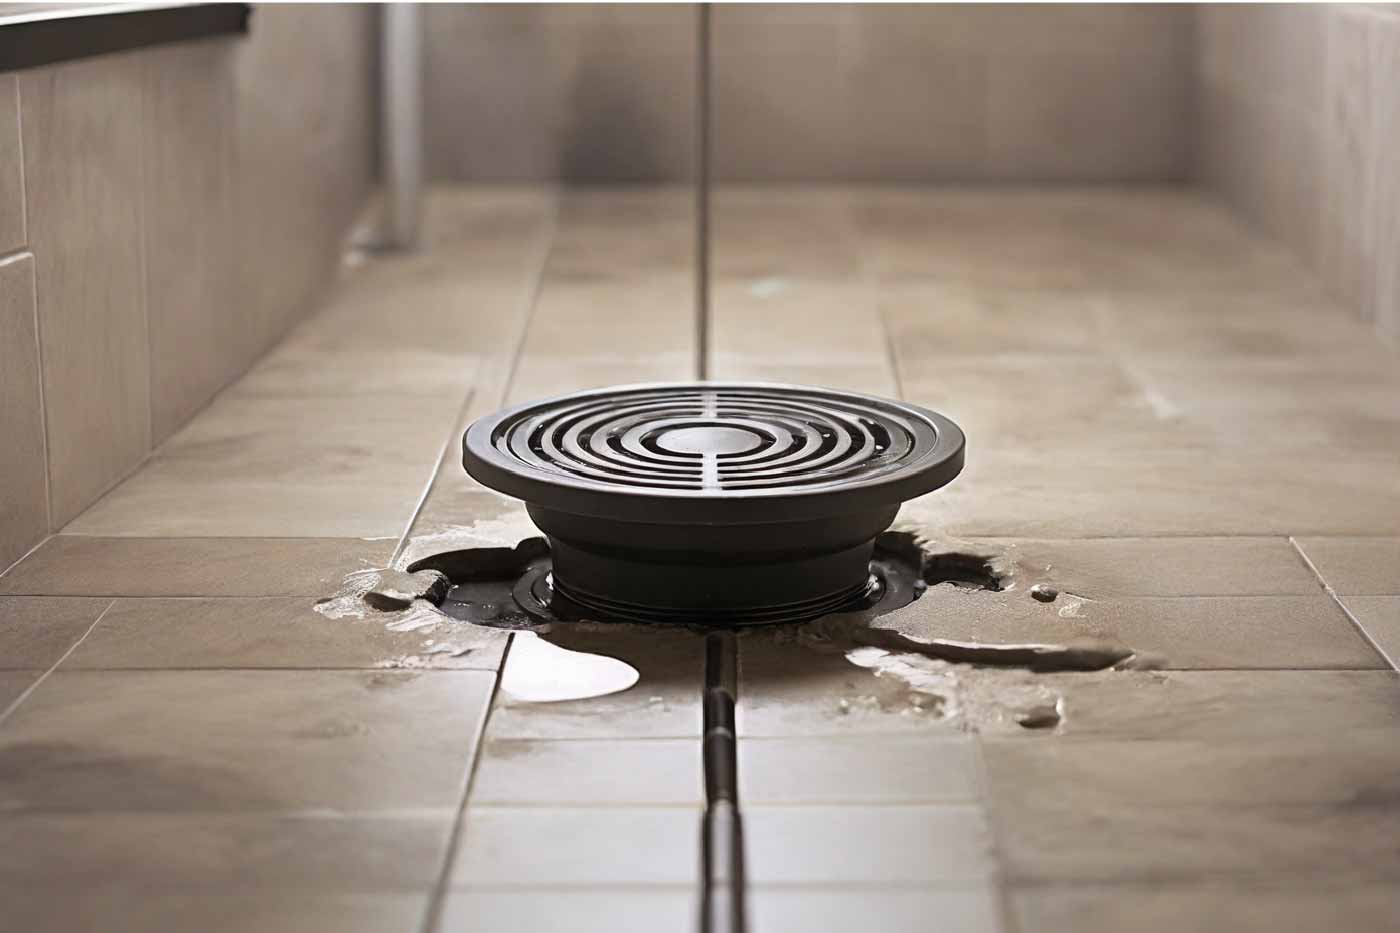
When renovating a bathroom or building a new shower. Installing a shower drain for tile is a crucial step in ensuring a functional and water-tight shower space. The proper installation of a shower drain for tile involves several key steps. Things like preparing the subfloor, connecting the drain to the waste pipe, and creating a mortar bed for the tile. So, How To Install Shower Drain For Tile for better functionality and compatibility?
To install a shower drain for tile, first, ensure the subfloor is clean and dry. Then attach the drain to the waste pipe. Now, finally, create a mortar bed for the tile. This essential process creates a solid footing for the shower floor and allows for proper drainage.
This comprehensive guide provides a clear understanding of each step. Additionally, we’ll cover essential maintenance and cleaning practices to uphold the installation’s integrity over time.
Choosing The Right Shower Drain
When it comes to installing a shower drain for tile. Choosing the right drain is crucial for a successful and long-lasting installation. The shower drain not only ensures proper drainage but also serves as a decorative element in your bathroom. In this section, we will discuss the considerations for tile installation and the different types of shower drains available.
Considerations For Tile Installation
Before selecting a shower drain, it’s essential to consider a few factors which relate to tile installation. These considerations will help you choose a shower drain that is compatible with your tile. Ensures a seamless and aesthetically pleasing finish and compatibility.
Drain Height
The shower drain should be positioned precisely to allow the tiles to be installed flush against it. This ensures a smooth transition from the tiles to the drain, preventing any water seepage.

Tile Size
Different types of shower drains accommodate various tile sizes. It is crucial to choose a drain that can accommodate your specific tile size. Without any compromisation to its functionality or appearance.
Tile Material
The type of tile you choose will affect the compatibility of the shower drain. For example, a linear drain is suitable for large format tiles or mosaic tiles, while a traditional round drain may be more appropriate for smaller tiles.
Installation Method
Depending on the type of shower drain you choose, the installation method may vary. It’s essential to understand how the drain installation will go on. To ensure a smooth and trouble-free installation.
Types Of Shower Drains
There are several types of shower drains available in the market, each with its unique features and benefits. Here are some popular types of shower drains you can consider for your tile installation:
| Compression Shower Drain | A compression shower drain offers easy installation with its compression washers and nuts. This type of drain is suitable for both tile and shower bases. |
| Adjustable Shower Drain | An adjustable shower drain allows you to customize the drain height to ensure a flush installation with your tiles. |
| Linear Shower Drain | A linear shower drain provides a sleek and modern look to your shower floor. It is designed to accommodate larger tiles and creates a seamless transition from the shower area to the drain. |
When installing a shower drain for tile, it is crucial to choose the right drain that considers the specific requirements. By understanding the considerations and exploring the different types of shower drains available, you can select the perfect drain for your bathroom that combines functionality and aesthetics.
How To Install Shower Drain For Tile
Installing a shower drain for tile is a crucial step in creating a fully functional and aesthetically pleasing shower. Proper installation will ensure that water drains are efficient. Preventing any potential water damage to the surrounding tile and structure. In this guide, we will walk you through the essential steps of how to install shower drain for tile.
Gathering Necessary Tools And Materials
Before you begin installing the shower drain for tile, it’s important to gather all the necessary tools and materials. This will help streamline the installation process and ensure that you have everything you need at hand. Below is a list of tools and materials necessary for the installation:
- Tape Measure
- Marker or pencil
- Adjustable wrench
- Hacksaw or PVC cutter
- Screwdriver
- Bucket or container for debris
- Shower drain kit
- Plumber’s putty or silicone sealant
- Protective gloves
- Safety glasses
Measuring And Marking The Drain Location
Measuring and marking the drain location is a critical step in the installation process. Here’s a step-by-step guide on how to measure and mark the drain location for tile installation:
Locate the center point: Use a tape measure to locate the center point where the drain will be installed. Mark this point using a marker or pencil.
Measure the drain size: Use the measurements you will get with the shower drain kit. And use it to determine the size of the opening specific to the drain.
Mark the drain outline: Using the center point as a reference, mark the outline of the drain on the shower floor. Use the measurements you already have in the previous step.
Double-check the measurements: Ensure that the marked outline aligns accurately with the drain size specified in the kit.
Installing The Shower Drain
When it comes to tiling a shower, proper installation of the shower drain is essential to ensure a watertight seal and prevent leaks. Below, we’ll discuss the step-by-step process of how to install shower drain for tile, ensuring a successful and professional-looking tiling job.
Attaching The Drain Base To The Subfloor
Step 1: Start by placing the drain base in the center of the shower floor, ensuring that it aligns with the slope you’ve created for water drainage.
Step 2: Secure the drain base to the subfloor by using the appropriate screws or bolts, making sure it sits flush with the floor surface.
Connecting The Drain Pipe
Step 1: Cut the PVC drain pipe to the required length, ensuring it extends from the drain base to the existing plumbing.
Step 2: Connect the drain pipe to the base using PVC primer and cement, creating a secure and watertight seal.
Setting The Tile Around The Drain
To install the shower drain for tile, it’s important to carefully set the tile around the drain. This ensures a secure and visually appealing installation, with the drain flush with the tile surface. By following the proper steps, you can achieve a professional-looking result.
Once you have successfully applied the waterproofing membrane, it’s time to move on to the next step: setting the tile around the drain. This ensures a seamless and secure transition. between the drain and the rest of the shower floor. By following these steps, you can achieve a professional-looking finish.
Applying Waterproofing Membrane
Before laying the tiles, it is crucial to apply a waterproofing membrane around the drain area. This membrane acts as a barrier, preventing any water from seeping through the grout lines and damaging the underlying structure. To do this:
- Clean the drain area thoroughly, removing any dirt or debris.
- Select a suitable waterproofing membrane that is designed for use in wet areas.
- Follow the manufacturer’s instructions to apply the membrane evenly around the drain, ensuring complete coverage.
- Allow the membrane to dry according to the recommended drying time before proceeding with the tile installation.
Laying And Grouting The Tiles
Once the waterproofing membrane has dried, it’s time to lay and grout the tiles around the drain. Follow these steps to achieve a seamless finish:
- Start by applying tile adhesive to the area around the drain. Use a trowel to create ridges for better adhesion.
- Place the tiles carefully onto the adhesive, aligning them evenly and leaving space for grout lines.
- Continue laying the tiles, working your way outwards from the drain until you have covered the entire shower floor.
- After the adhesive has dried, mix the grout according to the manufacturer’s instructions.
- Apply the grout evenly between the tiles, making sure to fill in all the gaps.
- Use a grout float to smooth the surface and remove any excess grout.
- Allow the grout to dry for the recommended time before cleaning the tiles with a damp sponge.
By following these guidelines, you can install the shower drain for tile with ease. Remember to take your time and double-check your work for a professional and long-lasting finish. With the right materials and techniques, you’ll have a beautifully tiled shower floor that not only looks great but also functions effectively in keeping water where it should be.
Finishing Touches And Testing
After the successful how to install shower drain for tile. It’s time to add the finishing touches and test its proper functioning. This step is crucial to ensure that your shower drain is working effectively and will prevent any future issues. In this section, we will cover how to install the drain grate and how to test the drain for proper functioning.
Installing The Drain Grate
The drain grate is an essential component of the shower drain as it prevents debris from clogging the drain pipe. Follow these simple steps to install the drain grate:
- Carefully remove the protective cover from the drain pipe.
- Place the drain grate over the opening, ensuring it fits securely.
- Press down firmly on the drain grate to create a tight seal.
- Check for any gaps or misalignment and make adjustments if necessary.
It is important to choose a drain grate that complements your shower design. But make sure it is made of high-quality materials for long-lasting performance. Now that the drain grate is ready, it’s time to test the drain for proper functioning.
Testing The Drain For Proper Functioning
To ensure that your shower drain is working as it should, follow these steps to test its proper functioning:
- Turn on the water in your shower and let it run for a few minutes.
- Observe the drain to check if the water is flowing freely.
- Ensure that there is no water pooling or slow draining.
- If you notice any issues, such as water backing up or slow draining. It may be necessary to recheck the installation or seek professional assistance.
So, now you will finally be able to finish and ensure the overall steps on How To Install Shower Drain For Tile. You will be able to make sure that your shower drain for tile is functioning effectively. Testing the drain is crucial to avoid any future water damage or clogging issues. Take the necessary time to perform these finishing touches and testing. As they will let you enjoy a hassle-free and functional shower drain.
Frequently Asked Questions
Q: Should Shower Drain Be Flush With Tile?
A: Yes, the shower drain should be level with the tile to allow for seamless tile installation.
Q: How Do You Install A Shower Drain?
To install a shower drain, first, position the drain base, ensuring it’s centered and level. Then, connect the drain pipe and secure it with clamps. Finally, pour a mortar mix around the edges to create a slope and set the shower pan liner before tiling.
Q: Can I install a shower drain for tile without professional help?
A: Yes, installing a shower drain for tile can be a DIY project. Follow the manufacturer’s instructions carefully, use the right tools, and ensure proper measurements. Basic plumbing skills are helpful, but many homeowners successfully complete this task on their own.
Q: What type of shower drain is best for a tiled shower floor?
A: For a tiled shower floor, a square or round linear drain is often recommended. These drains provide efficient water drainage, are aesthetically pleasing, and can be seamlessly integrated into the tile layout. Consider the design and functionality when choosing the drain type.
Q: Do I need special tools for installing a shower drain in a tile floor?
A: Yes, you may need specific tools such as a tile saw, hole saw, and a wrench for tightening drain connections. Having the right tools ensures a precise installation, preventing damage to the tiles and ensuring a secure fit for the drain.
Q: How do I ensure a waterproof seal around the shower drain and tile?
A: Achieving a waterproof seal is crucial. Use a high-quality waterproof membrane or shower pan liner beneath the tile. Properly apply waterproofing material around the drain flange and edges. This safeguards against water infiltration and protects the subfloor from potential damage.
Q: Can I install a linear drain in an existing tiled shower without major renovations?
A: Retrofitting a linear drain into an existing tiled shower is possible with careful planning. It may involve some tile removal, but innovative retrofit drains are available that simplify the process. Consult with a professional or follow detailed guides to ensure a successful retrofit installation.
Conclusion
Installing a shower drain for tile is a crucial step in ensuring a waterproof and functional shower. By following the proper techniques and using the right materials, you can create a seamless and visually appealing finish. Remember to measure carefully, use a high-quality drain, and secure it properly to the subfloor.
Don’t forget to consult professional advice if needed. With these guidelines in mind, you are ready to tackle your shower drain installation project like a pro. Happy DIYing!

