
Whether you are a seasonal DIY enthusiast or a beginner looking to tackle a new project. Knowing the process of how to plumb a tile shower drain is essential.
To plumb a tile shower drain, start by installing the drain assembly into the shower pan, ensuring a secure fit. Then, connect the drain pipe to the existing plumbing using solvent cement.
Next, waterproof the shower pan using a waterproofing membrane. Finally, install the drain grate and apply grout to finish the project. Plumbing a tile shower drain is a crucial step in creating a functional and aesthetically pleasing shower.
This comprehensive guide will walk you through the step-by-step process of effectively and efficiently plumbing a tile shower drain. By following these instructions, you can ensure that your tile shower drain is installed correctly and functions properly.
Step-by-step guide on How to plumb a tile shower drain
Gathering The Materials And Tools
Before you begin the process of a tile shower drain, it’s important to gather all the necessary materials and tools. This will ensure a smooth and efficient installation of your drain shower and tile on shower pan. Here are the essential steps and items you’ll need:
Selecting The Correct Tile Shower Drain
First and foremost, you need to select the shower drain that is suitable for your tile shower project. There are various types of shower drains available, such as linear drains and center drains. Consider the design and layout of your shower area when making your selection, ensuring that the drain fits seamlessly into your overall design aesthetic. Additionally, check the compatibility of the drain with the type of tile you’ll be using for your shower floor.
Gathering Necessary Plumbing Materials And Tools
Once you’ve chosen the right shower drain, it’s time to gather the necessary plumbing materials and tools for the installation process. Here’s a handy list to help you get started:
| Materials | Tools |
|
|
Preparing The Shower Area
Before you begin to plumb a tile shower drain, it’s important to properly prepare the shower area. This involves measuring and marking the drain location as well as preparing the subfloor for the drain installation. Following these steps will ensure a successful and leak-free shower drain installation.
Measuring And Marking The Drain Location
To start, you need to accurately measure and mark the location of the drain in your shower area. Here’s how:
- Begin by determining the centerline of the shower drain installation. This will be where the main drain pipe will be located.
- Next, measure the distance between the walls and the centerline of the drain to ensure proper positioning of the drain shower.
- Using a pencil or marker, mark the centerline of the drain and the distances you measured on the subfloor.
- Make sure to double-check your measurements and marks before moving on to the next step.
Preparing The Subfloor For The Drain Installation
Once you have accurately marked the drain location, it’s time to prepare the subfloor. Here’s what you need to do:
- Start by removing any existing flooring, such as tiles or vinyl, down to the subfloor.
- If you are installing a tile on the shower pan, make sure the subfloor is smooth, level, and clean. Any unevenness in the subfloor will affect the overall stability of the shower drain.
- If your shower area is on a concrete slab, you will need to create a recessed area. This can be done by using a chisel or a grinder.
- Ensure that the recessed area is slightly larger than the size of the drain. It allows for proper fitting during the installation.
- Before proceeding, make sure the subfloor is completely dry and free from any debris or dust. Because debris and dust could affect the adhesion of the shower drain.
Installation process on how to plumb a tile shower drain
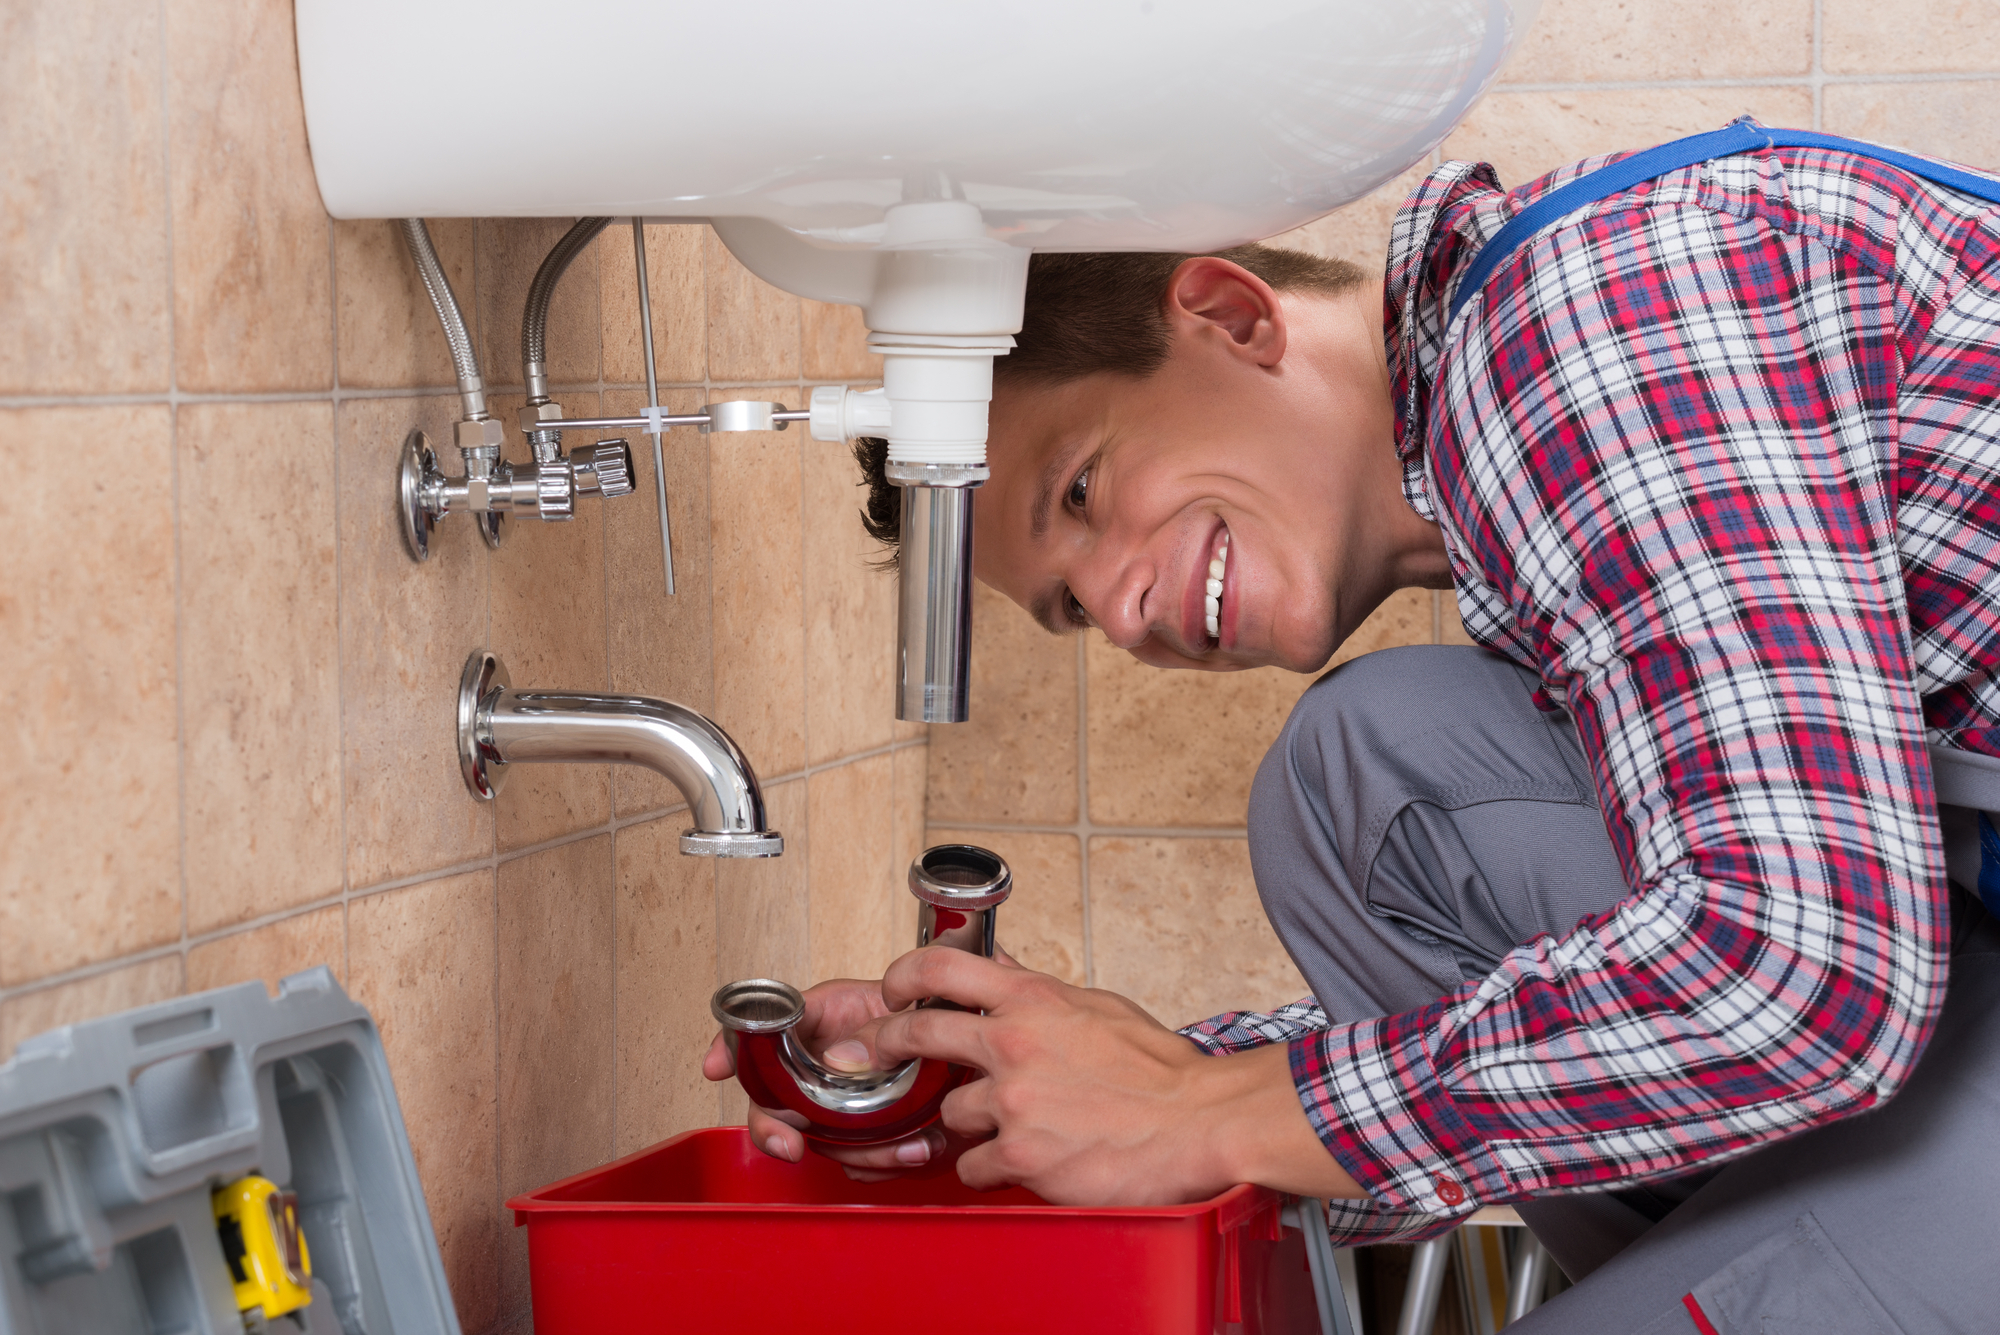
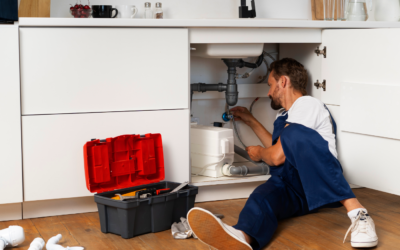
When it comes to the installation of a tile shower drain, it’s crucial to ensure that it’s done correctly. This helps to prevent potential leaks and water damage. A properly installed shower drain is an essential element in the construction of a watertight shower. In this step-by-step guide on how to plumb a tile shower drain, we will focus on the process of installing the shower drain, from assembling the drain components to connecting it to the plumbing system.
Assembling The Drain Components
Before you begin the installation, it’s important to assemble all the necessary drain components. Here’s a list of components you will typically need for a standard shower drain:
- Drain body
- Rubber gasket
- Locking nut
- Strainer
Connecting The Drain To The Plumbing System
Once the drain components are assembled, you can proceed with connecting the drain to the plumbing system. This process involves securing the drain body to the shower pan and connecting it to the existing plumbing lines.
Start by applying a layer of waterproofing membrane around the drain hole on the shower pan to create a watertight seal. Then, carefully position the drain body over the hole, ensuring that it sits flush with the surface of the pan. Secure the drain body in place using the rubber gasket and locking nut, making sure to tighten it firmly to create a secure seal.
After the drain body is in place, you can proceed to connect the drain to the existing plumbing lines. Use a suitable solvent cement to securely join the drainpipe to the waste line, ensuring a watertight connection to prevent any potential leaks.
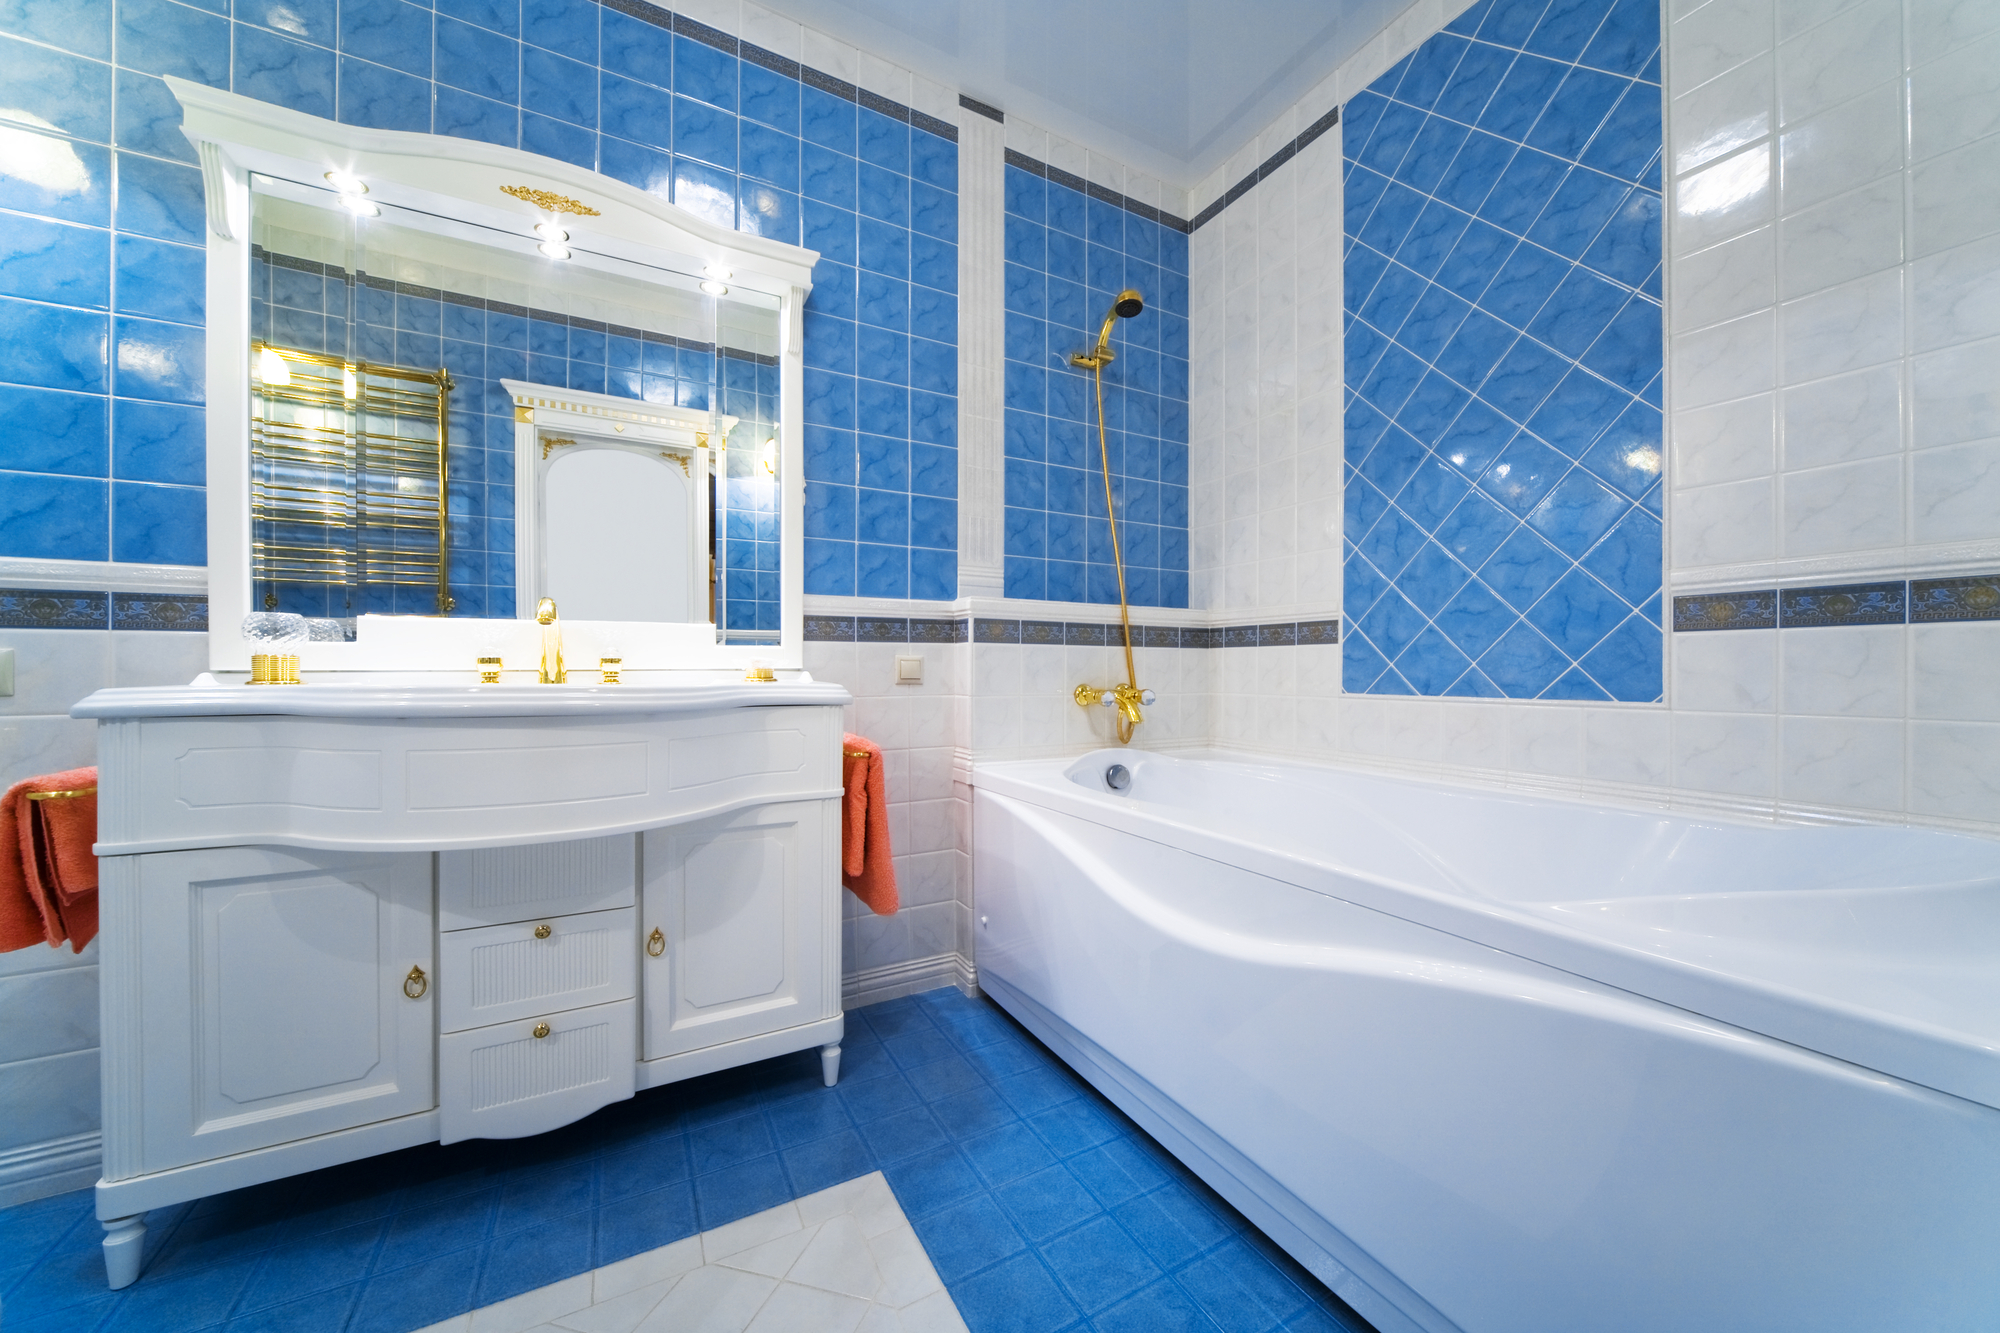
Setting The Tile Around The Drain
Setting the tile around the drain is a crucial step in ensuring a properly functioning and visually appealing tile shower drain. This is the stage where attention to detail is key, as it involves both the aesthetic and functional aspects of the drain shower. The process involves applying a waterproofing membrane, followed by the installation and grouting of the tiles.
Applying Waterproofing Membrane Around The Drain
When setting the tile around the drain, it’s imperative to apply a waterproofing membrane to prevent any water intrusion. This step acts as an additional barrier to protect the tile on the shower pan and ensure a watertight seal. The membrane should be carefully applied to the area around the drain. Take care to cover the entire surface thoroughly to prevent any potential leaks during the shower drain installation.
Installing And Grouting The Tiles
With the waterproofing membrane in place, the next step is to proceed with installing and grouting the tiles. The tiles should be strategically positioned around the drain. Ensuring a snug fit and proper alignment. Additionally, how to plumb a tile shower drain involves meticulous attention to detail. During the tile installation maintain the integrity of the shower drain installation. Once the tiles are in position, you need to proceed with grouting. Make sure it is done properly to ensure a seamless and durable finish for the shower drain.
Testing And Finishing
Discover a step-by-step guide on how to efficiently plumb a tile shower drain. Learn about testing and finishing techniques for a seamless installation process.
Testing The Shower Drain For Leaks
Once you have successfully installed the shower drain, it is crucial to test it for any potential leaks. Failure to do so can result in water damage and costly repairs down the line. Testing the shower drain for leaks is a relatively simple process that ensures a watertight seal and guarantees the longevity of your tile shower. Here’s how you can test the shower drain for leaks:
- Start by filling the shower pan with water, ensuring that the water level remains below the height of the shower curb.
- Allow the water to sit in the pan for at least 15 minutes. During this time, carefully inspect the area around the drain for any signs of leakage. Be careful about water seeping through the tile or pooling on the shower floor.
- If you notice any leaks, promptly identify the source, as it could be due to an improper connection or faulty sealant.
- Common areas where leaks may occur include the connection between the drain and the shower pan, as well as the junction between the shower pan and the surrounding walls.
- To rectify the issue, disassemble the problem area and carefully examine the fittings. If needed, apply additional sealant and ensure a secure connection between the components.
- Rerun the water test after making the necessary adjustments. Repeat this process until you no longer observe any leaks.
Remember, accurately testing the shower drain for leaks is crucial to prevent water damage and maintain the integrity of your tile shower. Taking the time to ensure a tight seal will give you peace of mind and guarantee a long-lasting, leak-free installation.
Applying Sealant And Finishing Touches
Applying sealant and adding finishing touches is the final step in plumbing a tile shower drain. This step is essential to prevent water from infiltrating the surrounding areas and causing structural damage. Follow these guidelines to achieve a professional finish:
- Carefully clean the area around the drain and remove any debris or excess mortar.
- Apply a high-quality silicone sealant to the gap between the shower pan and the tile. Smooth the sealant using a caulk tool or a damp cloth to ensure an even, watertight seal.
- Pay close attention to the corners and edges, ensuring complete coverage and smooth lines.
- Allow the sealant to dry completely as per the manufacturer’s instructions. This usually takes at least 24 hours.
- Once the sealant has dried, apply a grout sealer to protect the grout lines from moisture and potential staining. This will also enhance the overall appearance of your tile shower.
- Inspect the entire shower drain and surrounding tile for any imperfections, such as uneven grout lines or loose tiles. Make any necessary repairs or adjustments to ensure a flawless finish.
Plumbing a tile shower drain might seem complex. But with the right instructions, it’s manageable. From installing the drain, and testing for leaks, to applying sealant, these steps ensure a durable, waterproof, and aesthetically pleasing tile shower. Remember, a perfect shower drain is key to a long-lasting and functional shower space.
Frequently Asked Questions
How Do You Lay Tile Around A Shower Drain?
1. Start by measuring and marking the tile layout around the drain.
2. Cut the tiles using a tile cutter or wet saw to fit around the drain.
3. Apply a thin layer of adhesive on the floor and press the tiles into place.
4.Use tile spacers to maintain even gaps between tiles.
5. Once the tiles are set, apply grout and wipe off any excess.
How Do You Hook Up A Shower Drain Pipe?
To hook up a shower drain pipe, follow these steps. First, locate the drain hole in the shower base. Then, attach the drain pipe to the base using adhesive or screws. Next, connect the other end of the pipe to the main drain system.
Finally, seal the connections with a plumber’s putty or silicone sealant to prevent leaks.
Should Shower Drain Be Flush With Tile?
Yes, the shower drain should be flush with the tile to ensure proper drainage and avoid potential tripping hazards. A flush drain also provides a seamless and aesthetically pleasing finish to the overall shower floor.
Conclusion
How to plumb a tile shower drain requires careful steps and attention to detail. By following the step-by-step guide we are providing in this blog post, you can confidently tackle this project. While ensuring a leak-free and functional shower drain. Remember to gather the necessary tools and materials, and prepare the subfloor and drain assembly. Be cautious about installing and connecting the drain components properly.


 Call Now