Garbage disposals are indispensable appliances in modern kitchens. As it helps effortlessly dispose of food waste and maintain cleanliness. However, like any mechanical device, they require occasional maintenance to ensure peak performance. One common issue that arises is the loosening of the disposal blades. Leading to reduced efficiency and potential damage. In this comprehensive guide, we’ll explore the process of how to tighten garbage disposal blades. We will discuss the steps to safely tighten and sharpen the garbage disposal blades. Which empowers you to maintain your kitchen appliance and extend its lifespan.
How Does a Garbage Disposal Unit Work
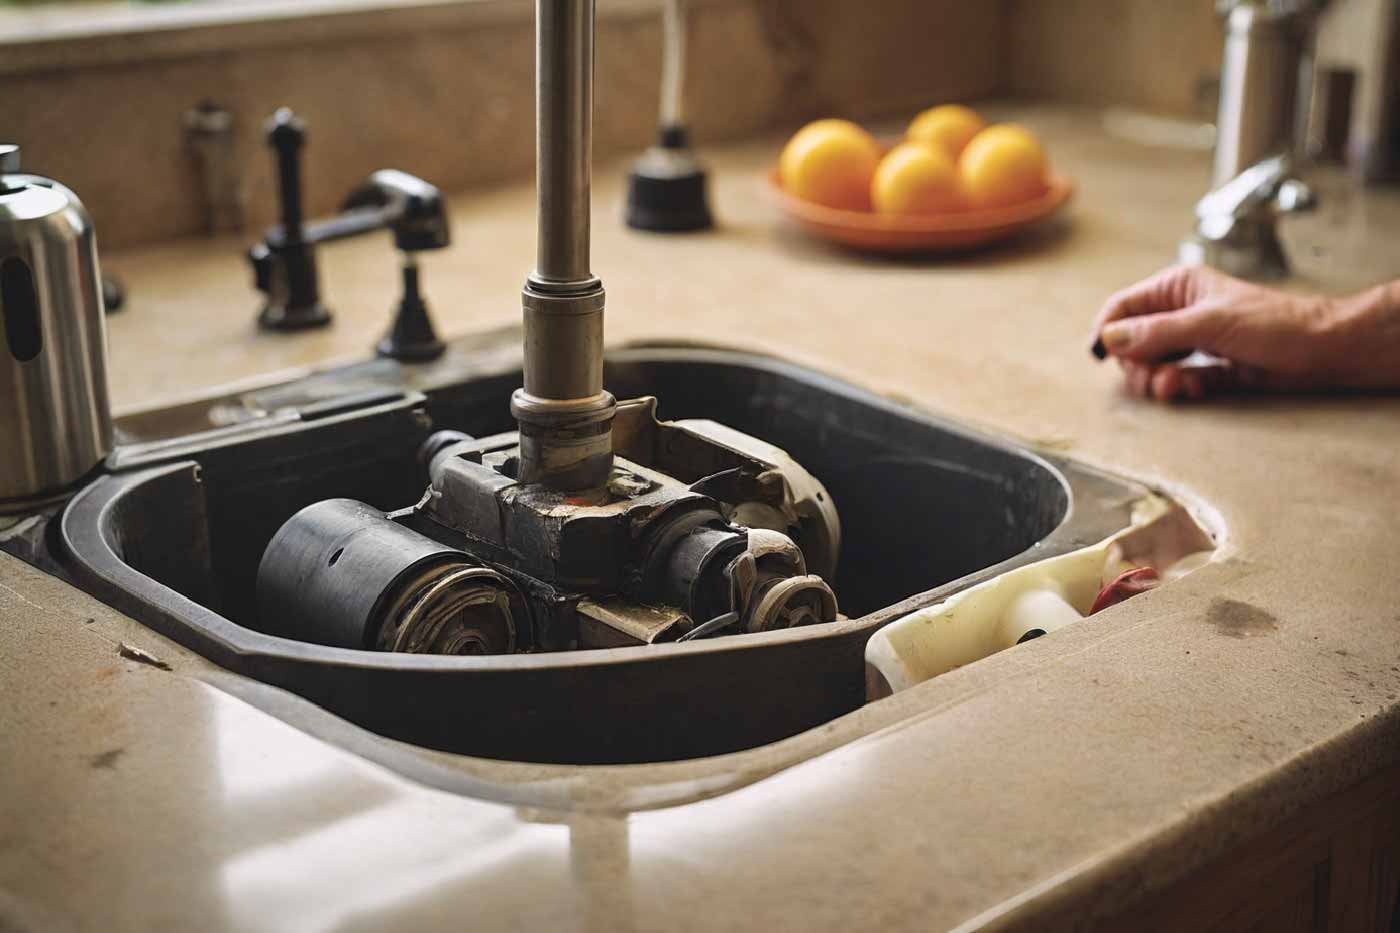
A garbage disposal unit is a mechanical device underneath your kitchen sink. Its design allows the shredding and disposal of food waste. It consists of several key components, including a motor, a shredding chamber, and sharp blades.
- Motor: The motor is the heart of the garbage disposal unit. When you turn on the disposal, the motor activates, generating rotational force that powers the rest of the unit’s components.
- Shredding Chamber: The motor has a connection with the shredding chamber. Where food waste deposits for grinding. This chamber typically contains a rotating flywheel or impeller that spins at high speeds.
- Sharp Blades: Attached to the flywheel are sharp blades that shred food waste into smaller particles. These blades are crucial for the effective grinding and disposal of food waste.
- Waste Disposal: As the blades shred the food waste. It helps the particles flush down the drain with water, leaving your sink clean and free of debris.
What is the Importance of Sharp Blades
The blades within a garbage disposal are essential for effective grinding and disposal of food waste. Over time, these blades can become dull due to regular use, impacting their ability to efficiently break down waste. Sharpening the blades not only restores their cutting edge but also enhances the disposal’s performance by reducing strain on the motor and preventing clogs. Regular maintenance, including blade sharpening, is crucial for ensuring the optimal functioning of your garbage disposal.

Step-by-step guide on how to tighten garbage disposal blades
Tightening the garbage disposal unit is important. As these blades become dull due to time and lose their edges they lose their efficiency. This can result clog in the pipe or less efficiency. Learning how to tighten garbage disposal blades is particularly fair and important. Let’s delve in and learn how we can tighten up the garbage disposal blades. So, that we can have better efficiency and comfort.
Steps to Sharpen Garbage Disposal Blades
Use a Hex Key or Wrench
Most how to garbage disposals blades have a hexagonal hole at the bottom. Which allows access to the flywheel. Insert an appropriately sized hex key or wrench into this hole. The size it requires can vary, so refer to the manufacturer’s instructions for the correct size.

Rotate the Blades
Turn the hex key or wrench back and forth a few times to manually rotate the blades. This movement helps dislodge any debris or food particles that may be stuck on the blades, improving their cutting ability.
Repeat the Process
Continue rotating the blades manually with the hex key or wrench, moving them in both directions. This action helps to sharpen the edges of the blades by removing any dull spots or buildup.
Flush with Water
After sharpening the blades, run cold water through the disposal unit for a few moments to flush away any loosened debris or residue.
Steps on how to fix a garbage disposal unit
Tighten the Blades
Insert the hex key into the central hole at the bottom of the disposal unit. Turn the hex key clockwise to tighten the blades. Apply moderate pressure, but avoid over-tightening, as this could damage the unit.
Sharpen the Blades
After tightening the blades, it’s essential to sharpen them for optimal performance. Use a sharpening tool to carefully sharpen each blade, following the manufacturer’s instructions. This process restores the blades’ cutting edge, enhancing their efficiency in grinding food waste.
Test the Disposal
Once you’ve completed the maintenance tasks, restore power to the disposal unit and test its functionality. Run water and activate the disposal to ensure everything is working correctly. Listen for any unusual noises or vibrations that may indicate further issues.
Conduct Final Safety Checks
Before concluding the maintenance process, conduct final safety checks. Ensure there are no leaks, unusual sounds, or odors emanating from the disposal unit. If everything appears to be in order, you’ve successfully tightened and sharpened the blades, optimizing the performance of your garbage disposal.
Repeat as Needed
Depending on the condition of the blades and the extent of buildup, you may need to repeat the sharpening process multiple times to achieve optimal results.
Safety Precautions
Prioritize Safety
Before beginning any maintenance work, prioritize safety. Start by disconnecting the power to the garbage disposal unit to prevent accidental start-ups. Locate the corresponding circuit breaker in your electrical panel and switch it off. Additionally, wear protective gloves to safeguard your hands during the maintenance process.
Access the Disposal Unit
Locate the how to tighten garbage disposal blades unit beneath your kitchen sink. Use a flashlight to illuminate the area, as it may be dim and difficult to see. Ensure there are no obstructions hindering access to the disposal.
Identify the Reset Button
Familiarize yourself with the location of the reset button on the disposal unit. This button serves to reset the unit in the event of overload or overheating. Pressing it can help troubleshoot potential issues before proceeding with maintenance.
Cleaning Garbage Disposal Unit
Cleaning your garbage disposal unit is an essential part of regular maintenance to keep it functioning efficiently and prevent unpleasant odors. Here’s a step-by-step guide on how to clean your garbage disposal unit effectively:
Materials You’ll Need: Gather the following materials:
- Rubber gloves
- Dish soap or vinegar
- Baking soda
- Ice cubes
- Lemon or citrus peels (optional, for deodorizing)
Scrubbing the Exterior
Begin by cleaning the exterior of the disposal unit. Use a damp cloth with mild dish soap to wipe down the surface, removing any dirt, grime, or food residue.
Cleaning the Rubber Flap
Lift the rubber flap inside the disposal unit and inspect it for any buildup or debris. Use a brush or scrubbing pad to clean the flap thoroughly, removing any accumulated residue.
Removing Debris
Look inside the disposal chamber for any visible food particles, debris, or slime buildup. Use tongs or a brush to remove any large or stubborn debris that may be stuck to the walls or blades of the unit.
Deodorizing with Citrus
Drop a few lemon or citrus peels into the disposal chamber for a natural deodorizing effect. Run cold water and turn on the disposal to grind the peels, releasing their fresh scent throughout the unit.
Using Ice Cubes and Baking Soda
Freeze an ice cube tray filled with a mixture of water and white vinegar or water and lemon juice. Drop a few ice cubes into the disposal chamber along with a tablespoon of baking soda. Turn on the disposal and run cold water to grind the ice cubes and baking soda, effectively removing stubborn residue and odors.
Rinsing with Hot Water
After cleaning, flush the disposal unit with hot water to wash away any remaining debris and thoroughly clean the chamber.
Regular Maintenance
Incorporate regular cleaning into your maintenance routine to keep your garbage disposal unit clean, odor-free, and functioning efficiently. Run cold water while using the disposal to flush away food particles, and avoid dumping large or fibrous items into the unit.
Additional Common Reasons for Disposal Malfunctions
Here are the common reasons why garbage disposal units may have difficulties working. Which may cause damage or better productivity problems in our daily lives. So, knowing about certain things about disposal malfunction can work like a charm when the time comes. Here`s how:
Jamming
Food items like bones, fruit pits, potato peels, or coffee grounds can jam the disposal’s impeller plate or blades, hindering their rotation. This can result in a humming sound when the disposal is on but it’s not grinding any action.
Overload or Overheating
Excessive amounts of food waste or prolonged operation without breaks can overload the disposal’s motor. In response, the internal overload protector may trip or the motor may overheat, causing the unit to shut off automatically.
Electrical Issues
Problems with the electrical supply, such as a blown fuse, tripped circuit breaker, loose wiring connections, or a faulty switch, can prevent the disposal from receiving power or functioning correctly.
Conclusion,
In conclusion, knowing how to tighten garbage disposal blades is essential for maintaining optimal performance. Following the safety precautions and steps outlined in this guide ensures efficient operation, preventing clogs and prolonging the unit’s lifespan. Prioritize safety, consult the manufacturer’s instructions, and incorporate regular maintenance to keep your garbage disposal functioning effectively, making kitchen cleanup hassle-free.


