
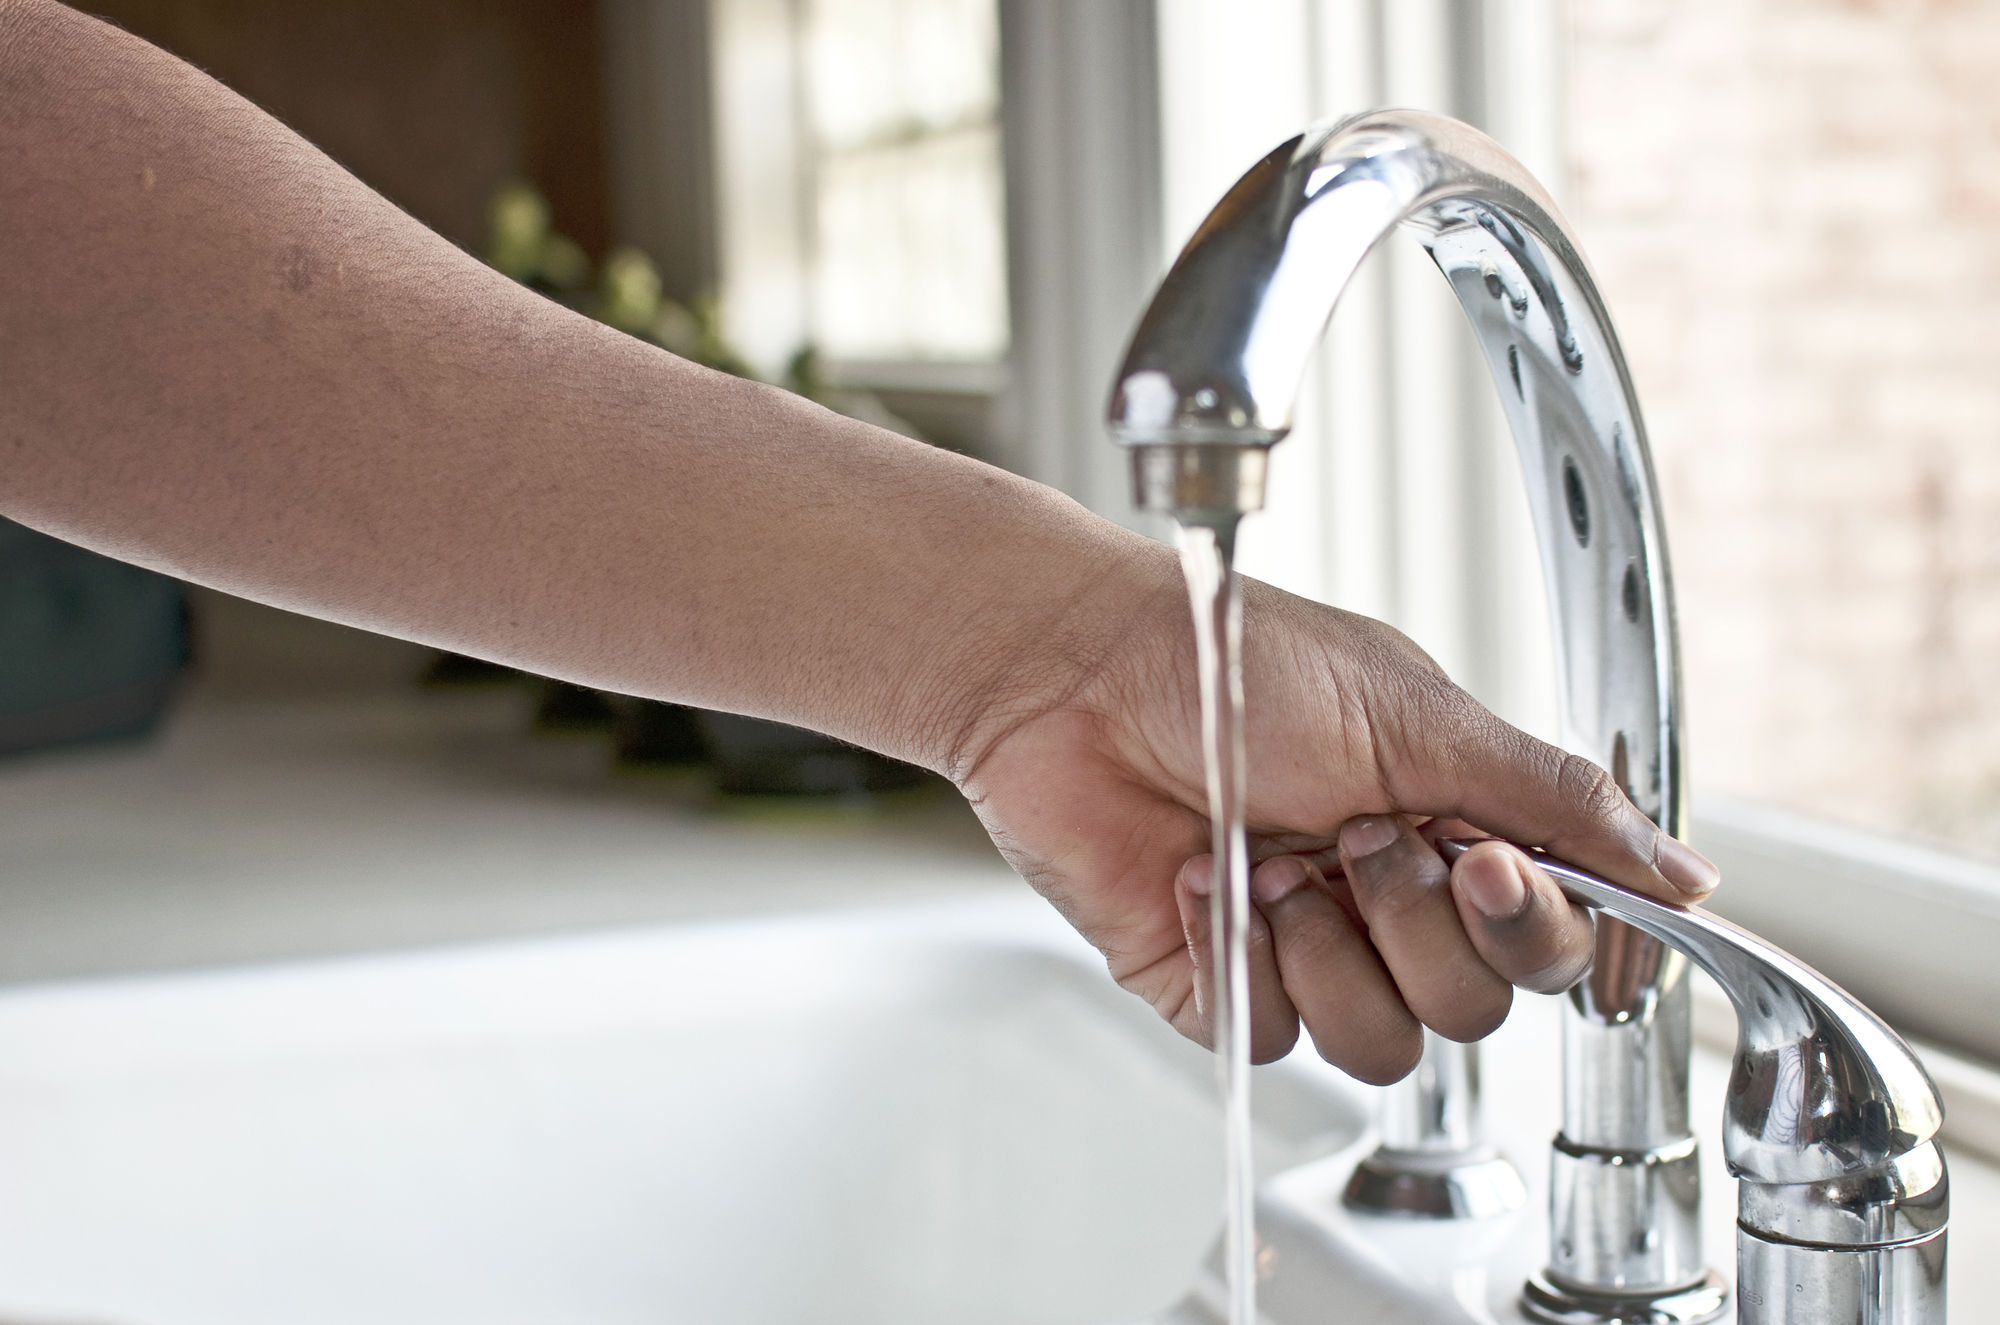
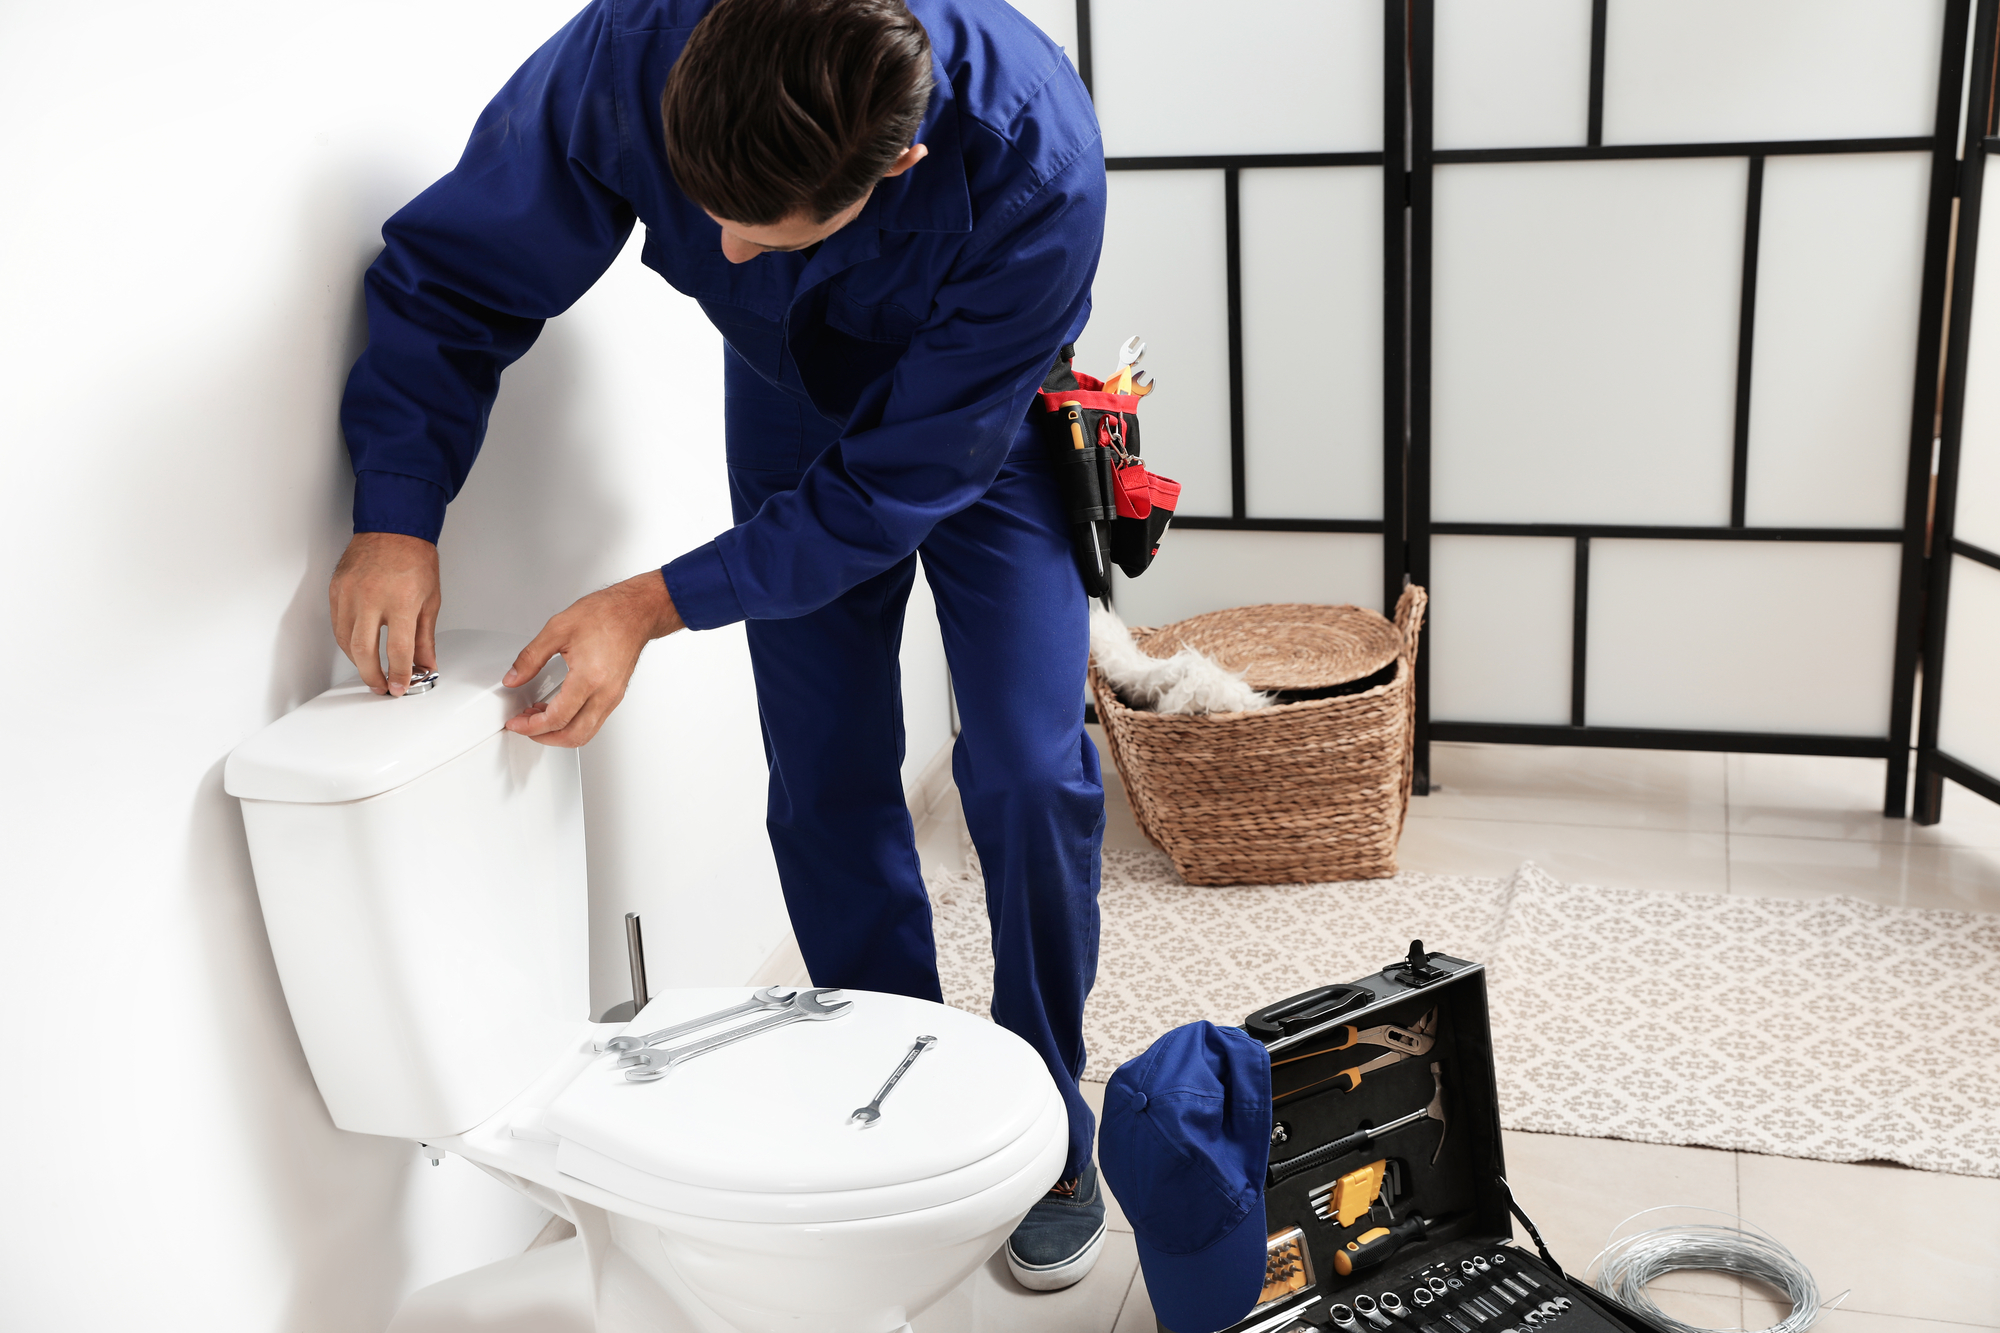
Dealing with a clogged or leaky drain is a common plumbing issue that can disrupt your household activities and lead to water damage or health hazards. While some minor drain problems can be fixed with simple tools and techniques, such as using a plunger or a drain snake, more serious ones may require a drain pipe replacement. This task may seem intimidating, especially if you have little or no plumbing experience, but it is not impossible to do it yourself if you follow some guidelines and take the necessary precautions. In this article, we will explain how to replace a drainpipe step by step, what tools and materials you need, and what safety measures you should take.
Before you start, assess the situation and determine if you really need to replace the entire drain pipe or just a section of it. If the damage is localized, you may be able to cut out the affected part and use a coupler or a compression fitting to attach a new piece of PVC or ABS pipe. However, if the pipe is old, corroded, cracked, or punctured, it may be better to replace the entire run, especially if it is made of galvanized steel or cast iron, which are prone to rust and decay.
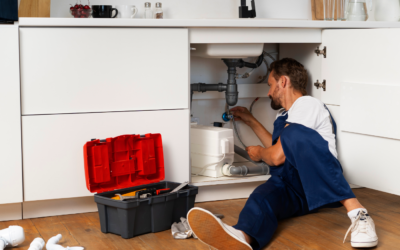
Once you have decided to replace the drainpipe, gather all the necessary tools and materials, which include:
– Safety goggles and gloves, to protect your eyes and hands from debris and chemicals
– A face mask or a respirator, to avoid inhaling harmful fumes or dust
– A hacksaw or a reciprocating saw, to cut the old pipe and the new one to size
– A pipe cutter or a tubing cutter, to make clean and straight cuts
– A deburring tool or sandpaper, to smooth the rough edges of the cuts
– A measuring tape or a ruler, to ensure the right length and alignment of the pipes
– A marker or a pencil, to mark the cutting points and the fitting positions
– A level or a plumb line, to check the slope and the verticality of the pipes
– A pipe wrench or adjustable pliers, to tighten the fittings and the nuts
– A Teflon tape or pipe dope, to seal the threaded connections and prevent leaks
– A bucket or a plastic bag, to collect the debris and the old pipe
– A new drainpipe and fittings, of the same material, size, and type as the old ones
– A pipe sealant or glue, to bond and secure the joints of the new pipes and fittings
Once you have the tools and materials ready, follow these steps to replace a drainpipe:
Step 1: Turn off the water supply and the power source to the area where you will be working. Depending on the location and the type of the drain, you may need to shut off the main water valve or the valves under the sink or the toilet, and unplug any electrical devices that are near the pipes.
Step 2: Remove the old drainpipe and fittings by cutting them with a hacksaw or a reciprocating saw. Use a bucket or a plastic bag to catch the water and the debris that may spill. Be careful not to damage any other plumbing or wiring that is nearby. If you need to remove a threaded fitting, use a pipe wrench or adjustable pliers to unscrew it. If the fitting is stuck, apply some penetrating oil and tap it gently with a hammer to loosen it.
Step 3: Measure the length and diameter of the new drainpipe and fittings, and mark them with a marker or a pencil. Be sure to take into account any angles, bends, or branches that the drain may have. Use a pipe cutter or a tubing cutter to make clean and straight cuts on the new pipe and fittings, and a deburring tool or sandpaper to smooth the edges.
Step 4: Dry-fit the new drainpipe and fittings to ensure that they are the right size and shape, and that they fit snugly and tightly. Use a level or a plumb line to check the slope and the verticality of the pipes, and adjust them as necessary. If you need to connect two pipes or fittings that have different diameters or types, use a coupler or a transition fitting that matches both ends.
Step 5: Apply a Teflon tape or pipe dope to the threaded connections of the new drainpipe and fittings, to seal them and prevent leaks. Be careful not to over-tighten the nuts or the fittings, as this can damage the threads or crack the plastic.
Step 6: Secure the new drainpipe and fittings to the wall or the floor using clamps or brackets that are compatible with the material and the size of the pipes. Make sure that the pipes are adequately supported and that they do not touch any sharp edges or hot surfaces.
Step 7: Test the new drainpipe and fittings for leaks by running water through them and checking for dripping or pooling. If you detect any leaks, turn off the water supply and tighten the connections or apply more sealant. Once you are satisfied that the new drainpipe is leak-free, turn on the water supply and test the drain again.
Step 8: Clean up the work area by disposing of the old pipe and fittings in a safe and eco-friendly manner, and wiping off any debris or residue on the surfaces. Put away the tools and materials for future use, and store them in a dry and ventilated place.
By following these steps and guidelines, you can replace a drainpipe yourself and save money and time on hiring a professional plumber. However, it is important to remember that plumbing is a complex and critical system that requires expertise, training, and certification to handle properly and safely. If you encounter any difficulties or doubts during the process, or if you notice any signs of further damage or malfunction, do not hesitate to call a licensed and experienced plumber who can provide you with reliable and efficient plumbing services. You can also check aceplumbingrepair.com for more information and resources on plumbing repair and maintenance, or call (844) 711-1590 to talk to our plumbing experts.


 Call Now