A home is not a home when it’s haunted by continuous dripping sounds. Yes, we’re talking about that leaking faucet that has been disrupting your serenity for quite some time now. Today, we’re here to equip you with some hands-on advice that can quickly turn you into a DIY repair wizard. This indispensable plumbing tutorial will not only help you save money but also understands your plumbing system better. While also taking you through various plumbing products and services to make your home problems easier to solve.
Leaking faucets are among the most common plumbing issues homeowners face. But, let’s get one thing cleared up: these problems are not as intimidating as they seem. With the right tools and a little bit of guidance, fixing a dripping faucet will no longer be a nightmare. Let’s navigate through this plumbing tutorial together.
Understand The Mechanism
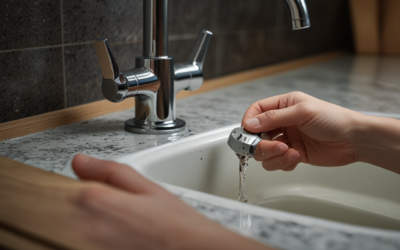
Before embarking on your faucet repair journey, let’s equip you with some understanding about its mechanism. Every faucet, regardless of its model and make, opens and closes to control water flow via simple levers – hot and cold water handle. They might leak either from the faucet itself or around the handle.
Tools You Will Need
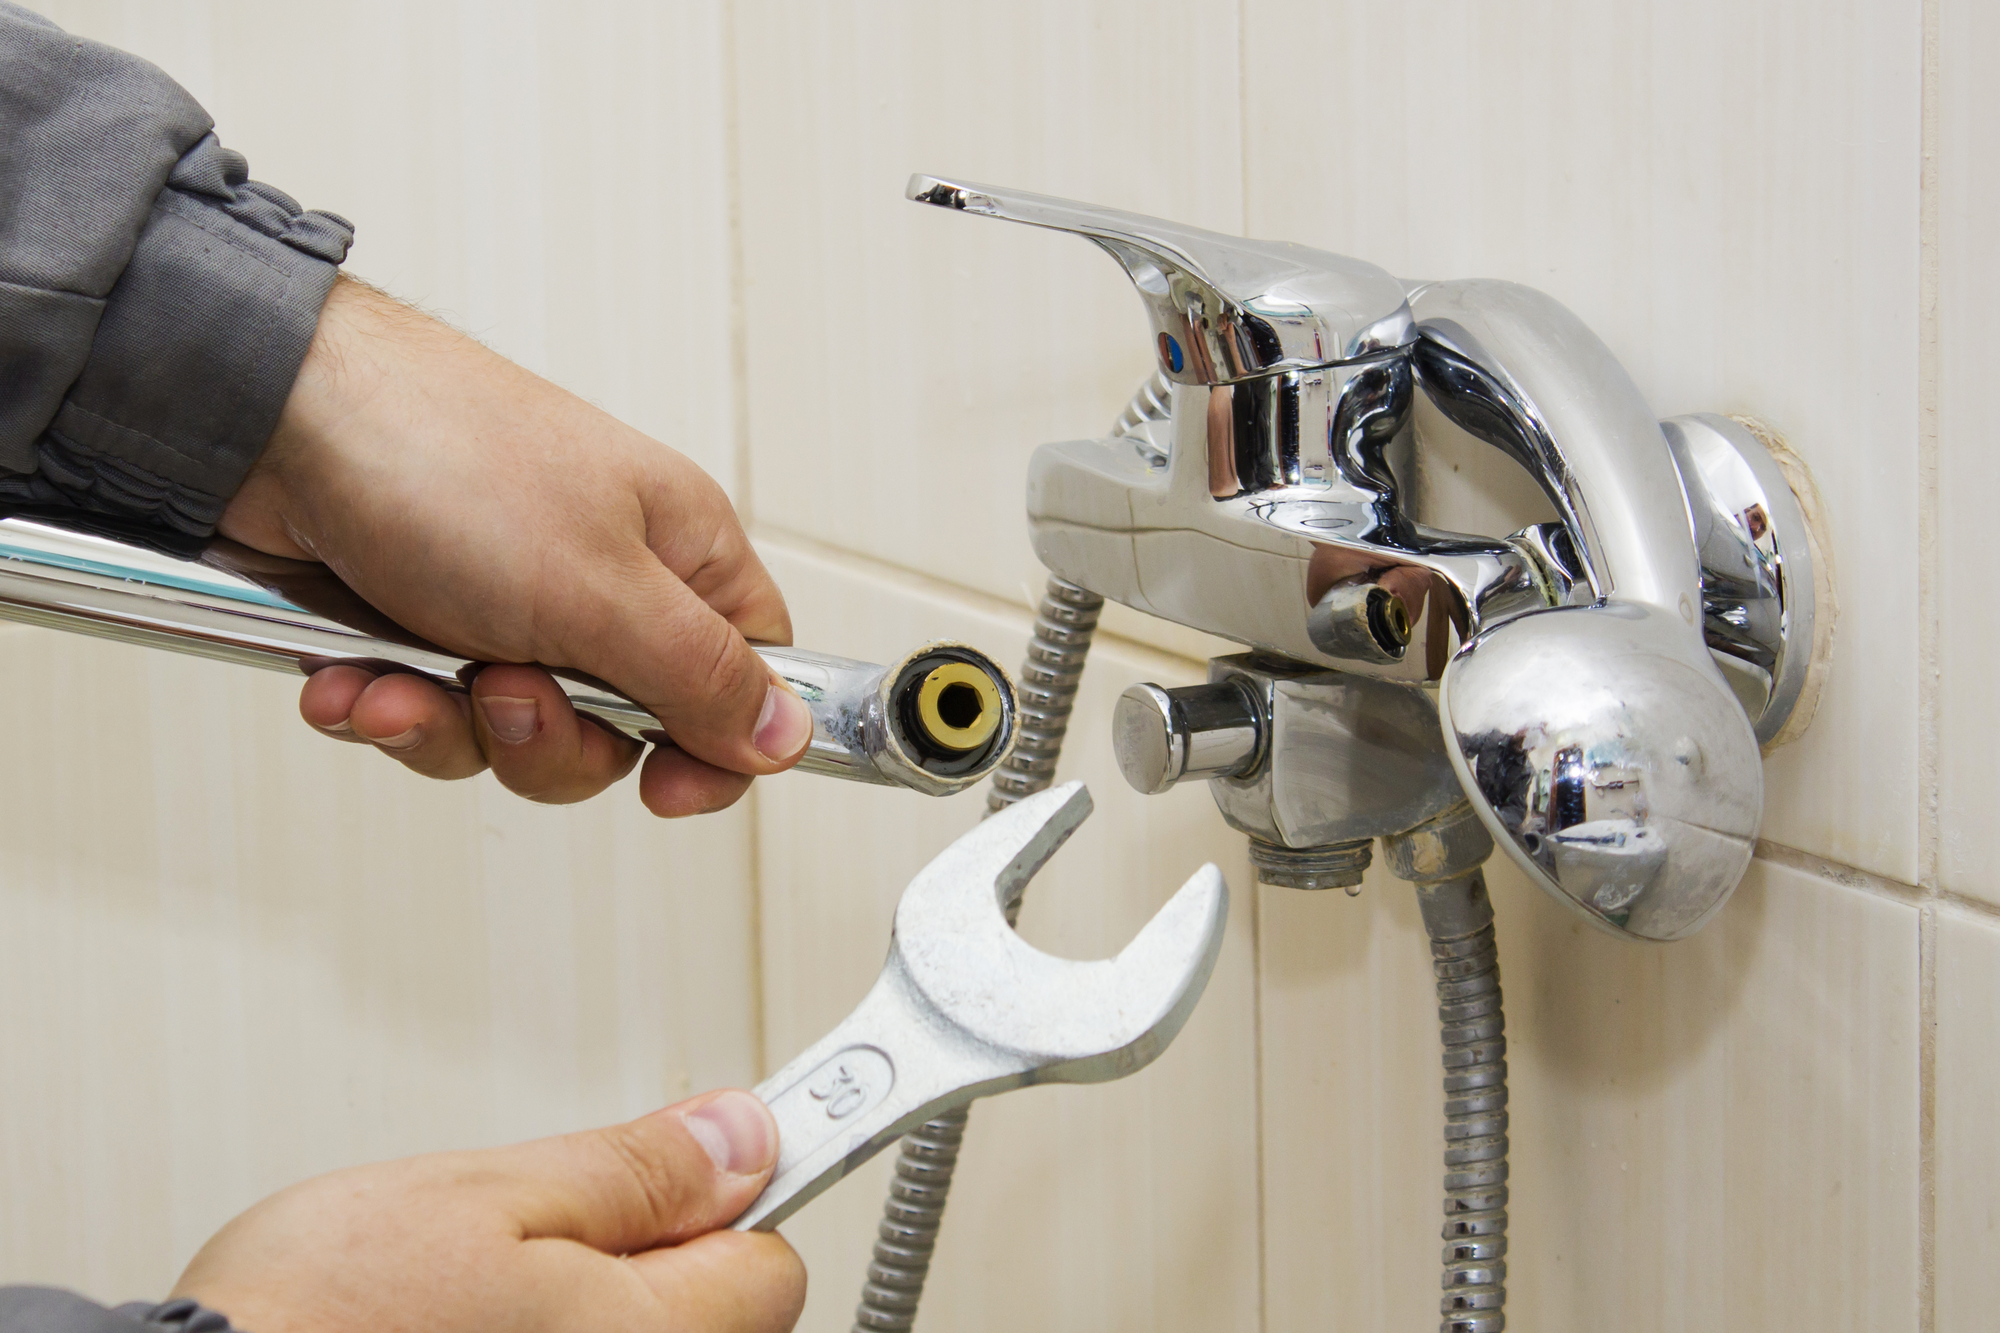
As we talk about tools, please understand that each plumbing service, or DIY repair, needs a proper set of tools. Here’s the list of items you’ll need for the repair: adjustable wrench, screwdriver, grease, O-rings, valve seats, and a faucet repair kit that fits your faucet brand and model.
Stop The Water Supply
Before you start with the actual repair, close the water valve that supplies water to the faucet. If your faucet doesn’t have a local shutoff valve, switch off the main water supply to your house.
Identify The Faucet Type
Before you delve into the repair process, you must establish the kind of faucet you have. The common types include ball faucets, cartridge faucets, and compression faucets. Each requires a different repair technique, so get familiar with your specific type.
Replace Worn Parts
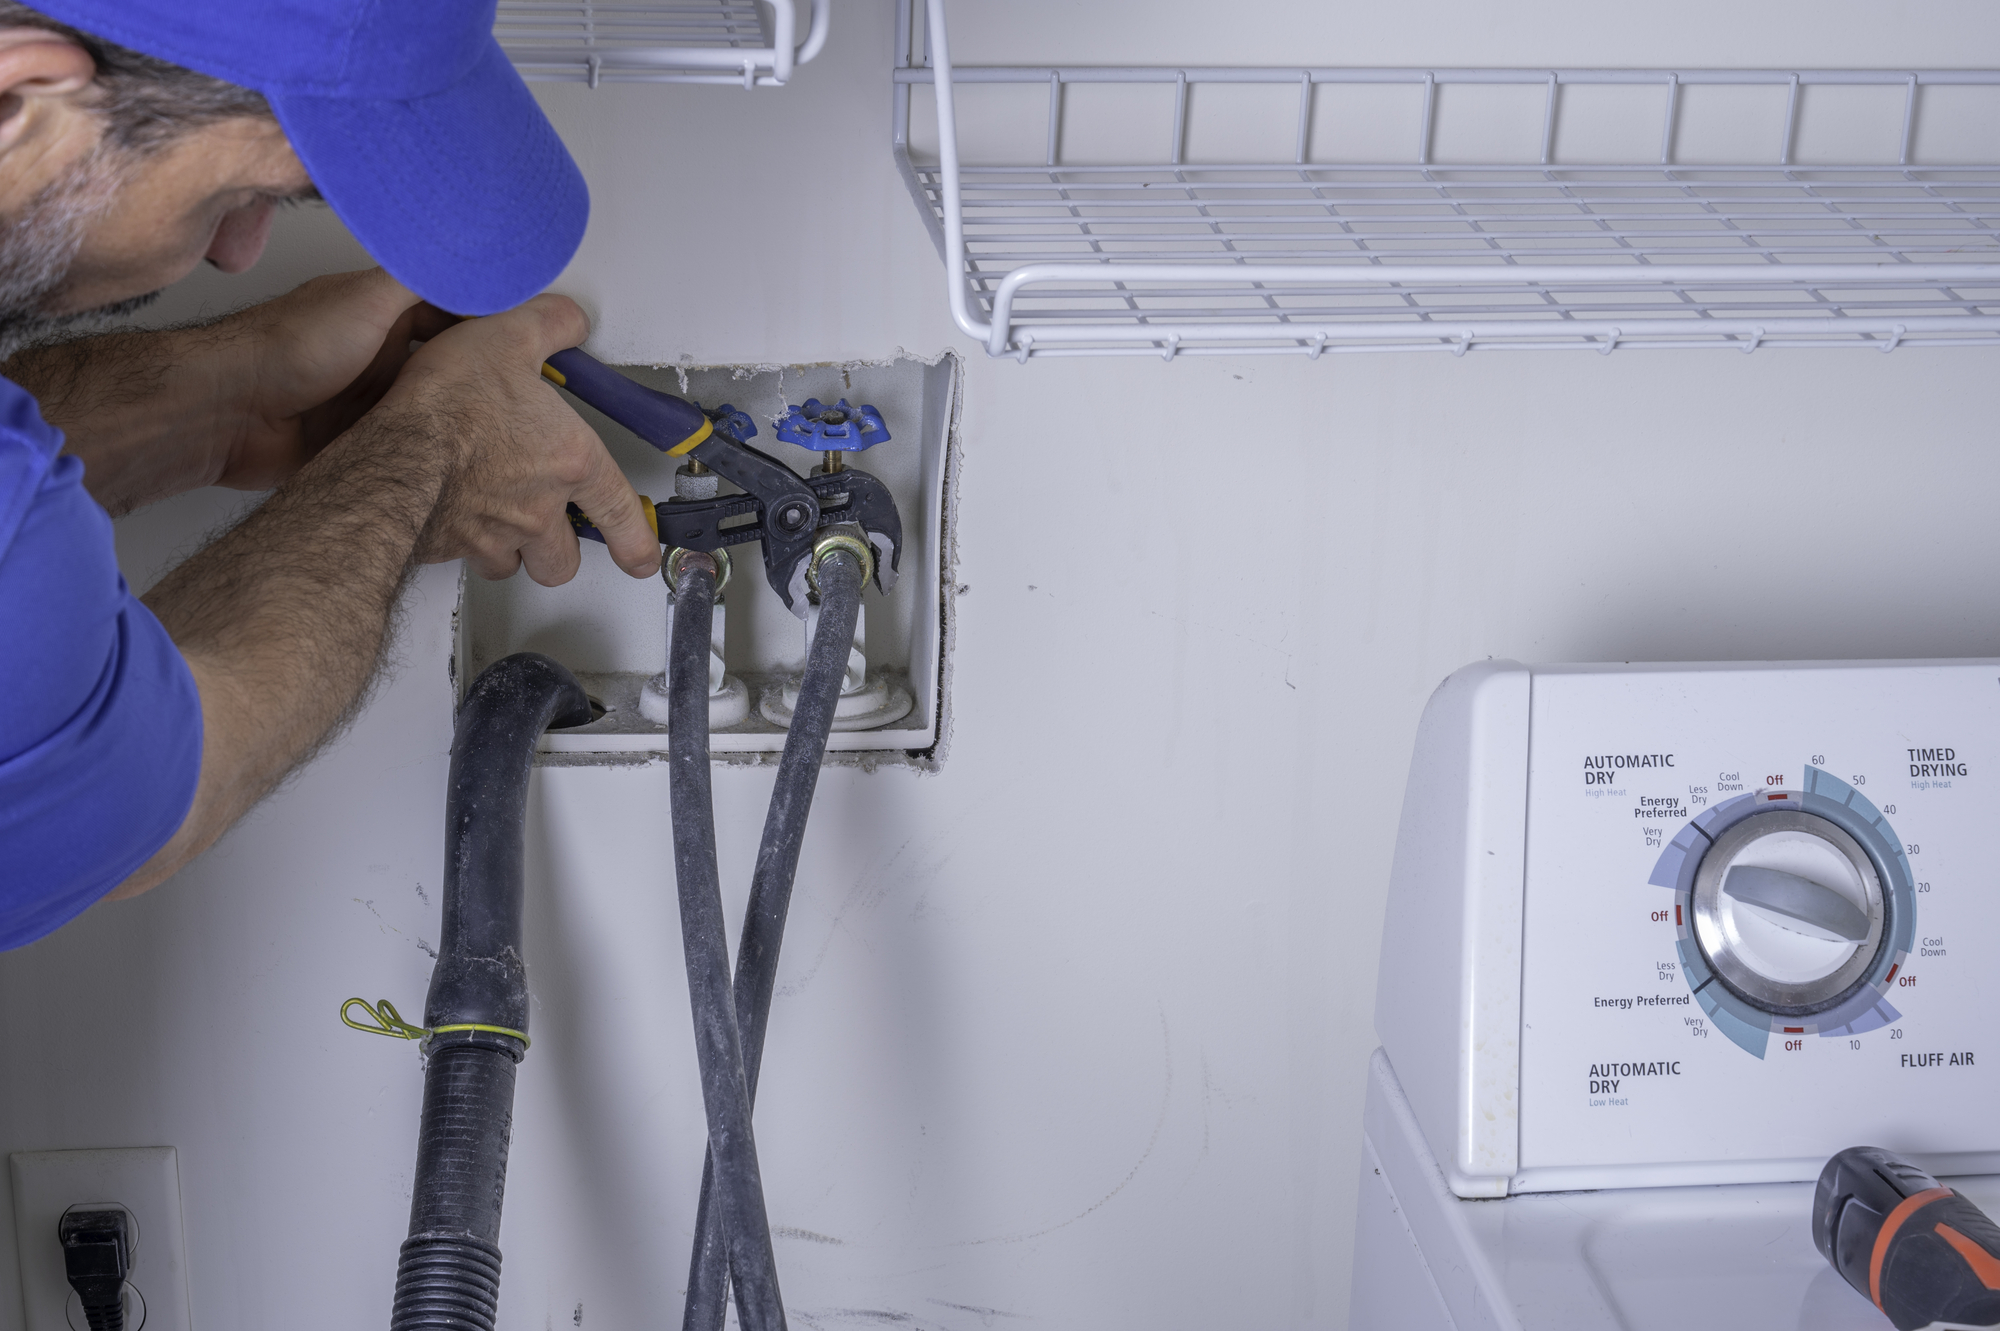
Unscrew the handle of the faucet by removing the screw cover that keeps it in position. Once the handle is off, you will get a clearer view of the structure and worn parts in need of replacement.
Reassemble The Faucet
After replacing the faulty parts, reassemble the faucet carefully. The process of reassembling varies depending on the type of faucet, but don’t worry, most faucet repair kits come with detailed instructions.
Test The Faucet
Finally, turn the water supply back on, and check if the dripping has stopped.
Maintaining your home’s plumbing can save you from costly professional repairs. As you have just seen, leakage repair is not rocket science. All you need is a better understanding of your home’s plumbing system.
Of course, there will be instances when you’ll need professional help, especially for complex plumbing services. That’s but an essential part of maintaining a well-functioning home. But for the everyday issues, a little bit of DIY can go a long way.
If you’ve enjoyed this tutorial and are keen to learn more about different plumbing services, products, and general news, stay tuned to our blog. We aim to empower homeowners like you with knowledge and professional-grade tools to keep your plumbing system in perfect condition.

