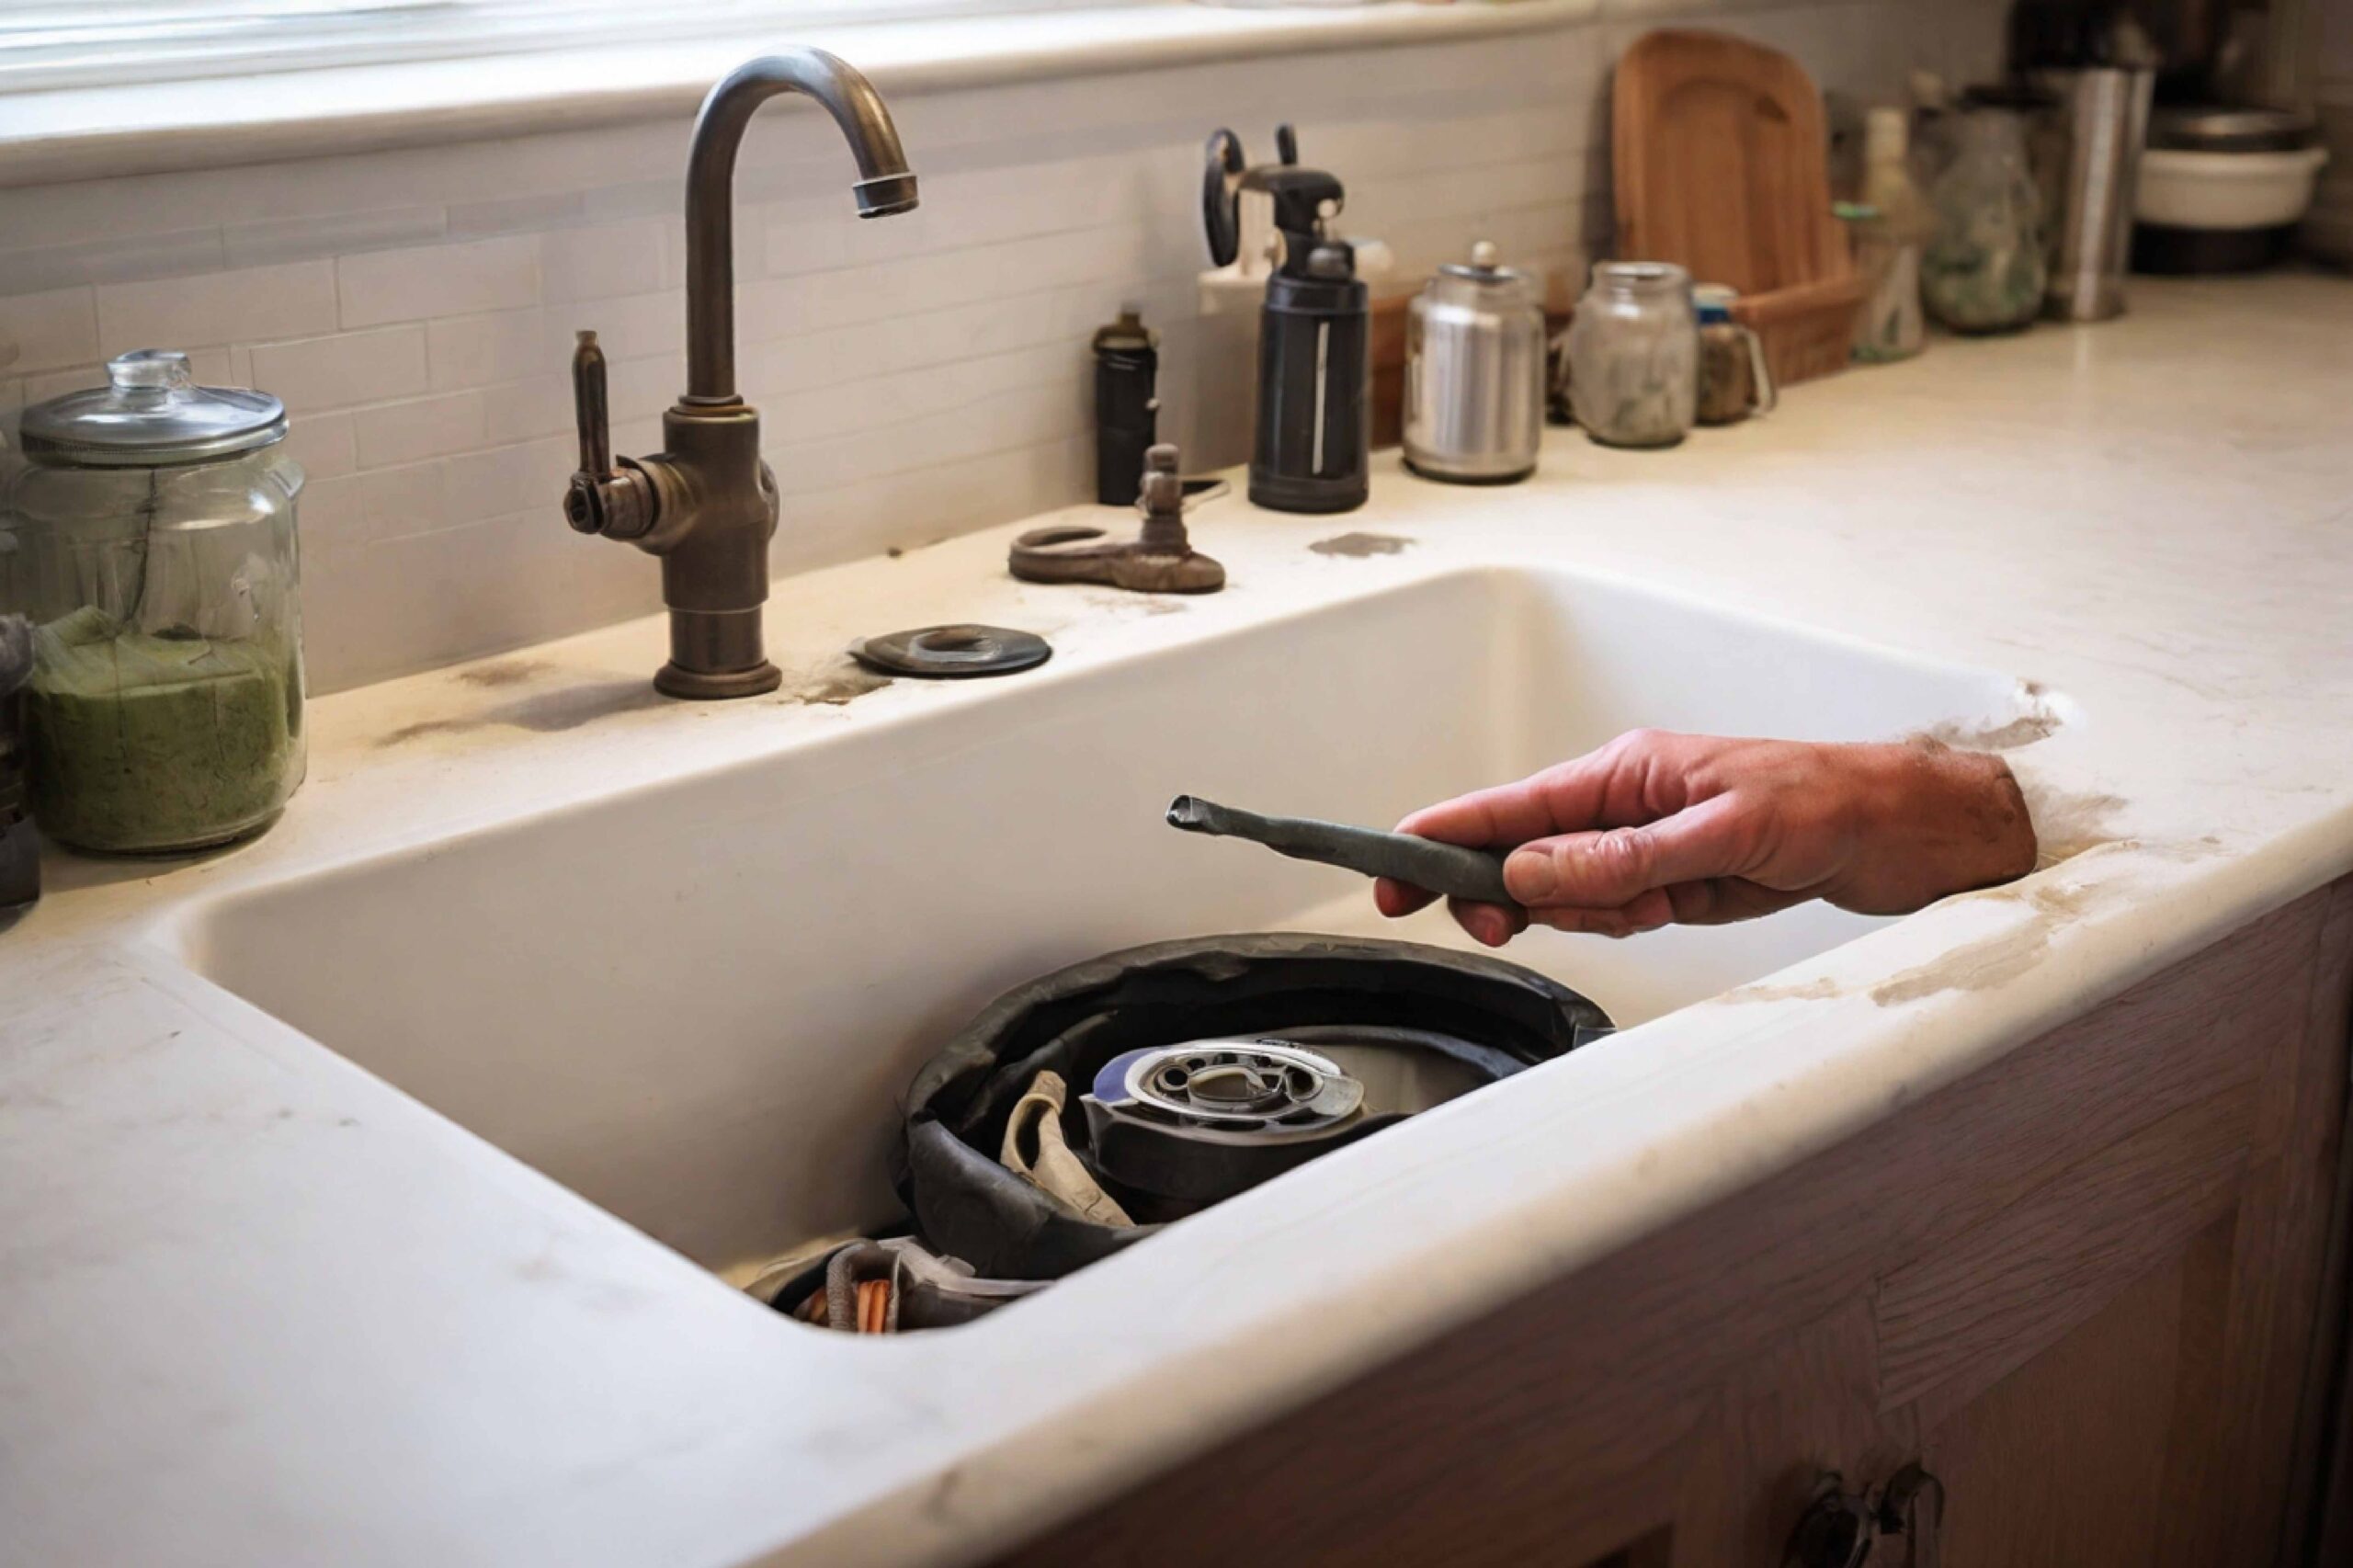
A garbage disposal is a common fixture in modern kitchens. Offering a modern and useful way to dispose of food waste and other particles. It’s a device installed beneath the sink which connects to the drain. These devices use a motor with small blades that help to cut food scrapes into small particles. While it’s a useful device still some may need to figure out how to remove a garbage disposal and return to original sink drain.
Where the main reason can be things like clogs and maintenance. Which is really a serious annoyance for most people. Managing a garbage disposal is hard not just a simple process. This guide will help you walk through the process of how to remove a garbage disposal and return to original sink drain.
What is a garbage disposal?
Before you start it is necessary to figure out how garbage disposal works. As well as how to remove them or replace them. A disposal is an electrical device that fits between the sink drain and the trap. The machine helps to grind the food into small scraps and food waste into tiny pieces. Being a convenient machine they are still prone to jamming, leaks, and other failure. Also, some homeowners don’t prefer to use this unit as they require more electrical usage.
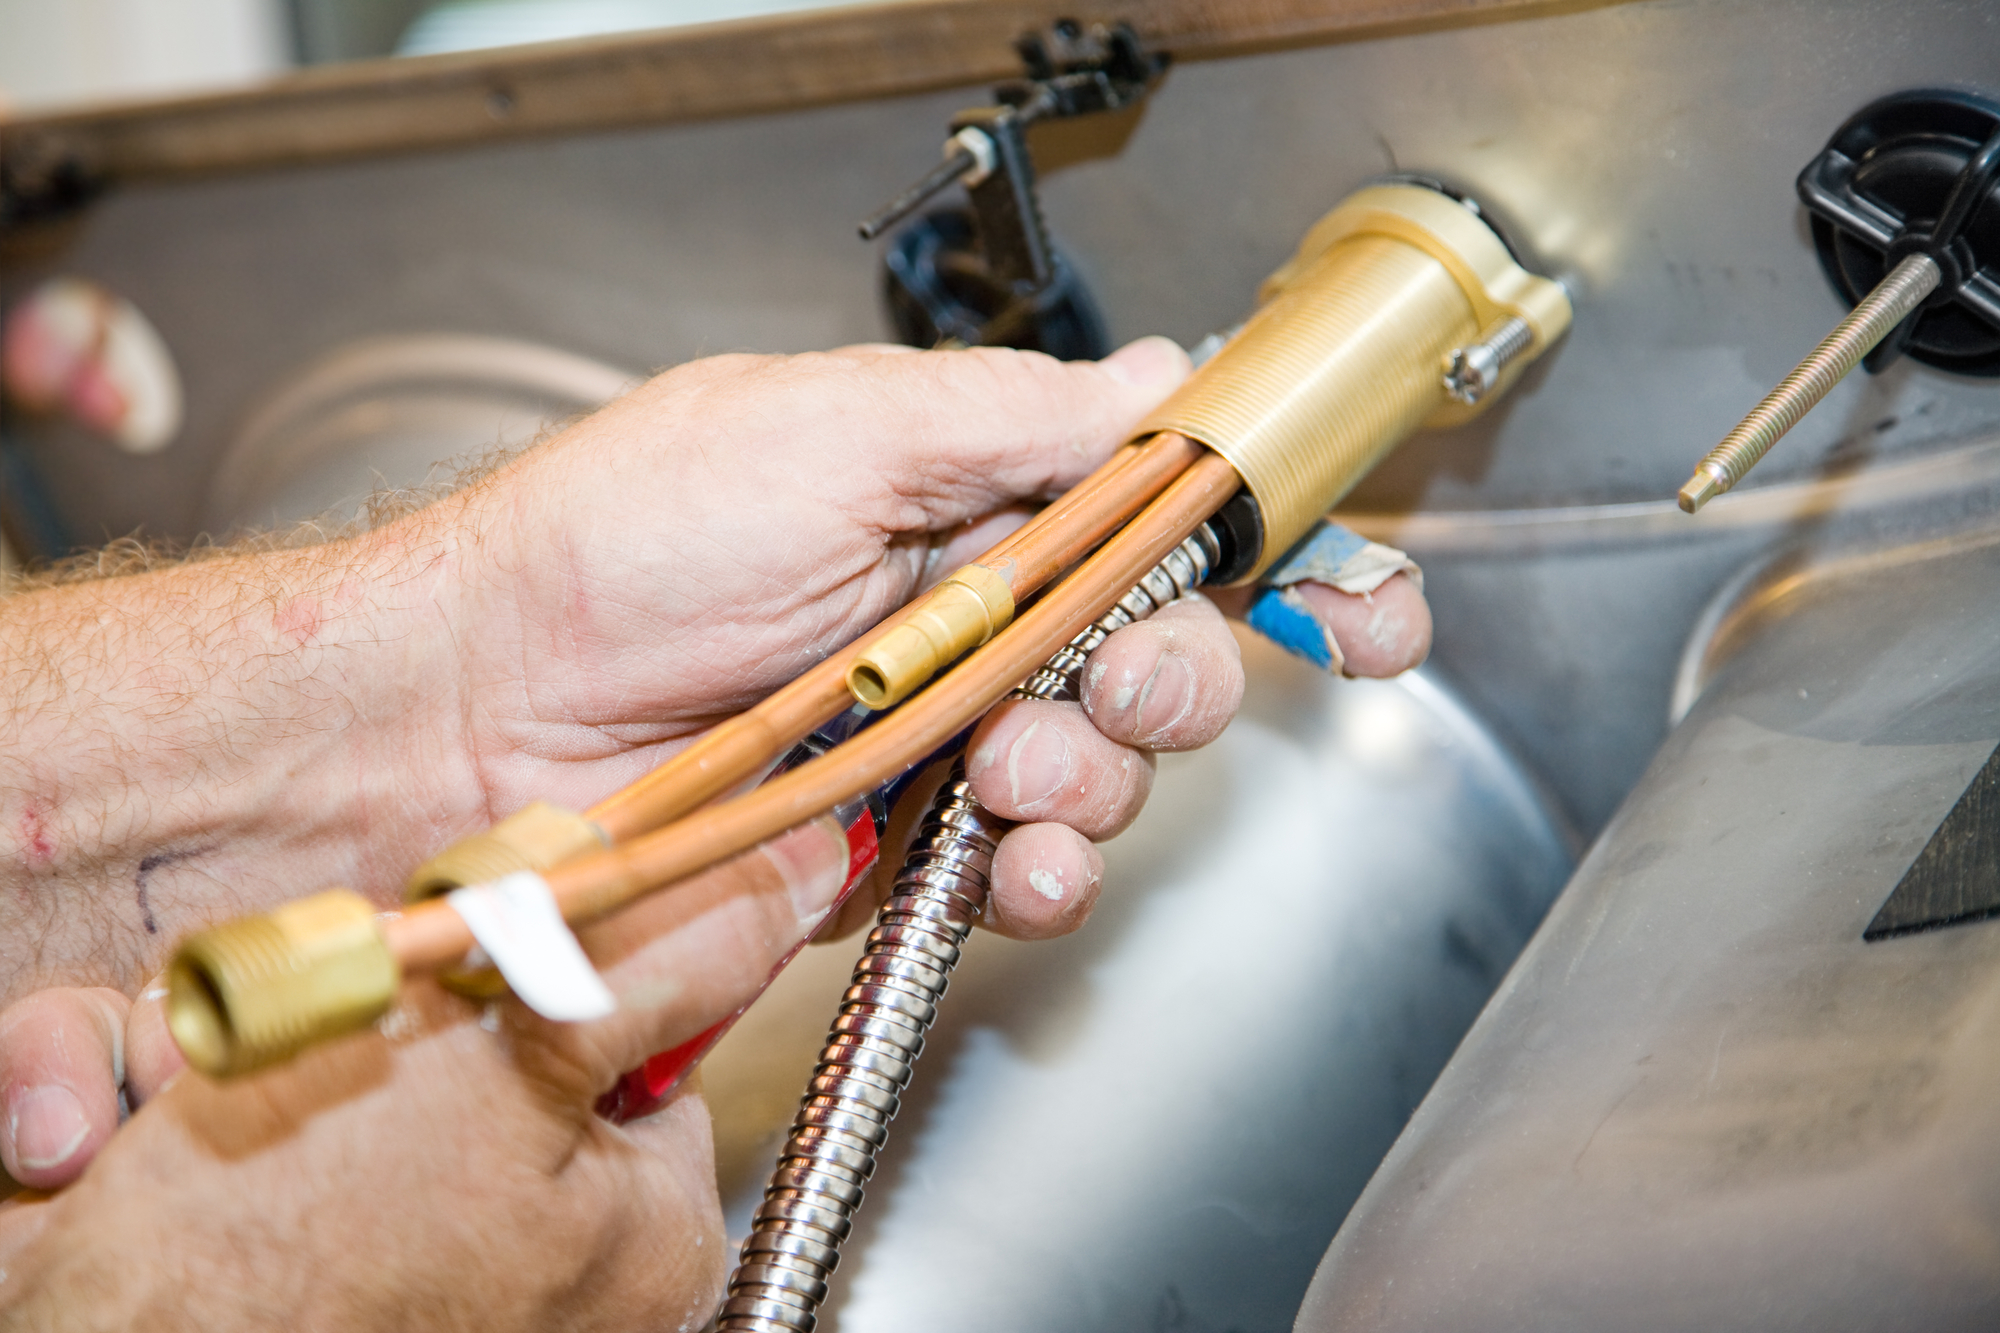
Tools You Need
Before starting the removal process, ensure you have the following tools and materials ready:
- Adjustable wrench
- Phillips and flat-head screwdrivers
- Plumber’s putty
- Bucket or pan (to catch any residual water)
- A new sink drain assembly (if you plan to revert to a traditional sink drain)
- Pipe wrench or Channellock pliers
- Towel or rag
- Wire Nuts and Electrical tapes
- Voltage tester
Step-by-step guide on how to remove a garbage disposal and return to original sink drain
If you are sure about going back to your previous drain system leaving the disposal unit. This will require the right knowledge and way to complete the whole process. To tell the truth, knowing how to remove a garbage disposal and return to original sink drain is a must for DIY individuals. This will not only offer you satisfaction and ideas. It will also help you save some money which you will spend on plumber work.
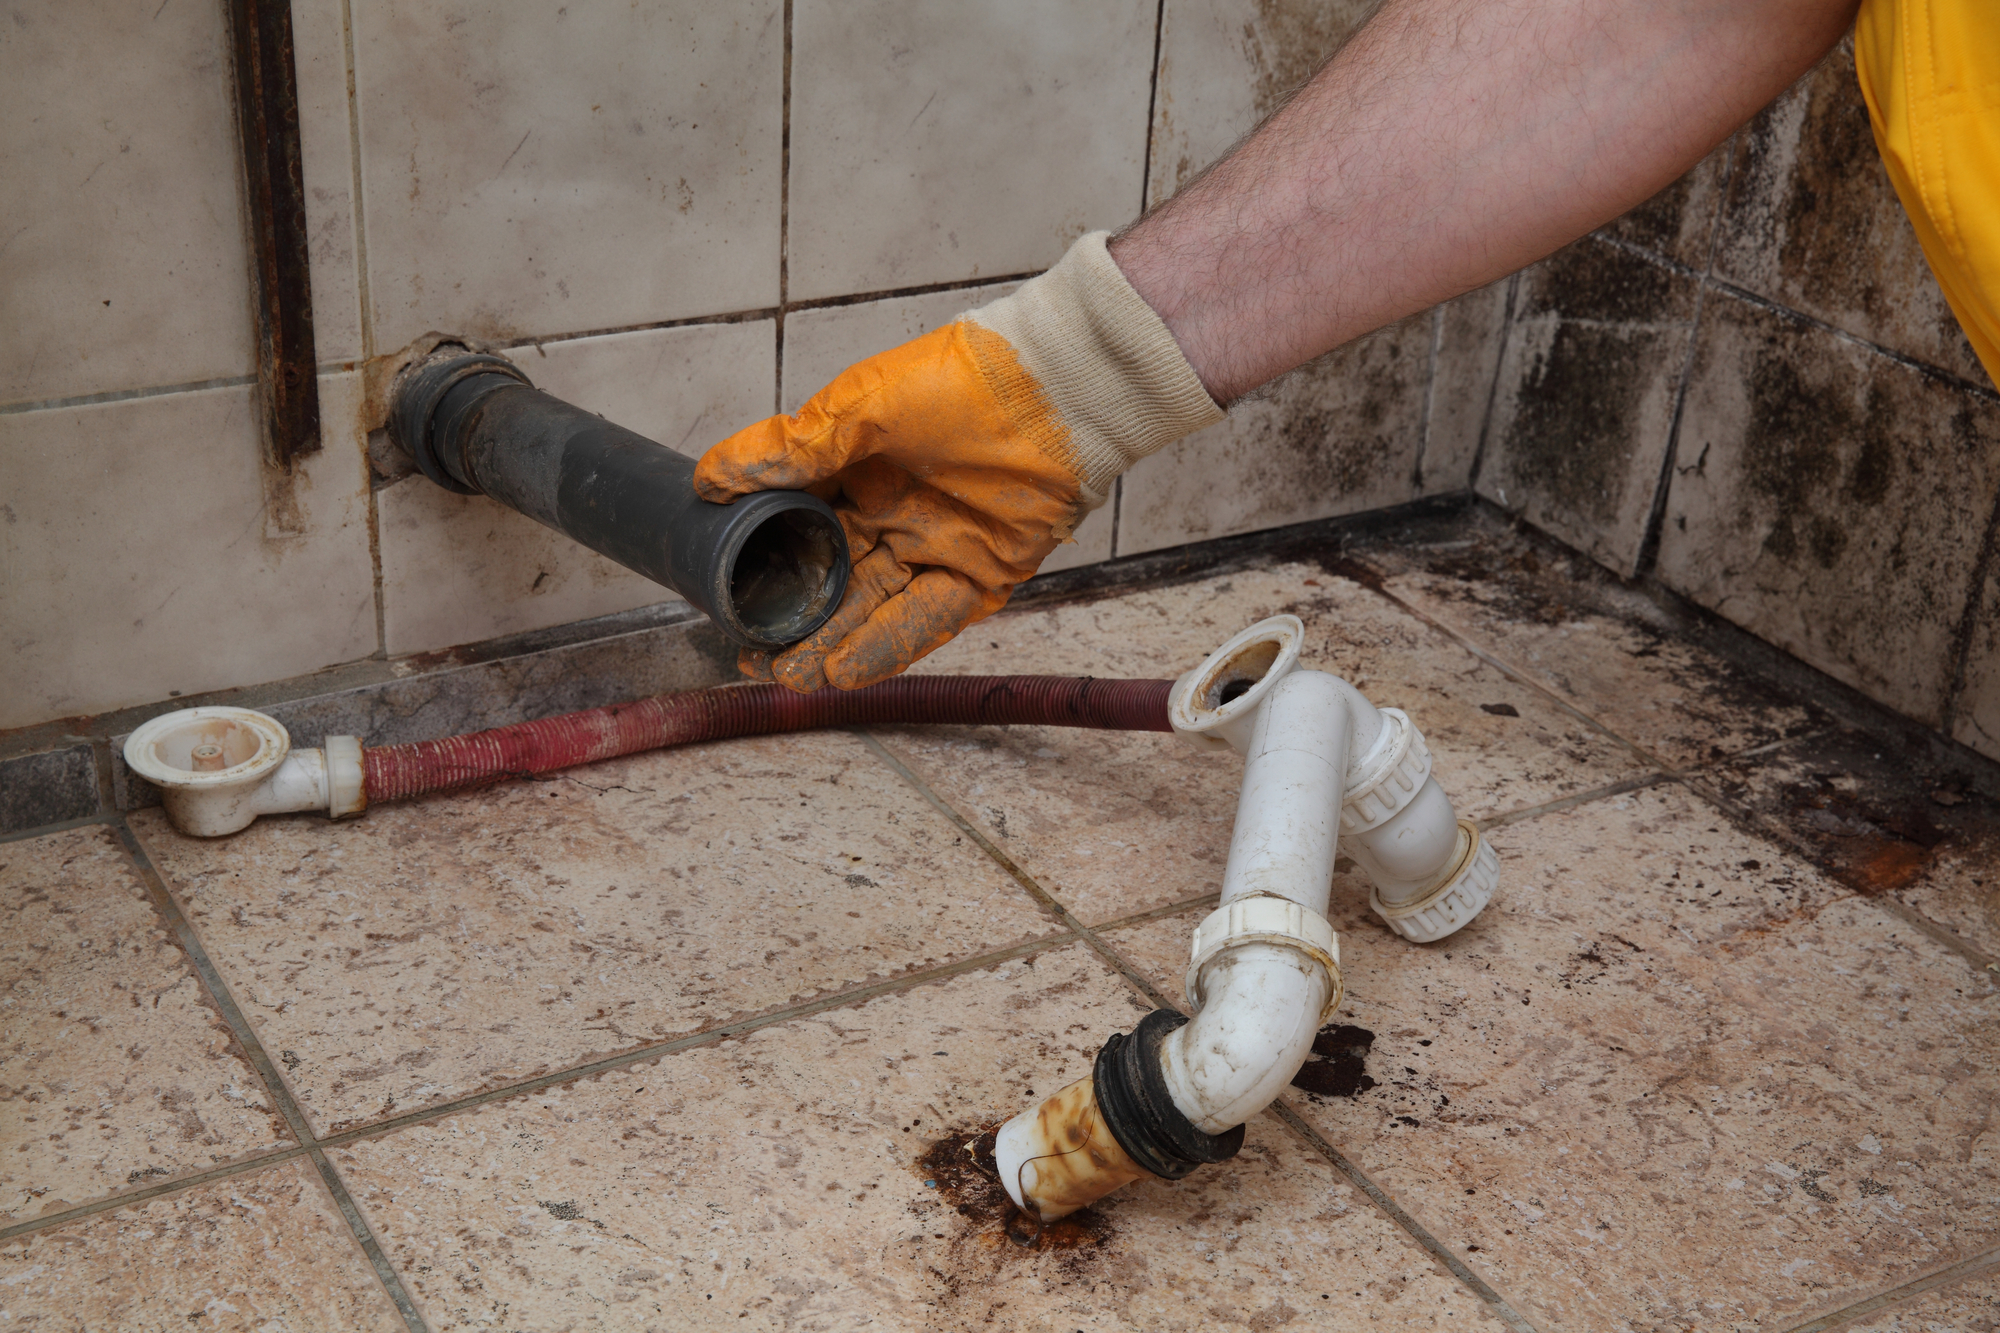
So, let’s dive into the step-by-step process:
Safety and Precaution
The first and most important step before you start to work is having the correct advancement knowledge. While having safety along the way so it may not inflict any danger.
Electrical Safety
Turn off the breaker to cut off the power for the unit. To ensure the device is off and has no more voltage use the voltage tester. Confirm firmly that the device is indeed off. This will make sure there is no danger or accidental activation while working.
Clear Space
Remove any items you have around the unit or your sink. A clear space for working helps to be fluent in terms of work. Which offers tools to use the force and minimal space they require.
Initial Assessment
Before you start learn how the disposal is connected to your sink. Knowing helps to identify and clarify work methods for better and safer planning. Note the type of connection and plan along the work sequence. If the machine has a hardwire connection and you don’t feel comfortable. You should take consulting or as well hire an electrician.
Detailed Removal Process
Plumbing Connection
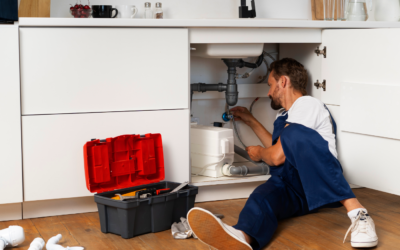
Position your bucket under the disposal unit to catch any dripping water. Now use the wrench or the pliers to disconnect the drain pipe from the disposal unit. If there’s a dishwasher drain hose attachment, try to loosen up the clamp and detach the hole.
Electrical Disconnection
If your unit has an out outlet simply just unplug the device. For any unit with a hardwiring connection, remove the plate to expose the wires. Then cut out the wires which gives away connection and secure them. In terms of securing the connection use the electrical tapes and the wire nuts for protection and no further damage.
Garbage Disposal Installation
Removing the Garbage Disposal
Loosening the Mounting Ring
For disposal units, they are simply held in a place with the help of a mounting ring. Which can twist off. To do this simply just support the unit and use the other hand to turn the mounting ring. Make sure to turn in the counterclockwise which will loosen up the unit. Then simply just lower the device.
Removing the Assembly
Now the dispola is out you need to loosen up the fitting and mounting assembly. By losing all the screws you will clear all the difficulties then just pry open the assembly. After cleaning off the assembly clean all the dust and putty from the sink opening.
Installing a New Sink Drain
Prepping the New Drain
Take your new sink drain assembly and apply a sum amount of putty. Make sure you have a good amount of putty around the base. Press the drain into the sink opening, ensuring a tight fit.
Securing From Below
Under the sink, place the washer nut the drain into to correct place and tighten up securely. Remove any excess plumber putty that squeezes out around the drain.
Reconnecting Plumbing
Reattach the P-trap and the drainpipe to the new sink drain. Use a wrench to tighten the connection. Make sure the tightening is minimal so it does not damage the pipes.
Final Steps and Troubleshooting
- Leak Testing: Turn on the water and fill the sink, then drain it while checking for leaks under the sink. Tighten any connections if you find drips.
- Electrical Safety Check: If you have to deal with hardwired electrical connections, double-check that all wires are safely capped and secured away from any water sources.
- Cleanup and Storage: Clean up your workspace, dry any spilled water, and store your tools. Dispose of the old garbage disposal according to local regulations. Which may involve recycling or special disposal methods due to its electronic components.
Troubleshooting Common Issues
- Spills at New Channel: Assuming you notice spills, guarantee that the handyman’s clay is perfectly located. Additionally, ensure the association is tight. Once in a while, reapplying the handyman’s clay or fixing the nut a touch more can tackle the issue.
- Inadequate Electrical Separation: Assuming you’re uncertain about electrical disengagement. Particularly on account of designing, counsel an expert circuit repairman to stay away from chances.
- Trouble Eliminating Old Equipment: A few parts might be eroded or firmly fixed. Applying infiltrating oil can assist with slackening them. On the off chance that you’re as yet unfit to eliminate parts, it very well may be an ideal opportunity to call an expert.
Conclusion,
Removing a grange disposal and riveting to a traditional sink is a simple project. It can easily be done by homeowners as well. Just by simply knowing how to remove a garbage disposal and return to original sink drain is enough to do the job. If at any point you feel uneasy and uncomfortable doing the job it’s okay to leave it. Especially dealing with electrical systems we offer no positivity to this. Unless you are a professional first make sure you are safe from any risk. With patience and attention to detail, you will be able to achieve your goal and complete the task.
FAQ
- Do I want extraordinary devices for eliminating waste disposal?
- No, essential instruments like pincers, a screwdriver, and a wrench are ordinarily adequate. A handyman’s wrench can be convenient for difficult associations.
- Might I at any point reuse the current sink channel after eliminating the removal?
- Indeed, you can assume the channel is looking great. Cautiously investigate it, guarantee a legitimate seal, and reconnect it safely during reinstallation.
- Are there explicit moves toward following while detaching the removal?
- Indeed, switch off the power, separate the pipes, release the mounting get-together, and cautiously eliminate the removal. Observe the producer’s rules for your particular model.
- Do I want proficient assistance to eliminate waste disposal? A. While it’s a Do-It-Yourself accommodating errand, if you’re questionable or experience challenges, counseling an expert handyman guarantees a smooth and safe evacuation process.

