
How to have light fixtures installed is a simple process that can add style and functionality to any space. To have light fixtures installed, start by choosing the appropriate fixtures for your space and ensuring they meet safety standards.
Then, turn off the power, remove the old fixtures, and carefully follow the manufacturer’s instructions to install the new ones. Finally, turn the power back on and enjoy your newly illuminated space. Introducing new light fixtures into your space can significantly enhance the ambiance and functionality of your home or office.
Whether you are replacing old fixtures or adding new ones, the installation process doesn’t have to be daunting. In this step-by-step guide, we will walk you through the process of installing light fixtures in a way that is safe, efficient, and aesthetically pleasing. By following these simple instructions, you can transform your space with new lighting in no time.
Selecting The Right Light Fixtures
When it comes to how to have light fixtures installed. One of the crucial steps is selecting the right light fixtures for your space. The type of light fixtures you choose can greatly affect the ambiance and functionality of a room. In this section, we will guide you through the process of selecting the perfect light fixtures for your needs.
Assessing The Room’s Purpose
Before diving into the world of lighting installation, it is important to review the purpose of the place where the device will be installed. Consider how the space will be used and what will be done there. This will help you determine the type and amount of lighting you need.
- Identify the main activities performed in the room
- Estimate the square footage of the room
- Determine the desired level of brightness
By conducting this assessment, you can ensure that the light fixtures you choose will meet the specific lighting requirements of the room.
Considering The Aesthetic And Style
While the functionality of the light fixtures is important, considering the aesthetic and style of the fixtures is equally crucial. The right light fixtures can enhance the overall design and atmosphere of a room. Here are some key factors to consider when selecting light fixtures:
- Match the style of the light fixtures with the room’s decor
- Consider the size and scale of the fixture concerning the room
- Choose the right finish (e.g., brushed nickel, bronze, chrome) to coordinate with other elements
- Ensure the fixtures complement the architectural features of the space
By paying attention to these details, you can create a cohesive and visually pleasing lighting design that seamlessly blends with the overall aesthetics of the room.
Installation Of Lighting Fixtures
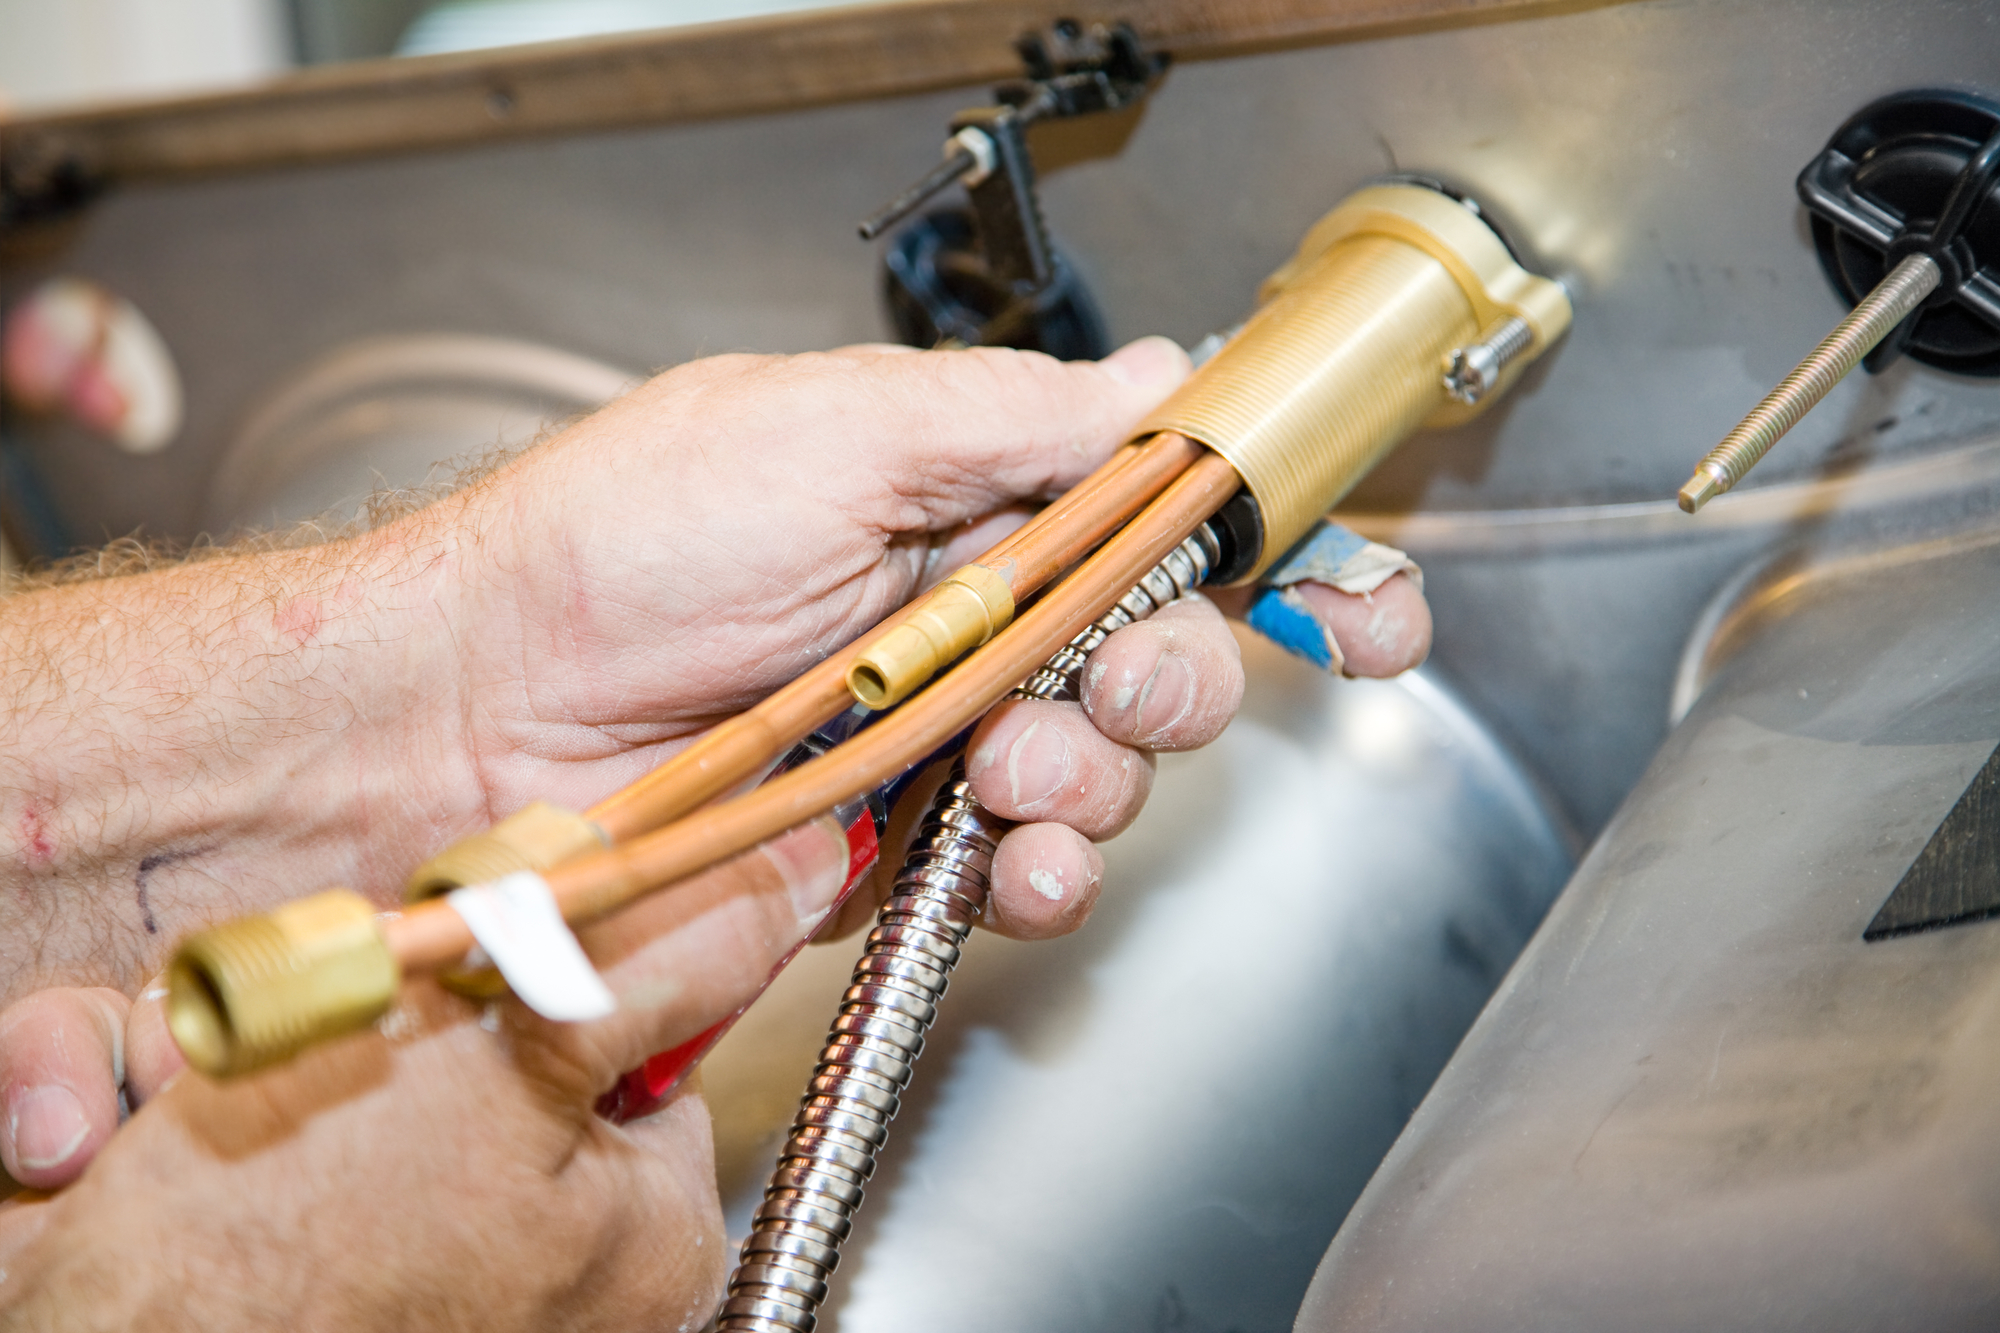
Once you’ve selected the right light fixtures for your space, it’s time to move on to the installation process. Light fixture installation typically involves three main steps: ceiling light mounting, light fixture wiring, and wire light fixture. While the complexities of the installation can vary depending on the type of fixture, it’s important to follow the manufacturer’s instructions and, if necessary, consult a professional electrician.
Preparing For Installation
Before you dive into the exciting process of how to have light fixtures installed, there are a few essential steps to undertake for a smooth and effortless experience. In this section, we’ll guide you through gathering the necessary tools and materials and turning off the power source before you get started with the installation of lighting fixtures. Let’s get started!
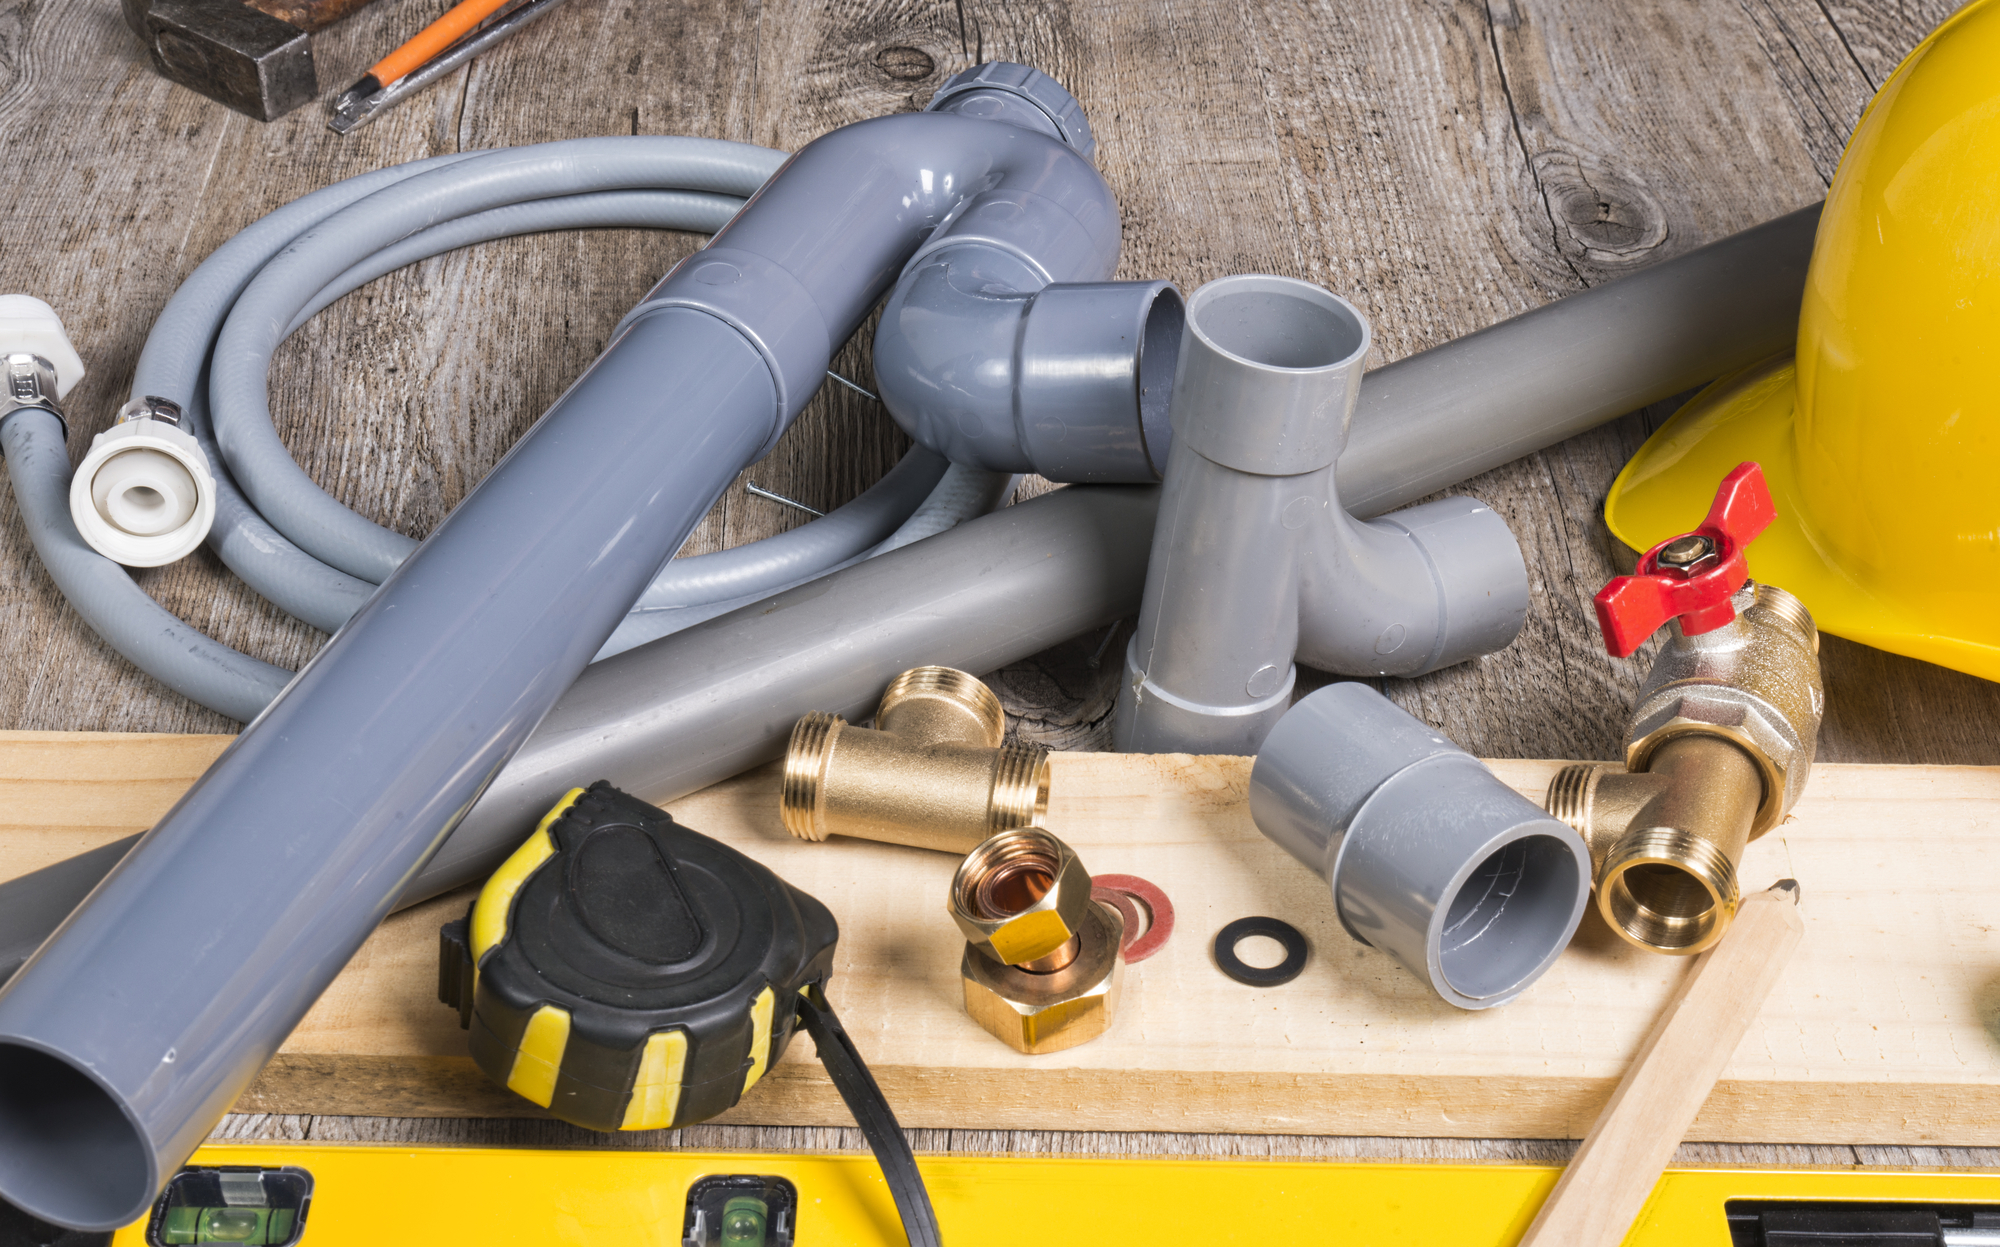
Gathering Necessary Tools And Materials
Having the right tools and materials is crucial for a successful light fixture installation. Here’s a handy list of what you’ll need:
| Tools | Materials |
|
|
Turning Off The Power Source
Before any electrical work, it’s essential to turn off the power source to ensure your safety. Follow these steps:
- Locate your electrical panel, usually found in the basement, utility room, or garage.
- Open the electrical panel box by removing its cover.
- Identify the breaker that corresponds to the area where you’ll be working.
- Switch off the breaker by flipping it to the “off” position.
- Double-check that the power is off by testing the light switch.
Remember, electricity can be dangerous, so it’s crucial to take these precautions and ensure ceiling light mounting occurs in a safe environment.
Now that you’ve gathered the necessary tools and materials, as well as turned off the power source, you’re ready to move on to the next step: light fixture wiring. Stay with us as we guide you through the process, step by step!
How to Have Light Fixtures Installed
Ready to transform your space with new light fixtures? The installation process may seem daunting but fear not with this step-by-step guide on how to have light fixtures installed, you’ll be shining bright in no time. Let’s dive into the nitty-gritty of light fixture installation, starting with the crucial step of Installing the Light Fixtures.
Mounting The Fixture To The Ceiling
The ceiling light mounting is the first task at hand. Begin by turning off the power supply to the fixture location at the breaker box. Once the power is off, carefully remove the existing light fixture. Then, follow the manufacturer’s instructions to securely mount the light fixture to the ceiling. Use the appropriate screws and hardware to ensure a stable and safe installation.
Connecting The Wiring And Installing The Bulbs
Once the device is secure, it’s time to cut the wires. Start by connecting the devices and wires to their wires in the electrical box according to the color code and label. Once the connection is in place, the cable must be carefully routed in the electrical box and the device connected to the mounting bracket. Finally, install the bulbs according to the manufacturer’s instructions and voila, your new fixture is ready to light up your space.
Testing And Adjusting The Fixtures
When it comes to testing and adjusting the fixtures, the final steps of the light fixture installation process are crucial in ensuring that everything is functioning as intended. This phase involves turning on the power to test the light fixtures and making necessary adjustments for proper alignment.
Turning On The Power And Testing The Light
First, it is important to turn off the power supply to the lamp to avoid problems. After making sure the power is off, connect the device to the power cord according to the manufacturer’s instructions. After all the connections are made, turn on the device and check if the device is working properly.
Making Necessary Adjustments For Proper Alignment
If initial tests reveal problems with lamp performance or illumination, it may be necessary to replace the lamp. This can include upgrading equipment, adjusting angles, and making sure all parts are in good condition. It is important to follow the manufacturer and these repair instructions to avoid damage or malfunction of the device.
Final Touches And Safety Checks
This step-by-step guide to installing a flashlight covers the final touches and safety checks. To ensure a safe and effective installation. Make sure all connections are secure, wiring is secure, and equipment is properly grounded.
Securing Loose Wires And Covering The Junction Box
Before wrapping up the light fixture installation process, it’s essential to secure any loose wires and cover the junction box properly. Loose wires can pose a safety hazard and may result in malfunction or even electrical issues. Follow these simple steps to ensure everything is securely in place:
Inspect the wires
Once you have connected the light fixture to the electrical wiring, check for any loose or exposed wires. Carefully feel along the connections to ensure they are firmly attached.
Use wire nuts
If you notice any loose wires, use wire nuts to fasten them securely together. Twist the wire nut clockwise until it is tightly fitted over the exposed ends of the wires. This will prevent any electrical shorts.
Wrap with electrical tape
After securing the wires with wire nuts, wrap electrical tape around each nut to provide an extra layer of protection. This step will help secure the connection and prevent any accidental dislodging or exposure.
Cover the junction box
Then cover the junction box properly. The junction box is where the cables are stored and connected. The case is important to protect phones and maintain safety standards.
Secure the cover plate
Install the appropriate cover plate in the junction box. Use the screws provided and fix the cover plate securely. This will secure your electrical connection.
Double-checking The Stability And Safety Of The Installation
Once you have completed the final touches, it is crucial to double-check the stability and safety of the light fixture installation. This step ensures that the installation is secure and poses no potential risks or hazards. Consider the following steps for a thorough assessment:
Inspect the support system
Verify that the light fixture is securely mounted to the ceiling or wall. Test its stability by gently applying pressure and checking for any movement.
Test the light switch
Turn the light switch on and off to ensure it operates smoothly and without any flickering. This step ensures that the electrical connections are functioning correctly.
Check for proper grounding
Confirm that the light fixture is properly grounded. This safety feature prevents the risk of electrical shocks. Use a voltage tester to ensure there is no electrical current present in the metal parts of the light fixture.
Inspect the bulbs
Finally, check the light to make sure it vibrates and works. Replace defective bulbs before completing installation.
Completing these final steps and safety checks you are finishing the steps on How to Have Light Fixtures Installed. Taking the time to secure loose wires, cover junction boxes, and check the stability and security of your installation will put your mind at ease and ensure proper lighting.
Cost of Installation
The cost of installing light fixtures can vary depending on the complexity of the job and the location of the fixtures. On average, you can expect to pay anywhere from $50 to $200 per fixture for professional installation. However, by doing it yourself, you can save on labor costs and only need to budget for the cost of the fixtures themselves.
Frequently Asked Questions
How Much Does It Cost To Install Light Fixtures?
The cost of installing light fixtures can vary depending on factors such as the type of fixture, complexity of the installation, and location. On average, homeowners can expect to pay between $100 and $500 per fixture, including labor and materials.
Can I Install Light Fixtures Myself?
If you have experience with electrical work and feel comfortable working with wiring, you may be able to install light fixtures yourself. However, it is always recommended to hire a professional electrician to ensure safety and proper installation.
How Long Does It Take To Install Light Fixtures?
The time it takes to install a fixture will vary depending on factors such as the number of fixtures being installed and the complexity of the installation. Generally, an electrician can complete the installation of a single appliance within an hour.
What Tools Do I Need To Install Light Fixtures?
To install light fixtures, you will typically need a set of basic tools including a screwdriver, wire cutters, wire strippers, pliers, and a voltage tester. It is important to have the right tools and equipment to ensure a safe and successful installation.
Conclusion
In conclusion, this step-by-step guide provided a clear and concise process for installing LED lights. By following these simple guidelines, you can transform your space and enjoy the benefits of beautiful lighting.
Increase security, collect the necessary equipment, and take the time to ensure a successful installation. With this new knowledge, you can adjust the lighting scheme and achieve the look you want in your home.


 Call Now