Backflow preventer is a big deal for homeowners. This device helps to safeguard the water system by preventing backflow pressure. Which helps the integrity of the main water system. But what happens when a backflow preventer gets severely faulty? It can cause backpressure in the system eventually making backflow. Which can start to contaminate your water system making your family and house sick. So, in particular times like this, the need for fixing reaches its maximum necessity. But, how to fix a leaking backflow preventer?
Well, to fix a leaking backflow preventer. First, check the washer seal in the female connection, as it may need replacement if deteriorates or dries. Ensure the washer is properly seated in the fitting.
If the preventer is faulty, it needs faster replacement entirely. Because patching will not provide a long-term solution. It is recommended to seek professional help from a plumber for proper repair or replacement. A leaking backflow preventer can lead to water waste, increased utility bills, and potential contamination. Making it essential to address the issue promptly.
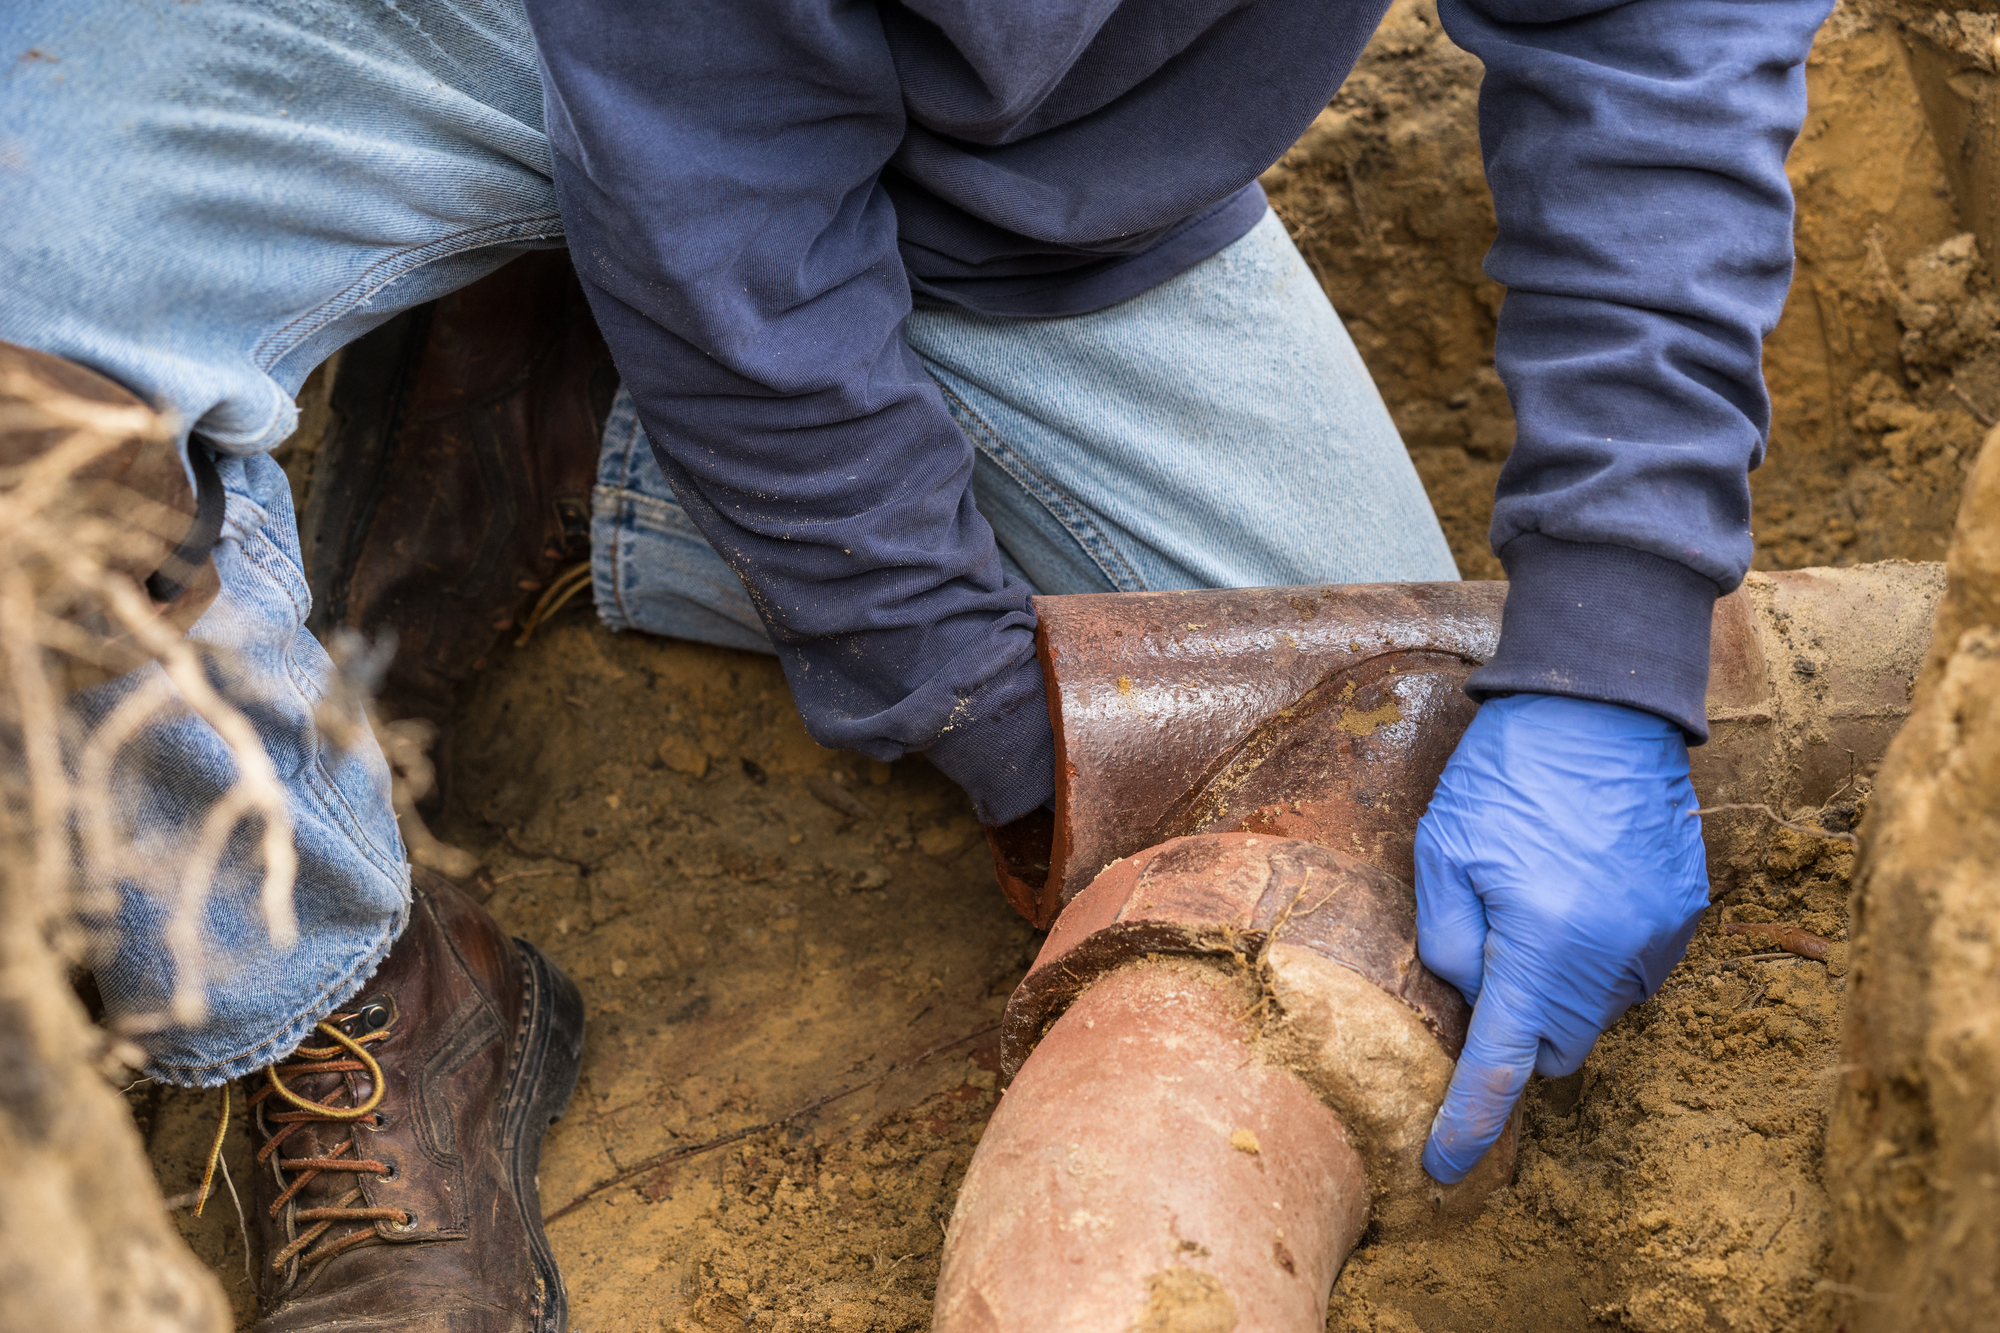
How to fix a leaking backflow preventer
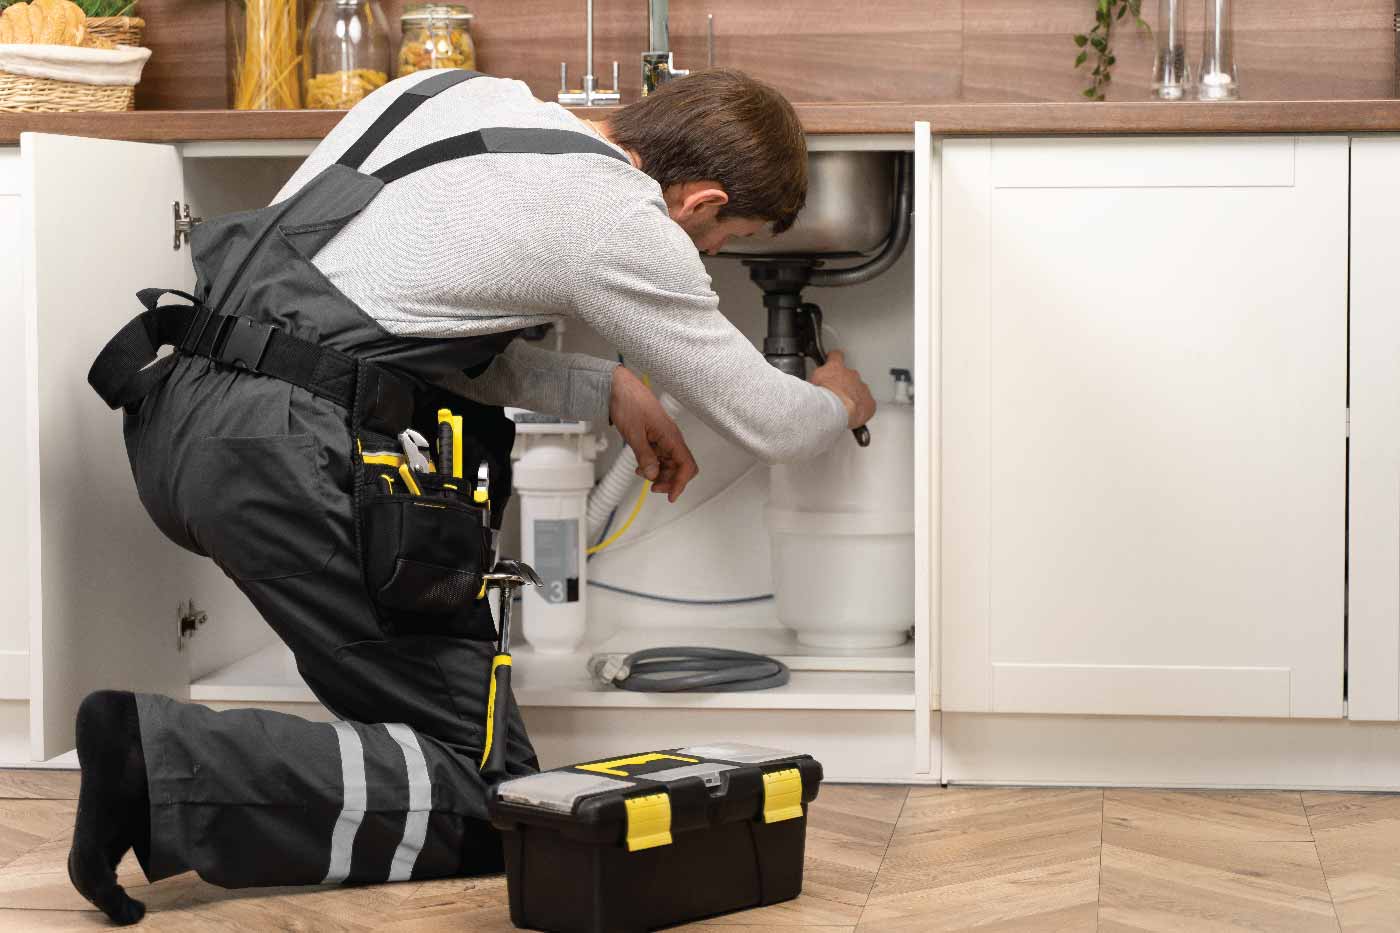
To fix a leaking backflow preventer, start by identifying the problematic part. Common parts that may cause leakage. Parts like the check valve, relief valve, and vacuum breaker. Begin by inspecting the backflow preventer and looking for any signs of damage or debris. If the check valve is causing the leak, remove the valve cover and check for damage. Flushing the system can also help to remove any clogs or blockages.
If the relief valve is the problem. Remove the relief valve cover and inspect for any signs of damage or corrosion. Replacing the faulty relief valve may be necessary. Similarly, if the vacuum breaker is causing the leakage. Check for any blockages or debris and clean or replace the breaker if you require. Once the problematic part has proper replacement or repair, you can test the backflow preventer to ensure it is functioning properly.
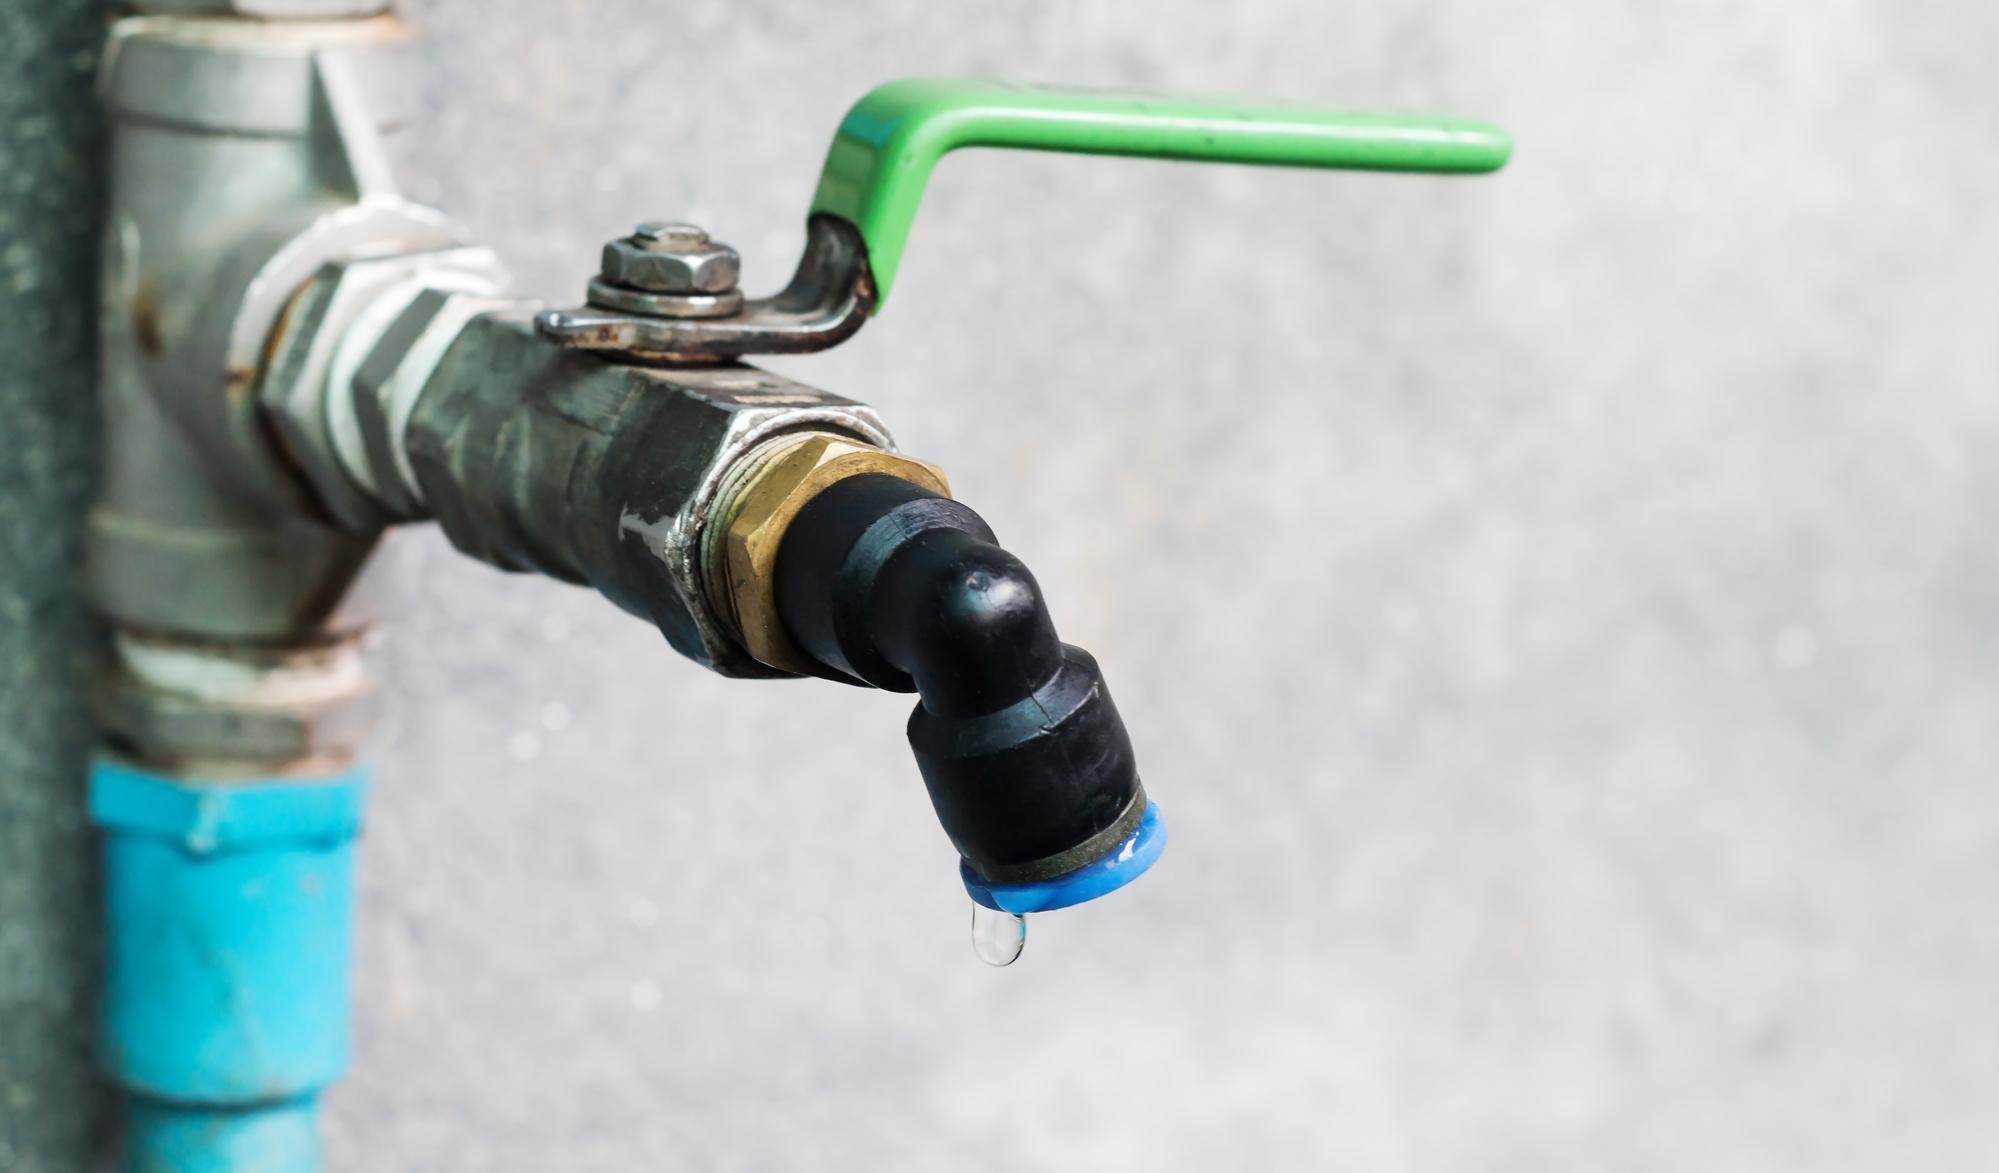
Identifying The Problem
When it comes to understanding backflow preventers and how to fix a leaking backflow preventer. One of the first steps is identifying the problem. Checking for water leakage is crucial in determining if your backflow preventer is functioning properly.
The first step to troubleshooting starts by inspecting the washer seal in the female connection. Over time, the rubber washer can deteriorate or dry out, causing leaks. If necessary, replace the washer to prevent further leakage.
Tools And Materials Needed
When it comes to fixing a leaking backflow preventer, you’ll need a few tools and materials to get the job done. To start, make sure you have gloves and safety equipment to protect yourself while working. You’ll also need an adjustable wrench to tighten or loosen any connections. As well as pipe sealant tape to ensure a tight seal.
With these tools in hand, you can begin fixing the backflow preventer and prevent any further leaks. Remember to always follow proper safety procedures and guidelines when working with plumbing systems.
Shutting Off The Water Supply
When it comes to fixing a leaking backflow preventer. The first step starts with shutting off the water supply. Start by locating the shut-off valve, usually near the water meter. Turn off the water supply by rotating the valve in a clockwise direction.
Next, relieve the pressure in the system. You can do that by opening a faucet or hose bib downstream from the backflow preventer. This will help prevent water from leaking out when you work on the preventer. Once the pressure is free, you can proceed with repairing or replacing the leaking backflow preventer.
Disassembling The Backflow Preventer
When it comes to fixing a leaking backflow preventer. Disassembling the backflow preventer is an essential step. This involves removing the bonnet and inspecting and cleaning the components.
- Start by turning off the water supply to the backflow preventer.
- Then, remove the bonnet using a wrench or pliers. Inside the bonnet, you will find the check valves and relief valve.
- Carefully inspect these components for any signs of damage or debris.
- Clean them thoroughly using a brush or a cloth.
- It’s important to ensure that all the components are in good working condition and free from any obstructions.
Once you have inspected and cleaned all the components. Reassemble the backflow preventer and turn on the water supply. This should fix the leaking issue. Remember to test the backflow preventer to ensure that it is functioning properly.
Reassembling The Backflow Preventer
When it comes to applying pipe sealant tape. Start by wrapping the tape in the direction of the threads to ensure a tight seal. For tightening the components, use adjustable wrenches to securely fasten all connections. Proper alignment is crucial. Ensure pipes are straight and fittings have the correct alignment to prevent leaks.
Testing The Backflow Preventer
- First, turn on the water supply and check for any leaks. Inspect the backflow preventer for any signs of water dripping or pooling.
- Next, verify that the backflow preventer is functioning properly. This can be done by checking the pressure vacuum breaker, sprinkler system check valve, relief valve, and other components.
- Troubleshoot any issues that you find, such as a deformed seal or clogged system, and fix them accordingly.
- Once everything is in order, you can flush the system and turn the water back on.
Remember to periodically replace the rubber washer seal in the female connection of the backflow preventer to prevent future leaks.
Regular Maintenance And Prevention
To fix a leaking backflow preventer, check the washer seal in the female connection. If the seal is deteriorating or getting dry, replace it. Make sure the washer is in the proper place. Additionally, cleaning corrosion and checking the assembly seat can help troubleshoot the issue.
Regular maintenance is essential to keep your backflow preventer functioning properly. Cleaning and flushing the preventer regularly will help remove any debris or buildup. As they can cause blockages or damage. It is essential to schedule professional inspections at least once a year. Ensuring that all components are in good working condition and that any potential issues are under notice promptly.
During a professional inspection, the technician will carefully examine the preventer. Check for any leaks or signs of damage, and make any necessary repairs or replacements. This can help prevent major issues and ensure that your backflow preventer continues to operate efficiently.
Conclusion
In how to fix a leaking backflow preventer. It’s essential to follow the troubleshooting steps and make necessary repairs carefully. Regular maintenance and periodic replacement of deteriorated parts will help ensure efficient functioning. By addressing leaks promptly, you can minimize water wastage and prevent potential contamination issues. Safeguarding your plumbing system and the environment from any major problem and disaster.

