Winter brings a unique set of challenges for homeowners, notably the risk of frozen pipes which can cause significant inconvenience and potential damage. Understanding the role of heat tape in mitigating this issue is crucial. Specifically, many ask, “How long does it take for heat tape to thaw frozen pipes?” This question underscores the anxiety many feel when faced with the prospect of frozen plumbing. By exploring the use of heat tape, the factors influencing thawing time, and preventive measures, we aim to provide a comprehensive guide to managing and overcoming the challenge of frozen pipes.
What is Heat Tape
When it comes to preventing frozen pipes or unfreezing them, heat tape is often the go-to solution for many homeowners. But how does heat tape work, and how long does it take for it to thaw frozen pipes? In this article, we’ll delve into the world of heat tape and explore its various types, as well as its effectiveness in thawing out those stubborn frozen pipes.
Types Of Heat Tape
Before we delve into how heat tape works, let’s first take a look at the different types available in the market. There are primarily two types of heat tape: self-regulating heat tape and constant-wattage heat tape.
- Self-regulating heat tape: This type of heat tape is designed to automatically adjust its heat output based on the temperature. It contains a conductive core that expands or contracts with temperature changes, regulating the heat accordingly. Self-regulating heat tape is energy-efficient and helps prevent overheating or damage to the pipes.
- Constant-wattage heat tape: Unlike self-regulating heat tape, constant-wattage heat tape provides a constant and consistent heat output. It is ideal for longer runs or applications where a higher level of heat is necessary. However, it is important to control the heat output carefully to avoid excessive temperatures that could damage the pipes.
Identifying Frozen Pipes: The First Line of Defense
The early signs of a frozen pipe include reduced water pressure, no water output from faucets, and visible frost or ice on exposed pipes. These symptoms suggest an immediate need for action. Locating the frozen section is crucial and it is trackable from a faulty faucet. Especially in areas lacking insulation or along external walls.
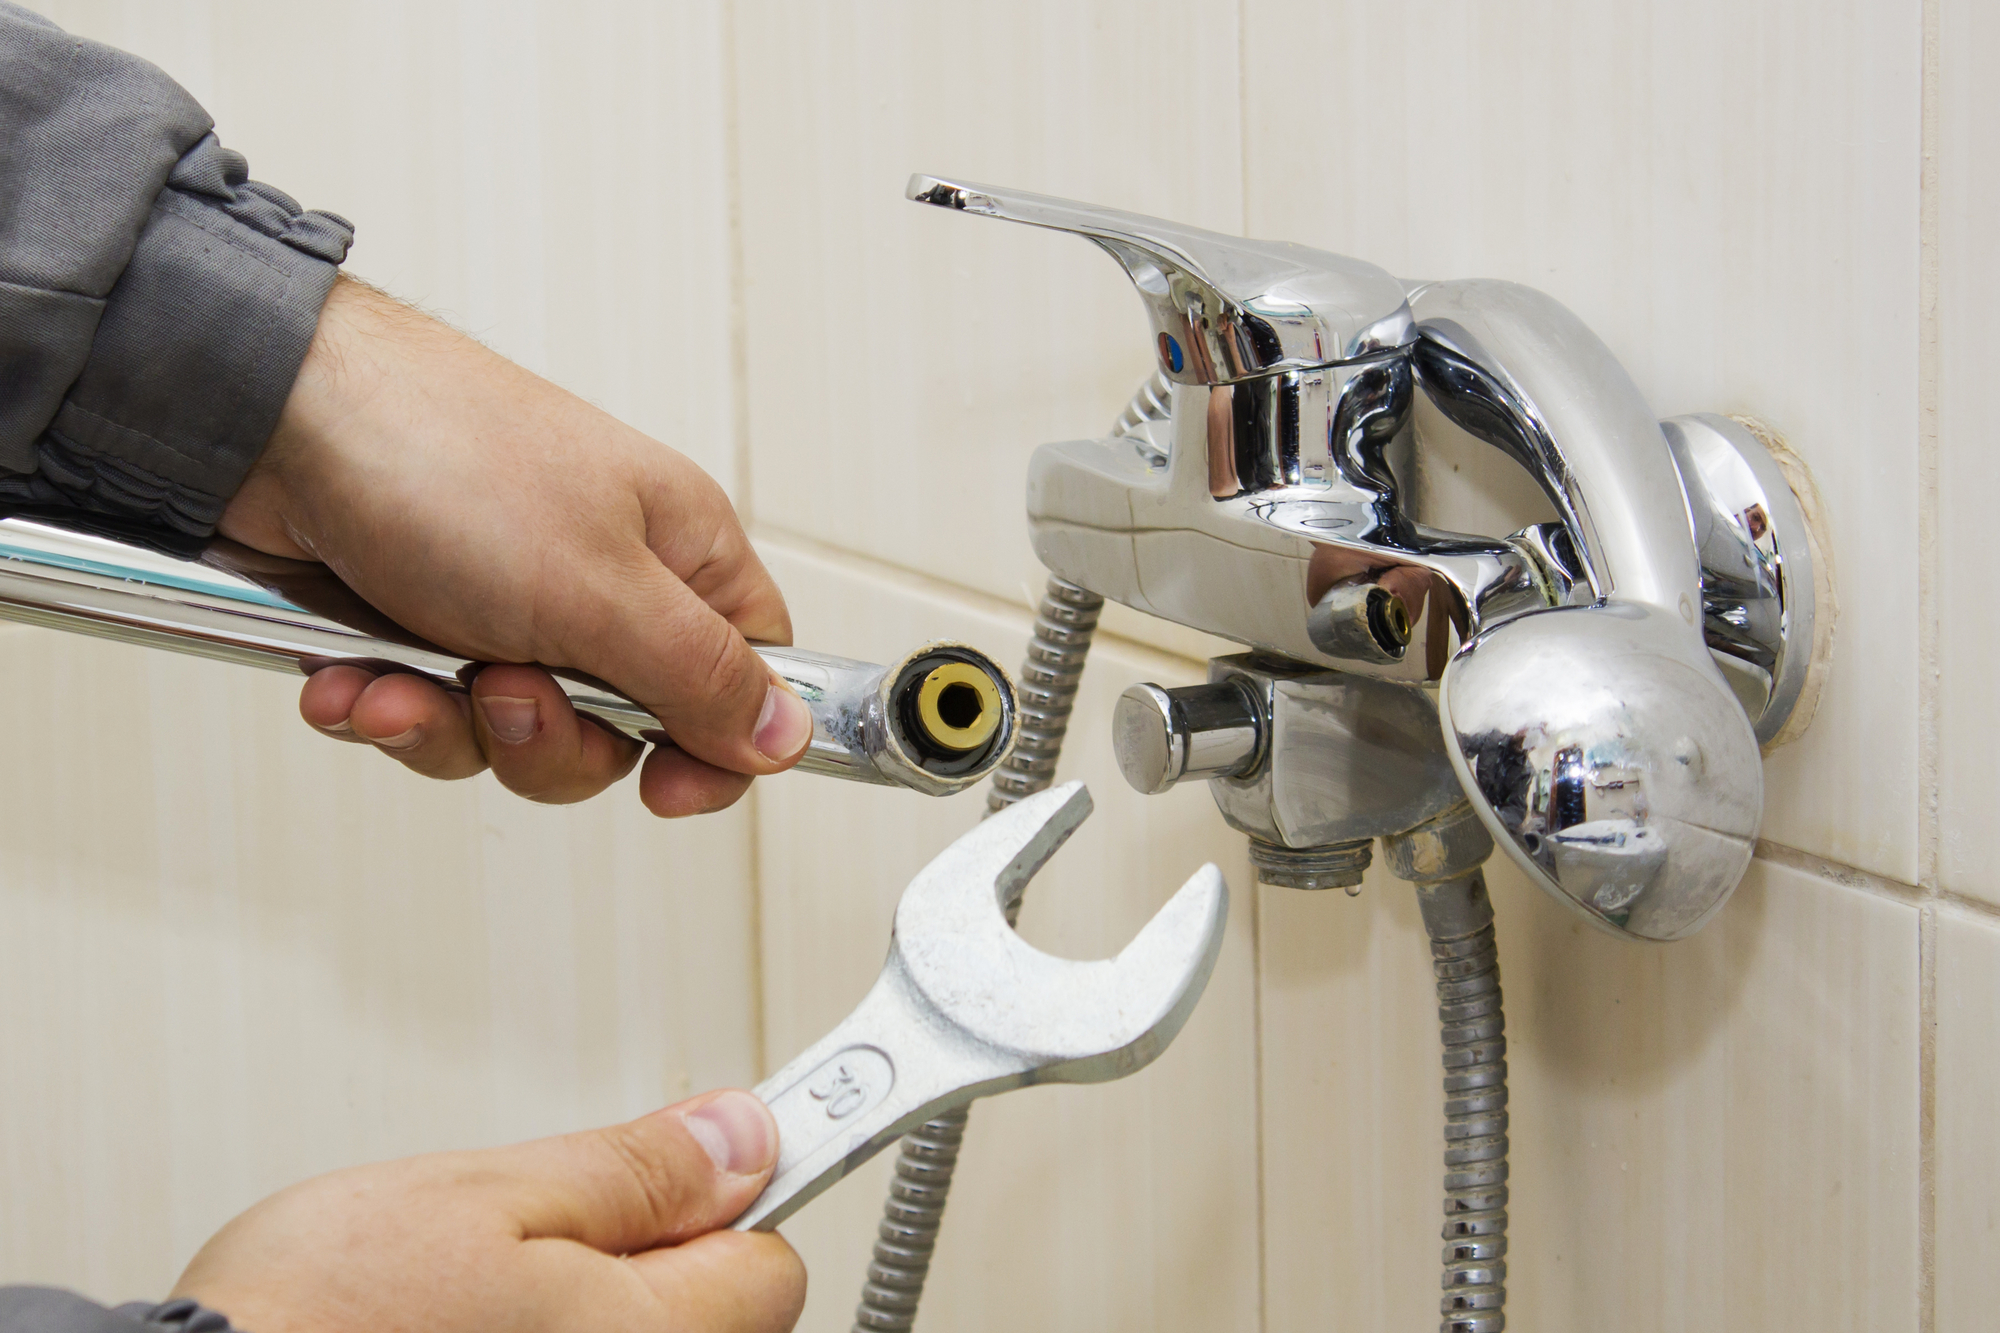
Thawing Frozen Pipes: A Step-by-Step Approach
A homeowner’s toolkit for tackling frozen pipes includes a drywall knife, reciprocating saw, hair dryer, heat tape, space heater, towels, fans, a dehumidifier, a shop vac, a mop, and crucially, pipe insulation.
Factors Affecting Thawing Time
The time it takes for heat tape to thaw frozen pipes depends on several variables:
- Pipe Material and Size: Metal pipes conduct heat more efficiently than plastic ones, potentially leading to quicker thawing. Larger pipes may take longer to thaw due to the greater volume of frozen water inside.
- Extent of Freezing: Pipes that are completely frozen solid will take longer to thaw than those that are only partially frozen.
- Ambient Temperature: The colder the environment, the longer it may take for the heat tape to overcome the freezing conditions.
- Type and Installation of Heat Tape: The effectiveness of heat tape also depends on its wattage, quality, and whether it’s been installed correctly, covering the necessary length of the pipe.
How Heat Tape Works
Now that we have a better understanding of the different types of heat tape, let’s dive into how it works to thaw frozen pipes. Heat tape essentially uses heat-generating elements embedded within its structure to warm up the pipe’s surface. As the heat tape energizes, it radiates heat, gradually thawing the ice within the pipes.
The time it takes for the heat tape to thaw frozen pipes depends on several factors, such as the length of the pipe, the severity of the freezing, and the heat tape’s wattage. In general, it may take several hours, or even a full day, to completely thaw frozen pipes.
Note: If your pipes are severely frozen, it is advisable to seek professional help or consult a plumber to avoid any potential damage to the pipes or the heat tape.
Preparing to Use Heat Tape
The first step is identifying the frozen section, indicated by decreased water pressure or no water flow. Selecting the right heat tape is crucial for compatibility with the pipe’s material and size, considering the environmental conditions. Gathering necessary tools like electrical tape, pipe insulation, and hand tools for securing the heat tape is also essential.
Installation and Thawing Process
Turning off the water supply to the affected pipe is a necessary safety measure. Following the manufacturer’s instructions closely, the heat tape should be wrapped evenly around the frozen section without any overlaps. Once the heat tape is in place, covering it with pipe insulation enhances efficiency, a step that is particularly crucial for pipes in outdoor or unheated areas. Monitoring the progress of the thawing process is essential to avoid overheating.
Safety Tips and Best Practices
Reading instructions carefully is vital to avoid fire hazards or pipe damage. Regular inspections of the heat tape and electrical connections for wear are especially important before the winter season. For severe issues or uncertainties about the installation process, seeking professional help is advisable.
Troubleshooting and Maintenance
Testing the heat tape before the cold season begins ensures its functionality. Regularly inspecting the tape for any signs of damage or wear and replacing it as necessary helps maintain protection against freezing.
Preventing Frozen Pipes: Long-Term Solutions
Prevention is paramount when it comes to frozen pipes. Insulating your home, especially areas prone to cold like basements or outer walls, can significantly reduce the risk. Applying pipe insulation and heat tape provides an additional layer of protection, ensuring pipes remain above freezing temperatures. For homeowners who winter elsewhere, maintaining a minimum home temperature and arranging periodic checks can prevent freezing incidents.
How long does it take for heat tape to thaw frozen pipes?
Heat tape can take several hours to thaw frozen pipes, depending on the length and severity of the freeze. Thawing time can range from 30 minutes to several hours.
Dealing with frozen pipes can be a common issue during the winter months, causing inconvenience and potential damage to your home. Having a good understanding of how heat tape works and the time it takes to thaw frozen pipes can help you effectively manage the situation.
We will discuss the process of using heat tape to thaw frozen pipes, the factors that can affect thawing time, and some tips for preventing frozen pipes in the future. Let’s dive in to learn more about this important topic.
Best Practices and Safety Tips
Follow Manufacturer Instructions
Each heat tape product comes with specific guidelines for installation and use. Adhering to these instructions is vital for safety and effectiveness.
Inspect Regularly
Regularly check the heat tape and pipes for signs of wear or damage. Improper use of heat tape can be a fire hazard.
Seek Professional Help
If unsure about the installation process or if the pipes do not thaw within a reasonable timeframe, consult a professional. Persistent freezing issues may indicate a need for further insulation or a change in the plumbing system to prevent future freezes.
Alternatives To Heat Tape
When it comes to unfreezing pipes, heat tape is a commonly recommended solution. However, there are alternative methods that can be just as effective. Let’s explore some alternatives to using heat tape for thawing frozen pipes.
Heat Gun
A heat gun is a powerful tool that can quickly and efficiently thaw frozen pipes. It produces a high-intensity stream of hot air that can be directed at the frozen portion of the pipe. The heat from the gun will gradually melt the ice, allowing the water to flow freely once again.
Hair Dryer
A hairdryer is a more accessible option for thawing frozen pipes. Simply plug in the hair dryer, set it to the highest heat setting, and direct the hot air towards the frozen area. Move the hair dryer in a back-and-forth motion to evenly distribute the heat. The warm air will slowly melt the ice, restoring water flow.
Hot Towels
Another alternative to heat tape is using hot towels. Soak a towel in hot water and wring out the excess moisture. Wrap the hot towel around the frozen section of the pipe and leave it there until the ice is melted. This method may take longer than the others, but it is a safe and effective way to thaw frozen pipes without using any electrical devices.
FAQ
Q: How quickly does heat tape thaw frozen pipes?
A: The speed of thawing depends on factors like the severity of freezing, type of heat tape, and environmental conditions. In general, it may take a few hours to a day. Refer to the manufacturer’s guidelines for precise instructions.
Q: Can I leave heat tape on continuously to prevent frozen pipes?
A: While it’s designed for temporary use during freezing conditions, leaving heat tape on continuously is not recommended. Follow the manufacturer’s recommendations to avoid energy waste and potential damage.
Q: Does the outdoor temperature affect the thawing time with heat tape?
A: Yes, outdoor temperatures play a role. Colder temperatures may prolong the thawing process. Insulating pipes and using high-quality heat tape can enhance performance in extreme cold.
Q: Are there different types of heat tape, and do they vary in thawing times?
A: Yes, there are various types of heat tape with different specifications. Self-regulating tapes adjust their heat output, affecting thawing times. Always choose a product suitable for your specific needs and follow guidelines accordingly.
Q: Can I use multiple heat tapes on the same pipe for faster thawing?
A: While it might be tempting, using multiple heat tapes on a single pipe is not recommended. It can lead to overheating and potential hazards. Follow the manufacturer’s instructions and use one tape per pipe as directed for optimal results.
Conclusion
Frozen pipes are a significant winter challenge. Yet with proper knowledge and preparation, also by learning how long does it take for heat tape to thaw frozen pipes? We can effectively manage this situation. By adopting proactive home maintenance strategies and utilizing heat tape appropriately, homeowners can keep their homes safe and warm. As winter unfolds, let this concise insight guide you toward maintaining a secure and comfortable living environment.

