Replacing a bathroom faucet can seem like a daunting task, but with the right tools and steps, it can be a straightforward process that you can complete in a matter of hours. Whether you are upgrading an outdated faucet or replacing a malfunctioning one, here is a step-by-step guide on how to replace a bathroom faucet.
Step 1: Gather the Necessary Tools
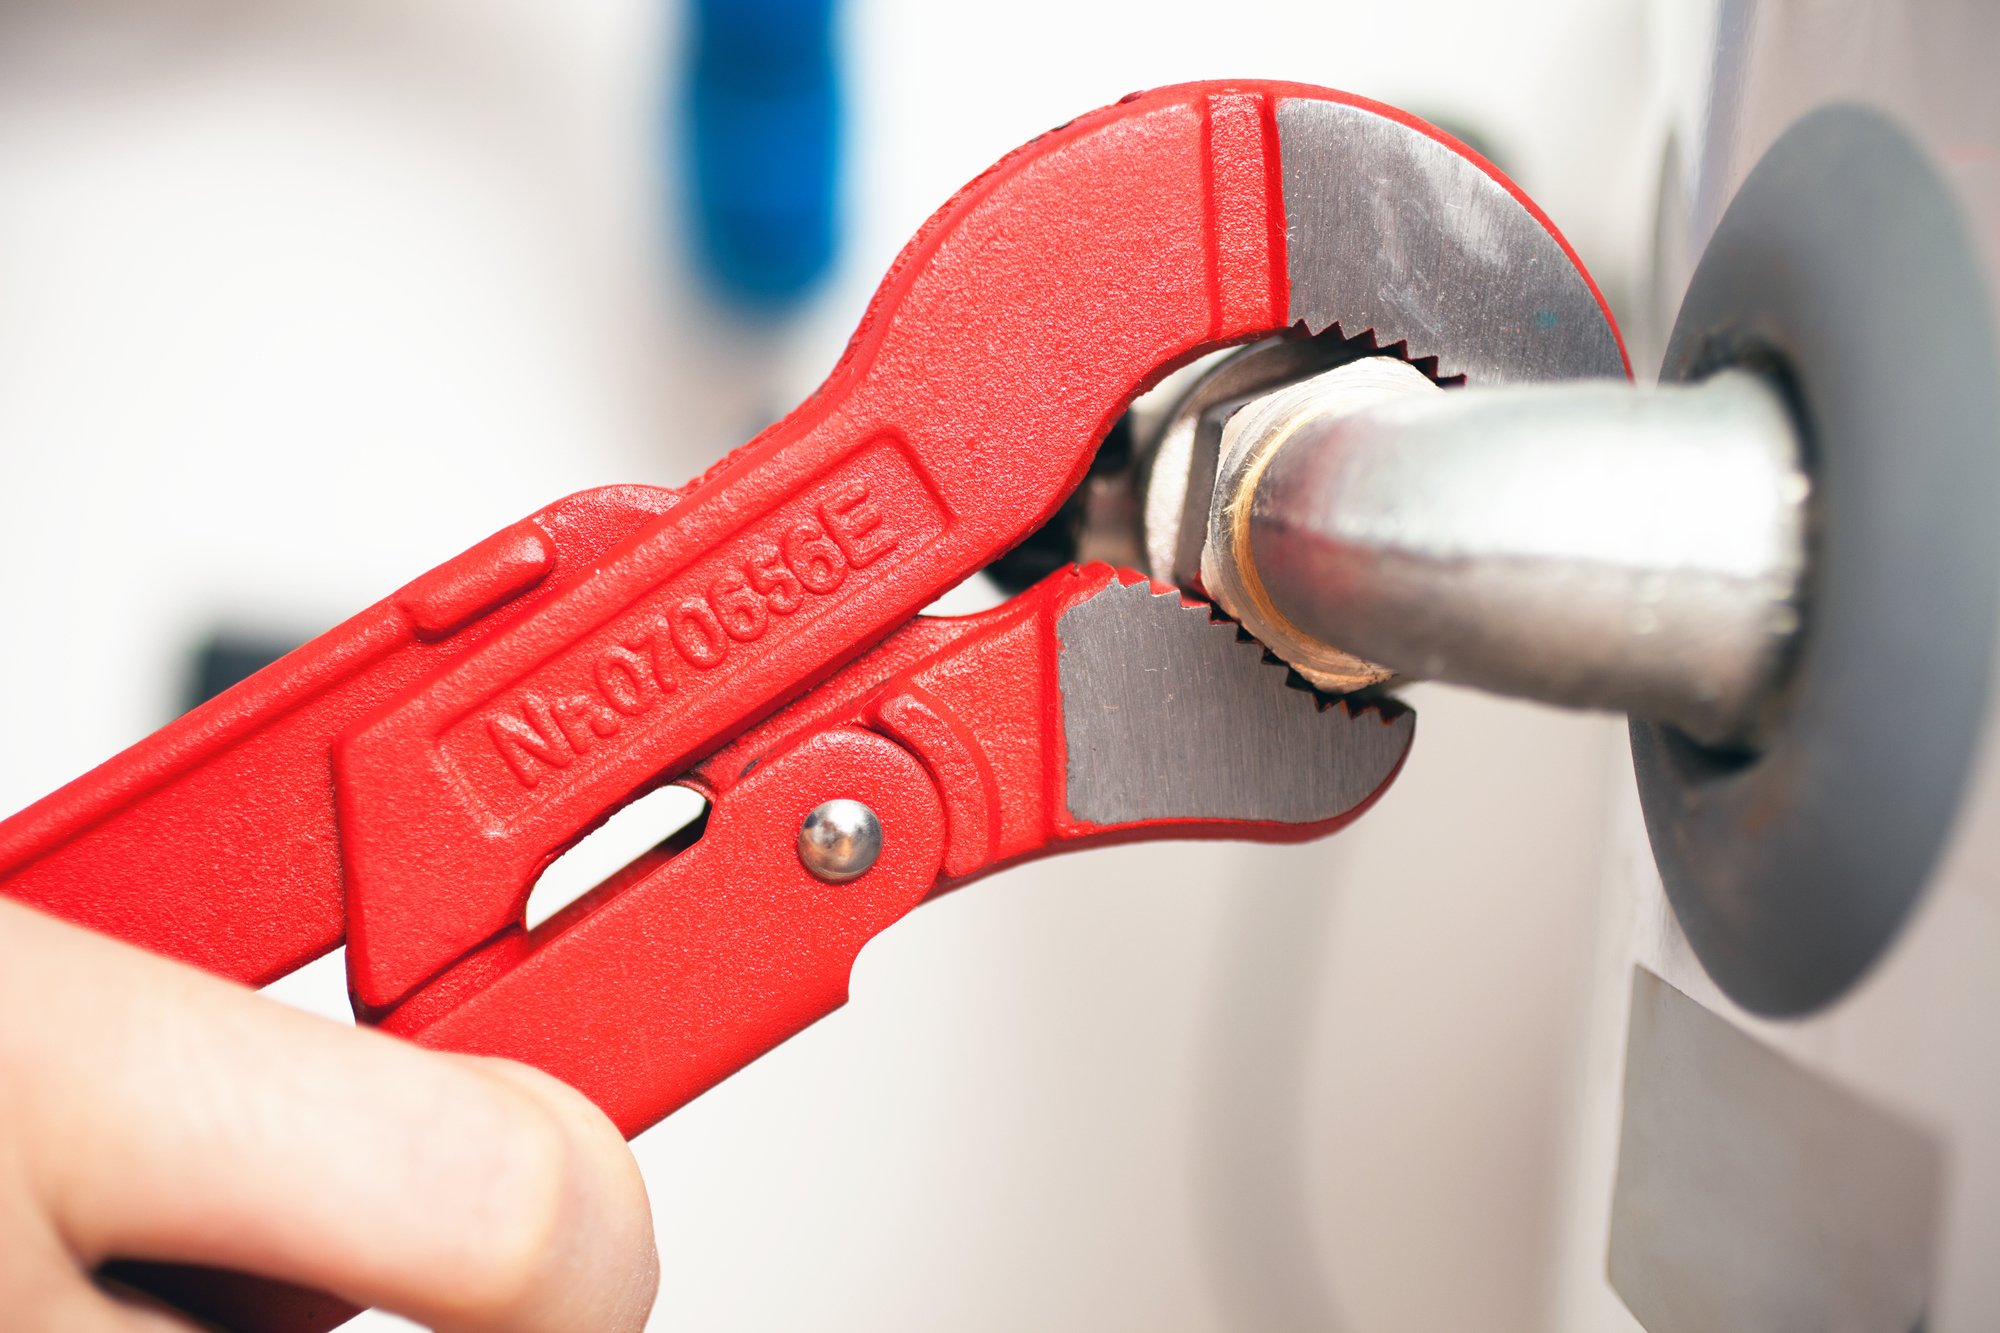
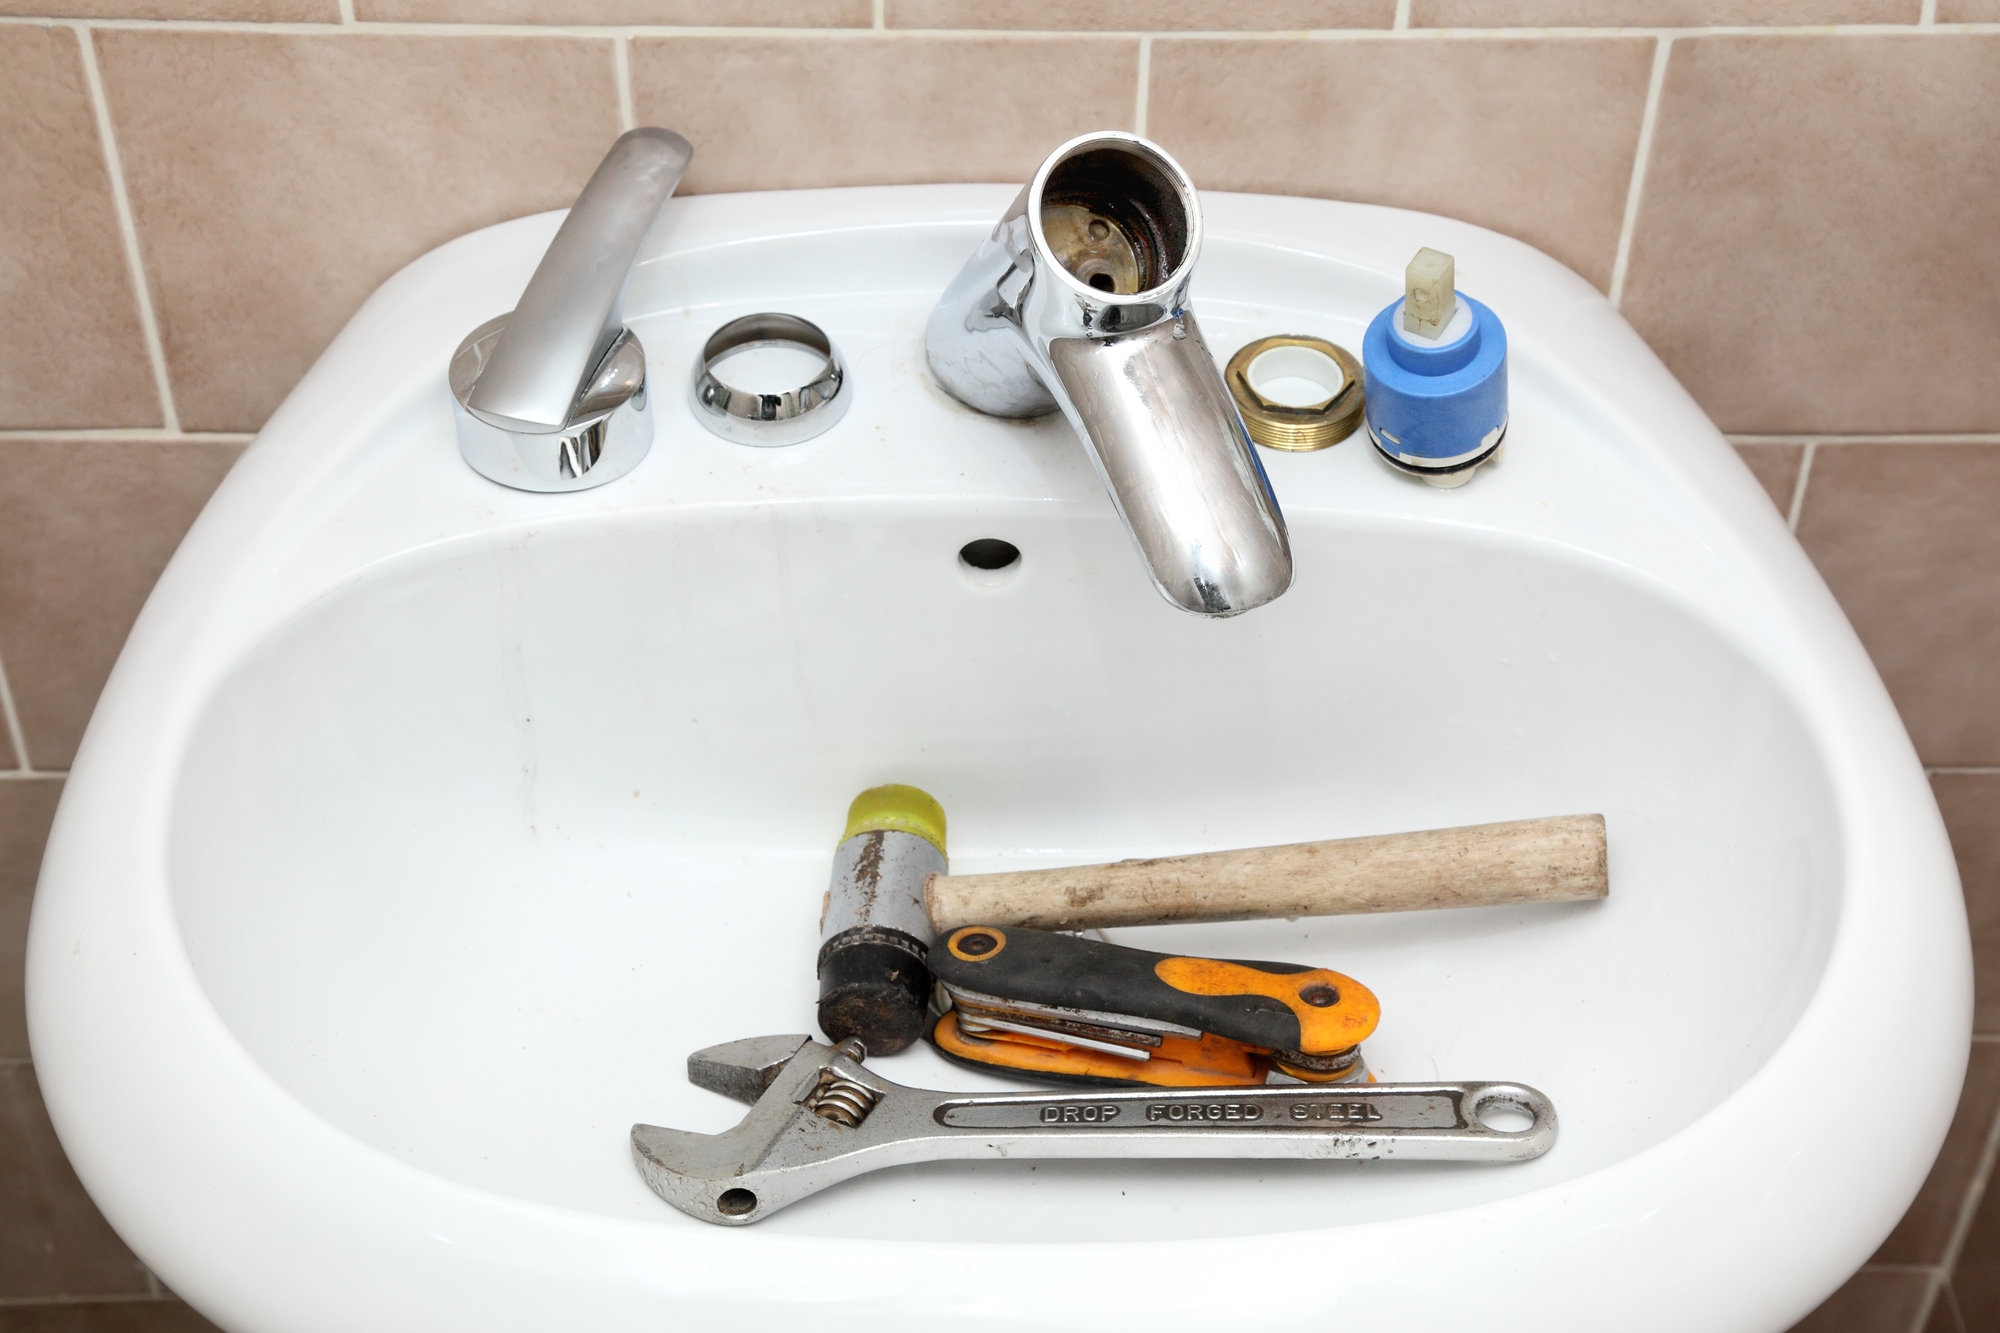
Before starting the replacement process, you will need to gather the necessary tools. You will need basic plumbing tools such as a basin wrench, adjustable wrench, pliers, and screwdrivers. You will also need silicone caulk, plumber’s tape, and a bucket or towels to catch any water that may drip during the replacement process.
Step 2: Turn off the Water Supply
Turn off the water supply to the sink or bathroom. The water shut-off valves are usually located under the sink. If you can’t find the shut-off valves, turn off the main water supply valve for the house.

Step 3: Remove the Old Faucet
Locate the mounting nuts that hold the faucet in place. You may need to remove the sink’s decorative caps or handles to access the nuts. Use a basin wrench or pliers to remove the mounting nuts. Once you have removed the mounting nuts, lift the old faucet from the sink.
Step 4: Clean the Sink Surface
Use a putty knife or scraper to remove any old plumber’s putty or caulking from the sink surface. Use a soft abrasive cleaner to clean the surface of the sink and ensure that it is free from debris.
Step 5: Install the New Faucet
Place the rubber or plastic gasket over the faucet holes in the sink. Insert the faucet into the holes in the sink. Make sure that the faucet is straight and centered before tightening the mounting nuts. Use a basin wrench or pliers to tighten the mounting nuts securely. Avoid over-tightening as this can cause the sink to crack or other damage.

Step 6: Connect the Water Supply Lines
Attach the hot and cold water supply lines to the faucet. Make sure to thread the plumber’s tape onto the threaded connections to prevent leaks. Tighten the connections with pliers, taking care not to over-tighten them.
Step 7: Test the New Faucet
Turn on the water supply and test the new faucet. Check for any leaks and ensure that the water flows smoothly. If you notice any leaks, turn off the water supply and tighten the connections as necessary.
Step 8: Finish the Installation
Apply silicone caulk around the base of the faucet to prevent water from leaking under the sink. Reinstall any decorative caps or handles that you removed to access the mounting nuts.
In conclusion, learning how to replace a bathroom faucet can save you money and give your bathroom a refreshed look. Follow the above steps and make sure to use the right tools to ensure that the replacement process is successful. If you are not comfortable replacing a faucet on your own, contact a professional plumbing service. Don’t hesitate to visit our website “aceplumbingrepair.com” or give our plumbing experts a call at “(844) 711-1590” for further assistance.


