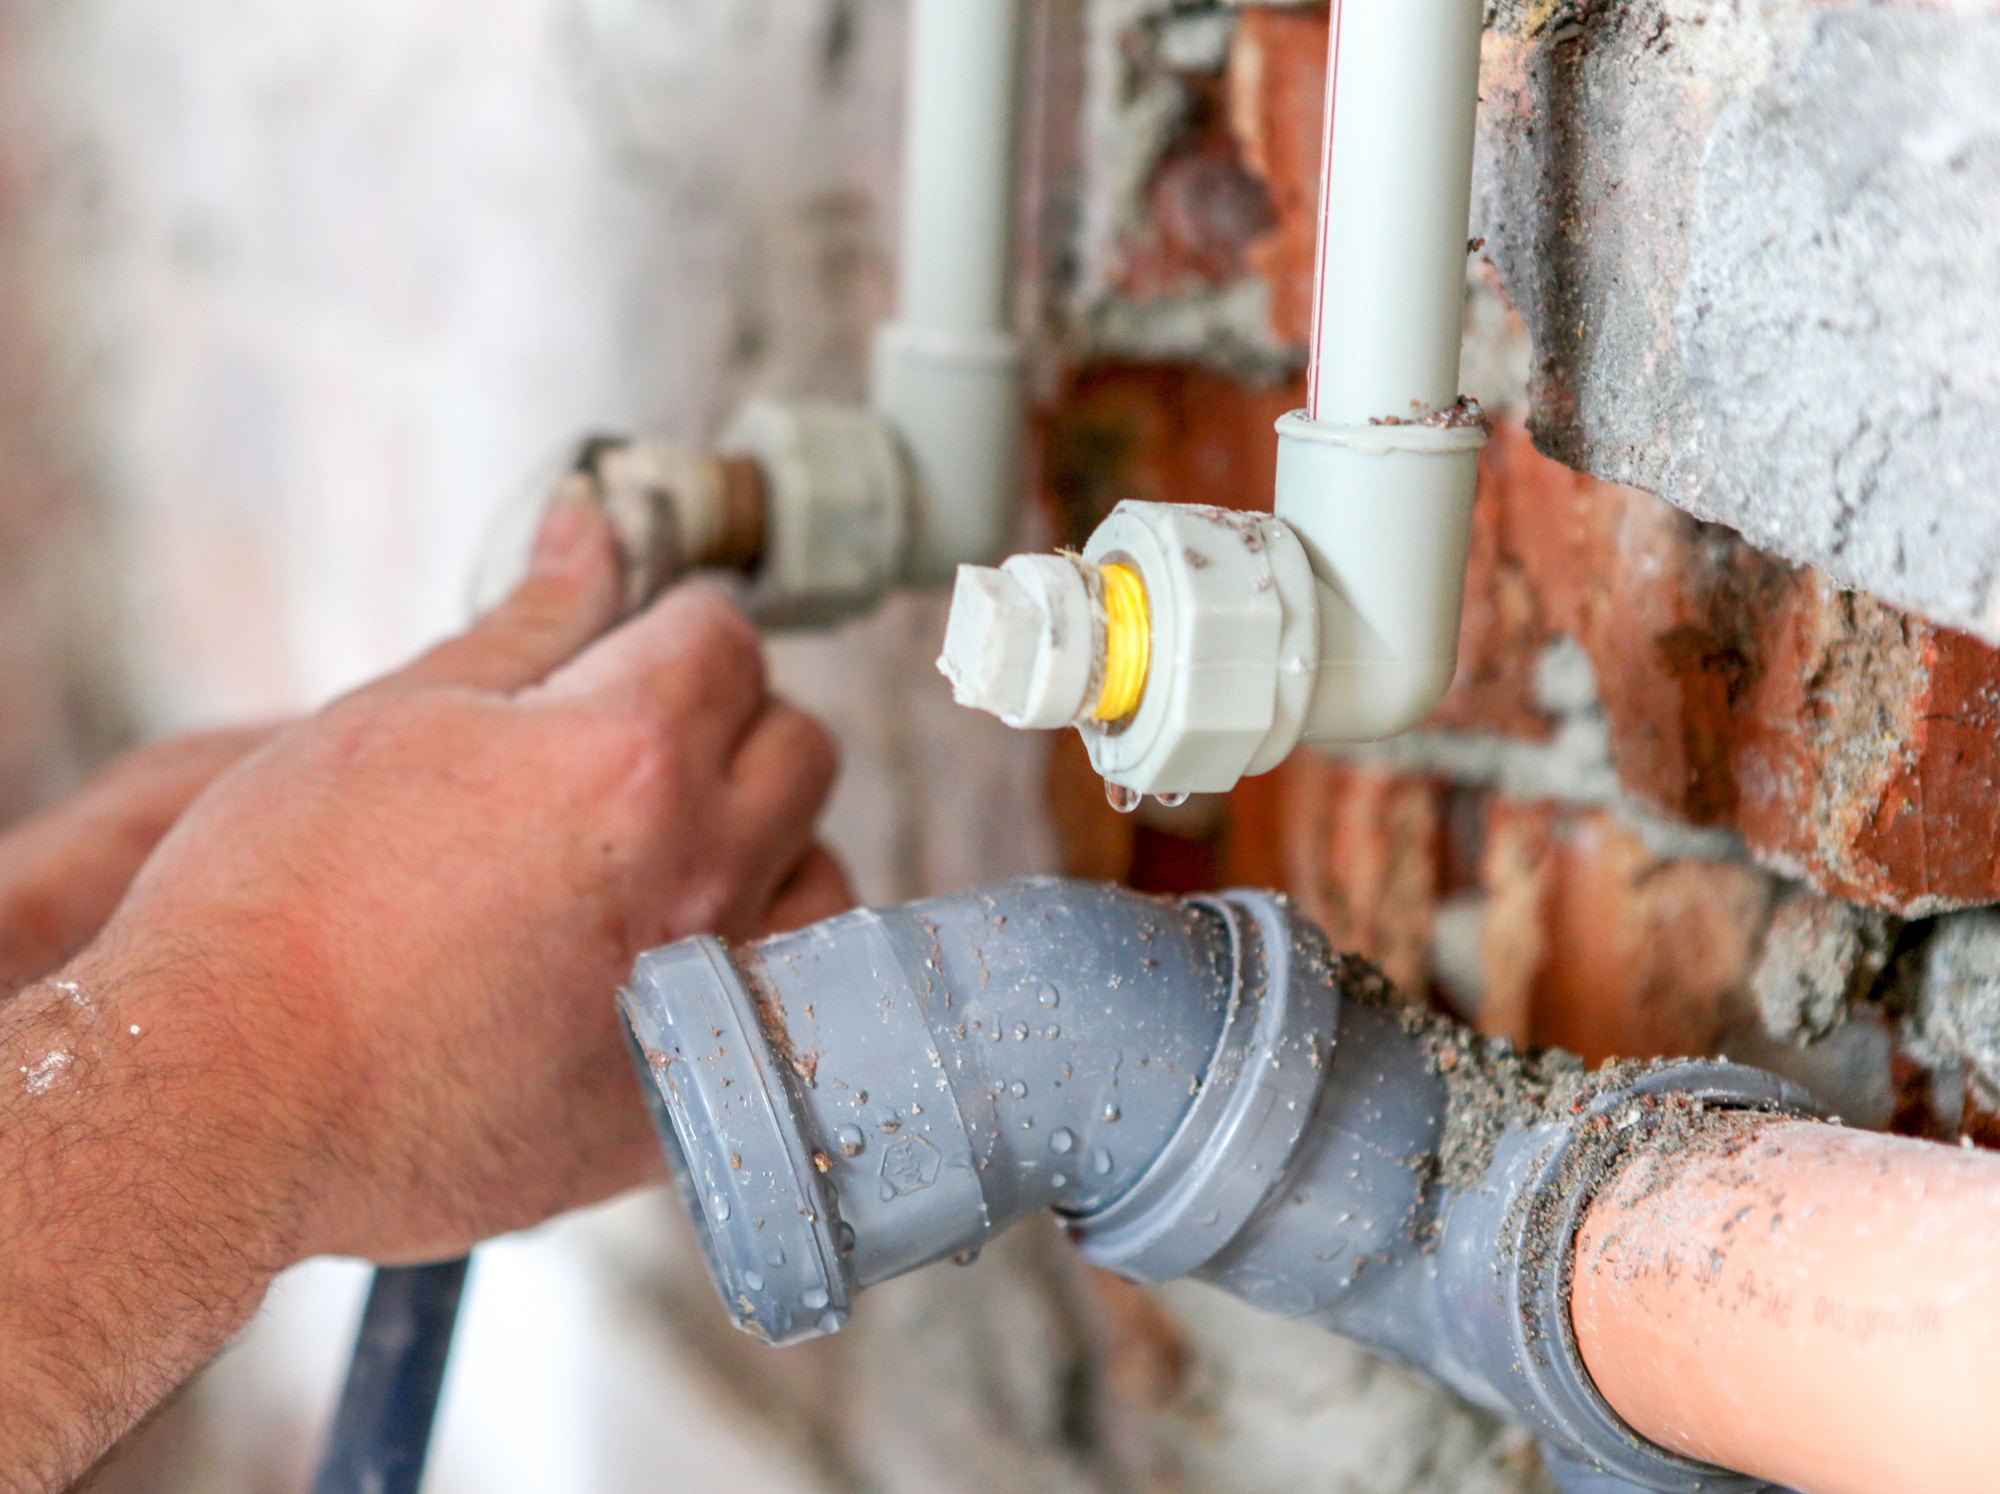
Replacing a two-handle faucet with a spray nozzle to a one-handle faucet with a soap dispenser is an excellent way to enhance the aesthetic value of your kitchen or bathroom. It can also provide a more streamlined look and make the sink easier to clean. This task isn’t as challenging as it may seem. Here are the steps you should follow to make the process successful:
Step 1: Gather the necessary tools and materials
Before starting, make sure you have all the necessary tools and materials to complete the project. You will need an adjustable wrench, Teflon tape, a basin wrench, a screwdriver, a plumber’s putty, and a new faucet with a soap dispenser.
Step 2: Shut off the water supply
The first step is to shut off the water supply under the sink. Look for the two valves located on the water supply lines and turn them off by turning them clockwise.

Step 3: Disconnect the supply lines
Next, disconnect the supply lines connected to the faucet. Use an adjustable wrench to loosen the nuts that hold the supply lines to the faucet. Keep a bucket or a towel nearby to catch any water that may remain in the lines.
Step 4: Remove the old faucet
Now that the water supply lines are disconnected, it’s time to remove the old faucet. Start by removing the mounting nuts that hold the faucet in place. These nuts are usually located on the bottom side of the sink. Use a basin wrench to remove them.
After removing the nuts, lift the old faucet out of the sink. You may need to twist it a bit to detach it from the sink.
Step 5: Install the base plate

Once the old faucet is removed, it’s time to install the base plate for the new faucet. Apply a plumber’s putty around the holes where the faucet will be installed to prevent water from seeping underneath the faucet.
Position the base plate on the sink and secure it with mounting nuts. Use the basin wrench to tighten them.
Step 6: Install the new faucet
Now it’s time to install the new faucet with a soap dispenser. Start by placing the gasket and the mounting plate on the base plate. Slide the faucet through the mounting plate and align it with the holes on the base plate.
Secure the faucet with mounting nuts, making sure not to tighten them too much. If the faucet comes with a mounting bracket, install it over the mounting nuts.
Step 7: Connect the water supply lines
Before connecting the water supply lines, wrap Teflon tape around the threads to prevent leaks. Next, attach the supply lines to the faucet and hand-tighten the nuts. Use an adjustable wrench to tighten them further.
Step 8: Install the soap dispenser
If your new faucet comes with a soap dispenser, fill the dispenser with soap and install it on the sink. Most soap dispensers come with a plastic nut that needs to be tightened on the bottom side of the sink.
Step 9: Check for leaks
Once everything is installed, turn the water supply back on and check for leaks. Turn on the faucet and the soap dispenser to make sure they are working correctly.
Conclusion
Replacing a two-handle faucet with a spray nozzle to a one-handle faucet with a soap dispenser is a straightforward process that can be done in just a few hours. The most important thing is to follow the steps carefully and make sure you have all the necessary tools and materials. If you encounter any difficulties during the process, don’t hesitate to call a professional plumber who can help you complete the job. For all your plumbing needs, visit our website “aceplumbingrepair.com” or give us a call at “(844) 711-1590“.


