When it comes to plumbing, there is nothing more frustrating than an older stem that doesn’t seem to work properly. Sometimes you’ll turn the handle and water will still come out, while other times there’s no water at all. It’s essential to know how to identify if your stem is older and needs replacing. In today’s blog, we’ll discuss how to identify older stems and give you tips on replacing them.
First, let’s talk about what a stem is and how it works. A stem is a valve that controls the flow of water in a faucet. It is usually located under the handle and consists of a rubber washer and a brass screw that moves up and down as the handle is turned. When the screw is up, the water can flow freely. When it’s down, the rubber washer blocks the flow of water.
Identifying older stems can be tricky, but it’s essential to do so. Older stems are more prone to leaks and other issues. Here’s what you need to look for:

1. Age of your faucet: If your faucet is more than 20 years old, it’s likely that the stem is old too. As a rule of thumb, you should replace your faucet every 20-25 years.
2. Type of faucet: Older faucets are more likely to have older stems. For example, if your faucet is a compression faucet, it’s likely that the stem is an older one. Compression faucets are the oldest type and can only be turned on by pushing down on the handle.
3. Material: Another way to identify an older stem is to look at the material it’s made from. Brass stems are older and can be more prone to leaks. Ceramic stems are newer and more durable.
Now that you’ve identified that your stem is older, it’s time to replace it. Here are some tips to help you out:

1. Turn off the water supply: Before you start any plumbing work, it’s essential to turn off the water supply. You can do this by turning off the main water valve or the shut-off valve for the faucet you’re working on.
2. Remove the handle: Use a screwdriver or Allen wrench to remove the handle. This will give you access to the stem.
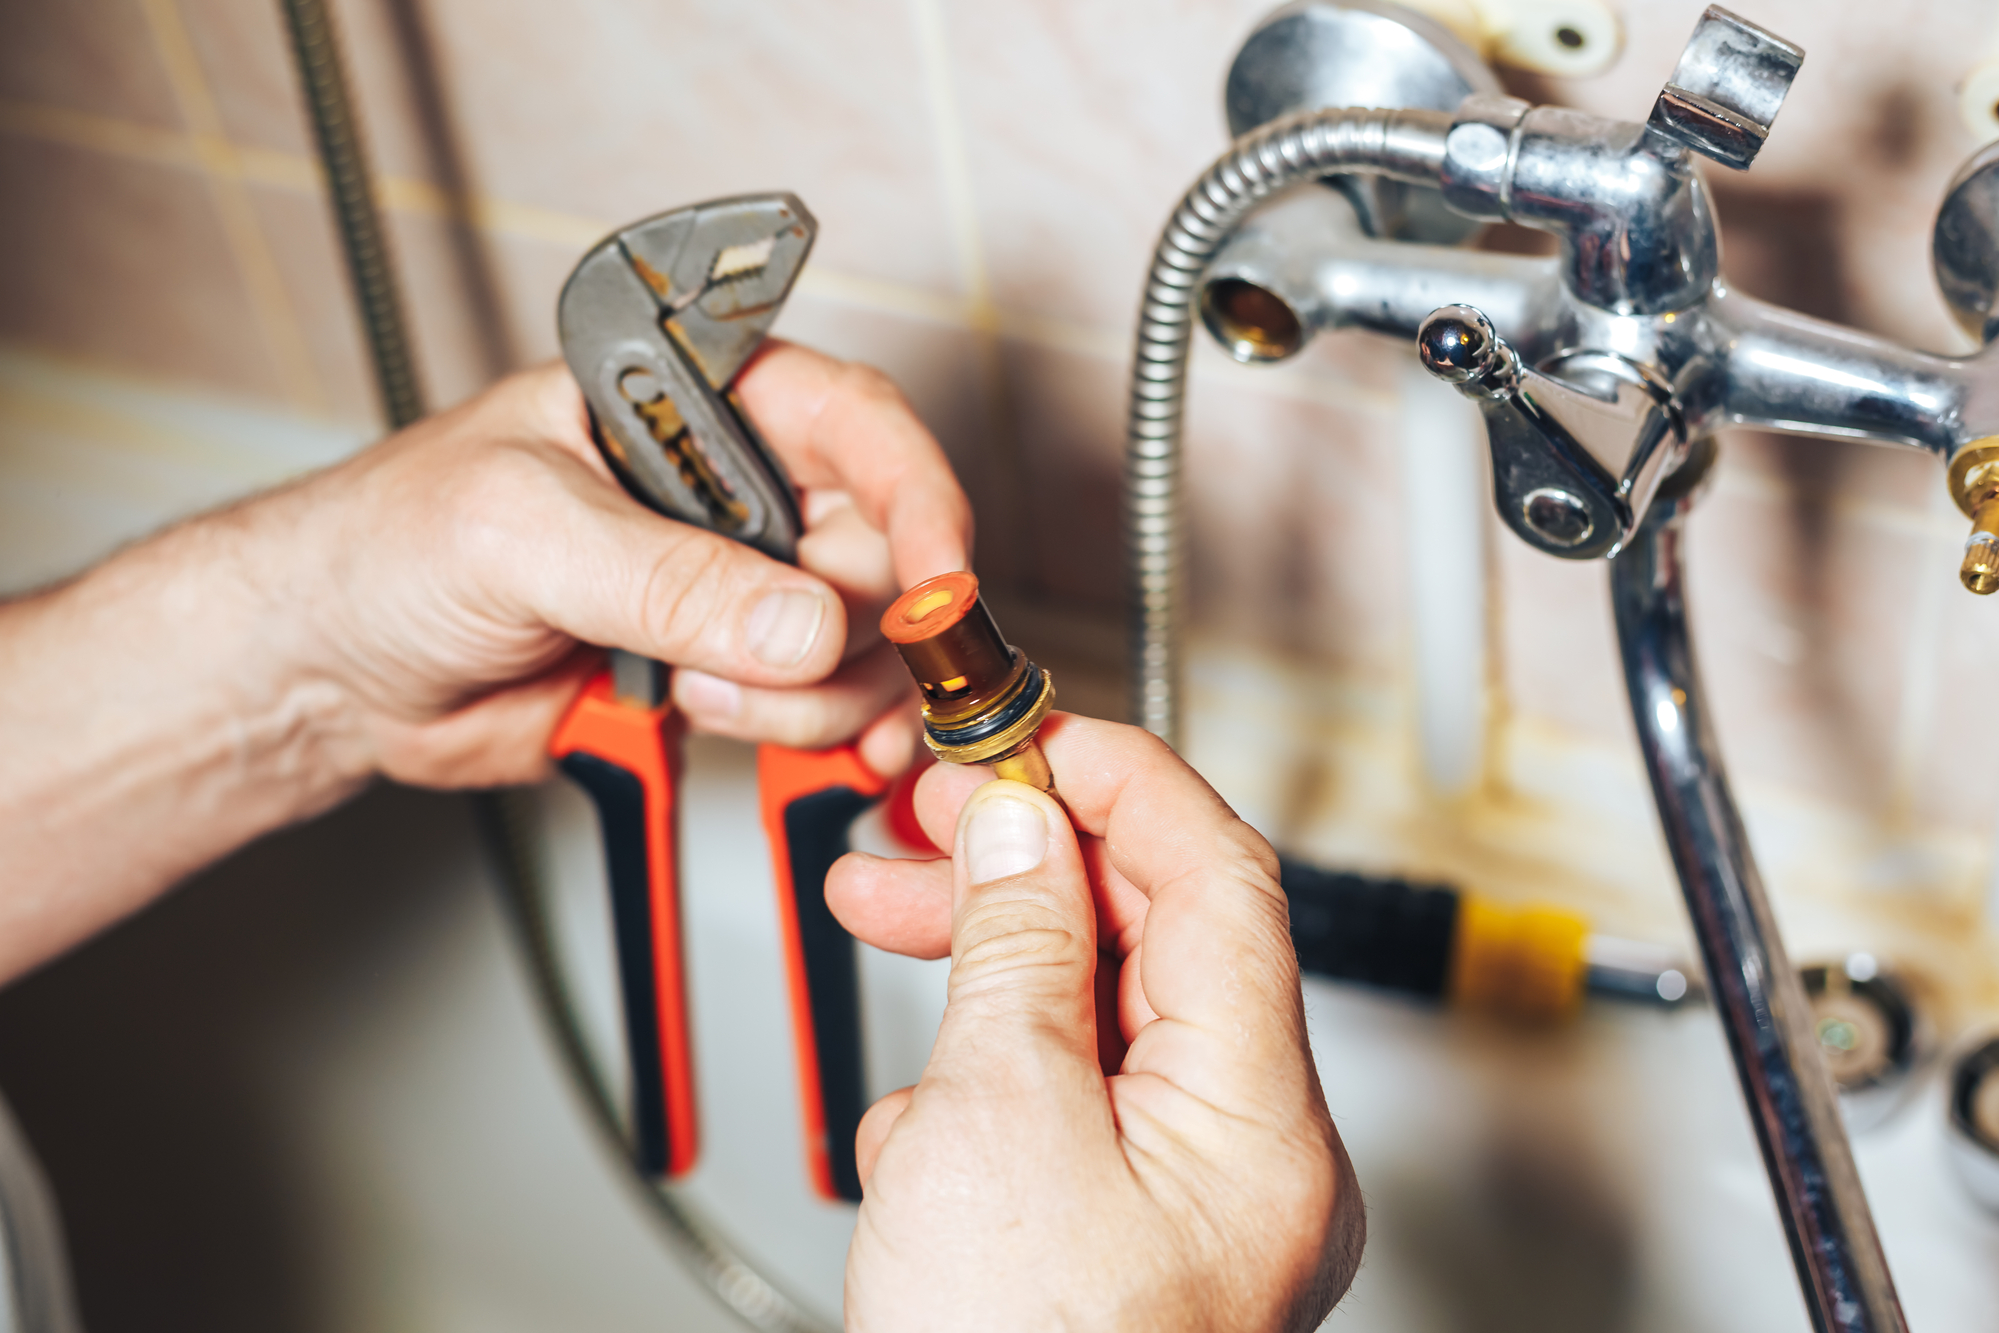
3. Remove the stem: Use a pair of pliers to remove the stem. You may need to wiggle it a little to get it out.
4. Clean the stem: Once you’ve removed the stem, clean it thoroughly. Make sure to remove any dirt, grime, or mineral deposits. This will help ensure a tight seal when you install the new stem.
5. Install the new stem: Once the old stem is removed, you can install the new one. Make sure to align it properly and tighten it firmly.
6. Reassemble the faucet: Once the new stem is installed, reassemble the faucet. This means putting the handle back on and tightening it securely.
7. Turn on the water supply: Once everything is reassembled, turn the water supply back on and test the faucet. Make sure that it’s working properly and that there are no leaks.
In conclusion, identifying an older stem and replacing it is an essential part of plumbing maintenance. Older stems can cause leaks and other issues, so it’s essential to replace them when necessary. By following the tips outlined in this article, you can identify an older stem and replace it quickly and easily. Remember always to call an expert if you feel unsure about any plumbing problem. Don’t hesitate to call aceplumbingrepair.com or give them a call at this phone number (844) 711-1590 for professional plumbing services near you!


