
As a responsible facility manager, you know the importance of maintaining clean and hygienic restrooms, and ensuring that your patrons, guests and employees have access to sanitized and well-maintained urinals. But despite your best efforts, urinals often become the breeding grounds of various unsightly and unhygienic stains, accumulations and residues, including urinal salts.
Urinal salts are mineral deposits that accumulate in urinals over time. They are caused by the chemical reactions between urine and the minerals in hard water, and can cause unsightly stains, discoloration and odors over time. Here are some tips on how to clean urinal salts to keep your restrooms looking and smelling fresh and clean.
1. Prevention is key
Urinal salts can be prevented by using a water softener or a water treatment system that removes the minerals from the water. This prevents the minerals from reacting with the urine and forming the salts in the first place. While this may require an initial investment, it can save you a lot of time, effort and money in the long run, as it prevents the need for frequent cleaning and maintenance.
2. Use the right cleaning products
When it comes to cleaning urinal salts, it’s important to use the right cleaning products that are specifically designed for this purpose. Avoid using harsh chemicals, acids or abrasives, as they can damage the urinal surface and cause more harm than good. Instead, opt for mild and non-toxic cleaning agents that are safe for both the urinal and the environment.
3. Remove the urinal strainer and clean it separately
Before cleaning the urinal itself, it’s important to remove the urinal strainer and clean it separately. This helps to remove any debris, hair, or other materials that may have accumulated in the strainer, and prevents it from clogging or causing backups in the plumbing system. Once you have removed the strainer, soak it in a cleaning solution that is designed to dissolve urinal salts and mineral deposits.
4. Apply the cleaning solution to the urinal
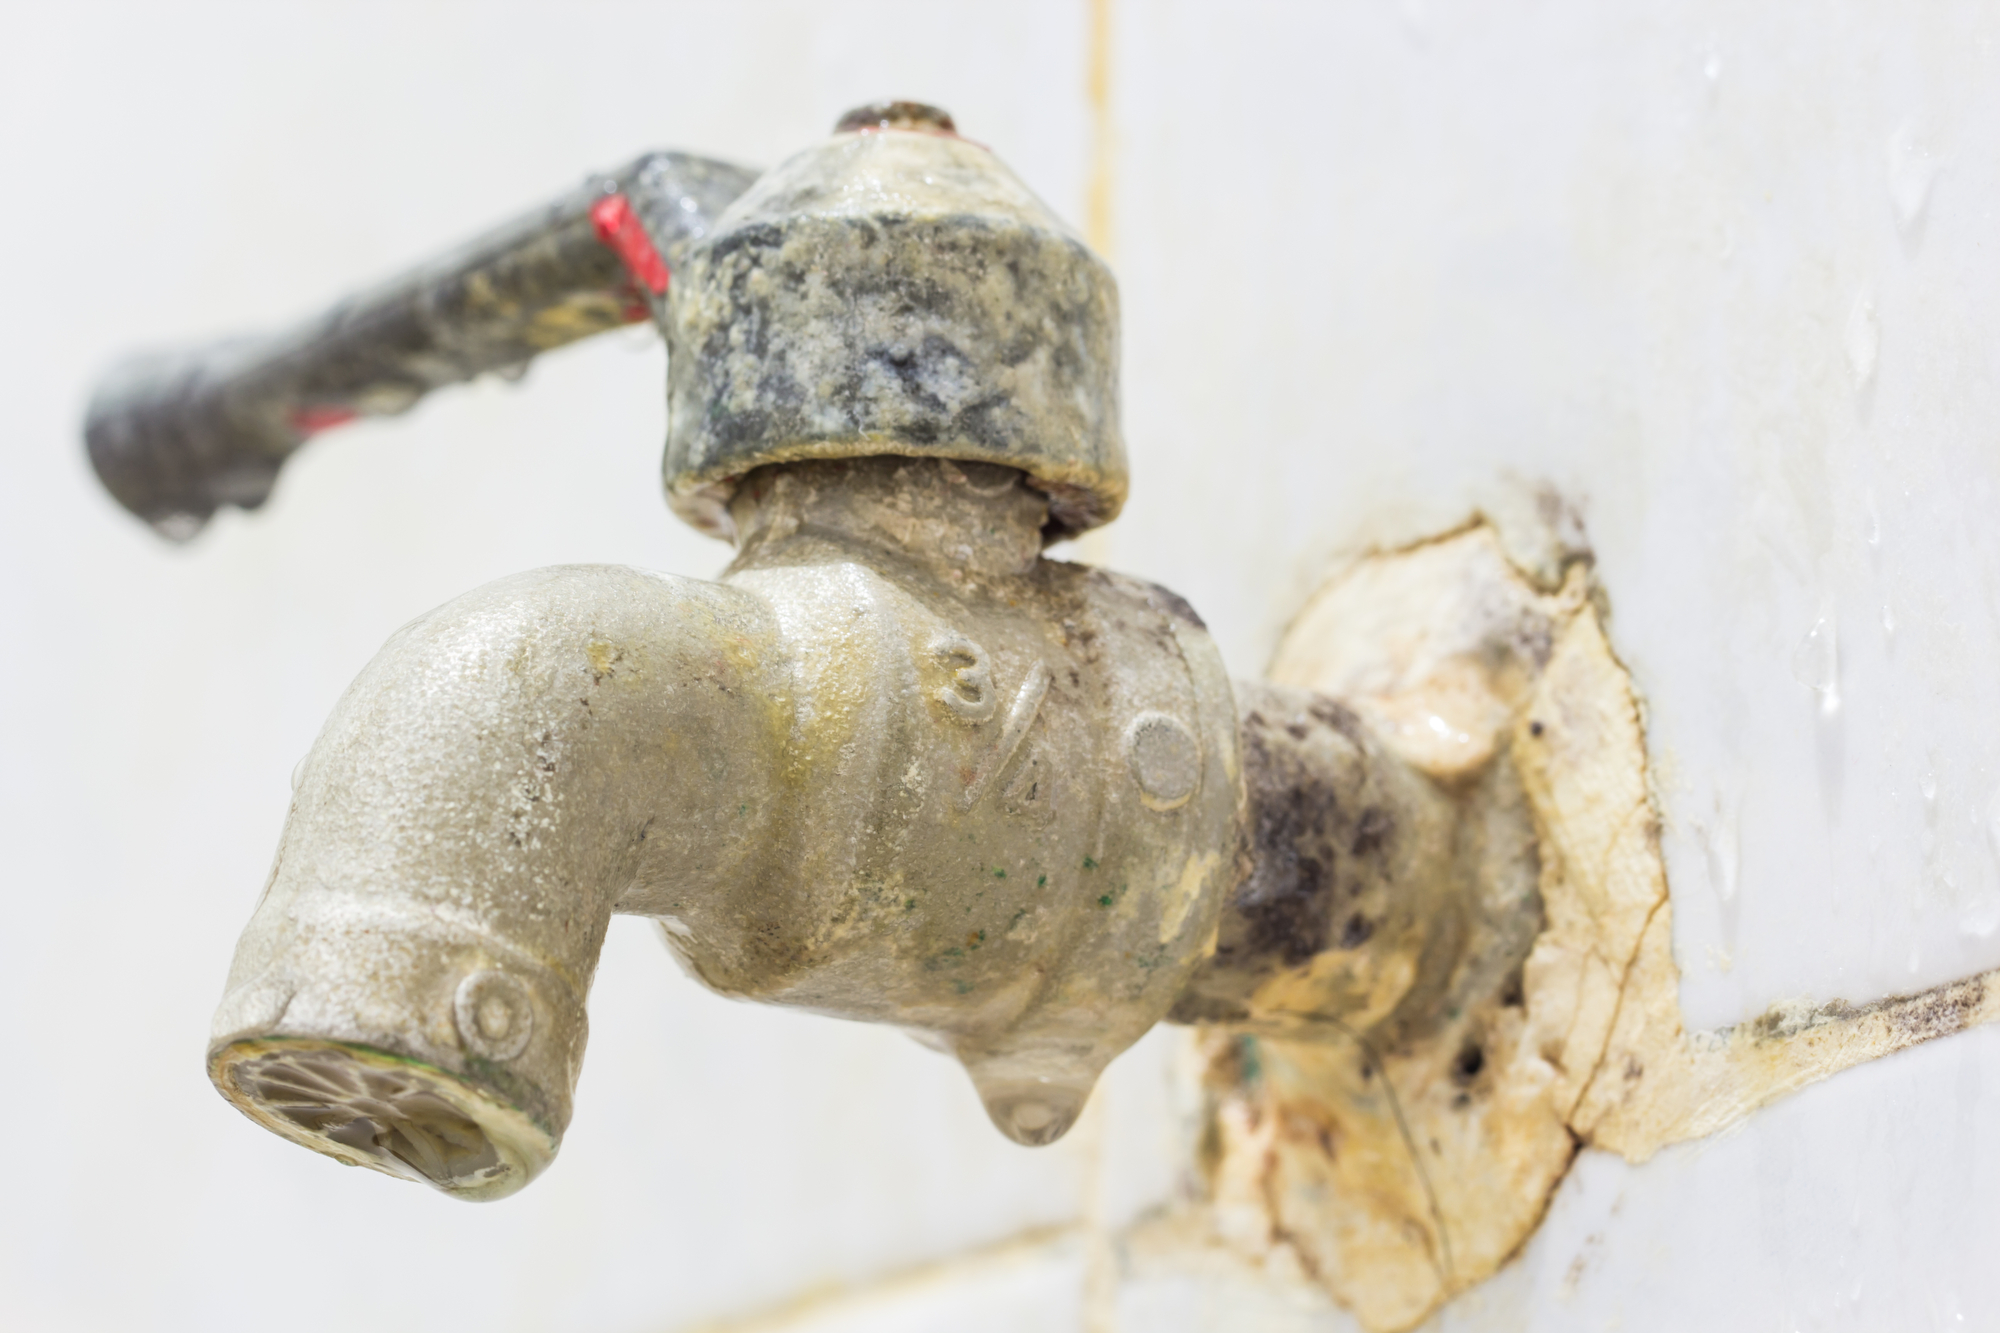
Next, apply the cleaning solution to the inside of the urinal, making sure to cover all the stains, deposits and discolorations. Allow the solution to sit for the recommended amount of time, as specified on the product label. Make sure to wear gloves and protective eyewear when handling the cleaning solution, and avoid inhaling any fumes or vapors.
5. Scrub and rinse the urinal
After the cleaning solution has had time to work, use a scrub brush or scouring pad to scrub away the stains and deposits. Make sure to use a gentle yet firm pressure, and avoid using excessive force that can damage the urinal surface. Once you have scrubbed the entire surface, rinse the urinal thoroughly with water to remove any remaining residue or cleaning solution.
6. Restore the urinal’s shine
Finally, use a clean and dry cloth or towel to wipe down the urinal and restore its shine and luster. This helps to remove any water spots or streaks, and gives the urinal a clean and polished appearance. Make sure to dispose of any cleaning materials and chemicals safely, and to keep them out of reach of children and pets.
Conclusion
Cleaning urinal salts may seem like a daunting task, but with the right tools and techniques, it can be accomplished easily and effectively. By following these tips and best practices, you can keep your urinals clean, hygienic and in top condition, and ensure that your restrooms are always fresh and welcoming for your patrons, guests and employees. Remember to always prioritize safety, and to use environmentally-friendly and sustainable cleaning solutions that protect both your urinals and the planet.

 Call Now