by Brandon | Apr 11, 2023 | Maintenance
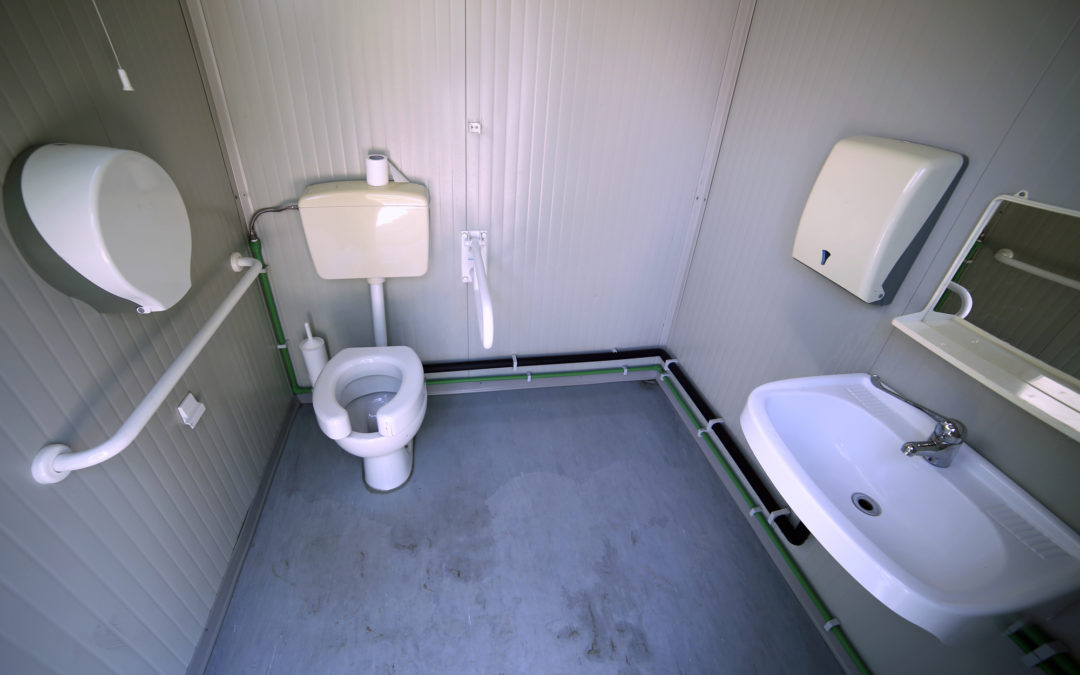
When it comes to plumbing systems, the toilet is one of the most essential components in any home. It is something we use every day and, as such, requires routine maintenance to keep it in good working condition. The rough toilet flange is an essential component of any toilet installation. In this article, we discuss what a 16″ rough toilet flange is, why it’s important, and how to install it.
What is a 16″ Rough Toilet Flange?
The flange is a piece that connects the toilet to the floor and the waste line. It typically consists of a metal ring that is positioned over the waste line and sealed in place with screws. The flange is then secured to the toilet base with bolts and nuts, providing a stable connection between the toilet and the floor. The flange’s rough-in size refers to the distance between the center of the waste line and the finished wall.
A 16″ rough toilet flange is a widely used toilet flange size in many homes. It is the measurement taken from the center of the flange to the wall behind the toilet. A 16″ rough toilet flange is essentially a plumbing component that allows a toilet to be securely bolted to the waste line and the floor, ensuring a tight and secure seal and preventing any leaks or other damage.
Importance of a 16″ Rough Toilet Flange
Having a 16″ rough toilet flange is essential when installing or replacing a toilet. It helps to ensure that there is a secure connection between the toilet and the waste line, which is critical for preventing leaks that can lead to water damage, mold growth, and other serious issues. A poorly installed toilet flange may cause the toilet to wobble, which can create leaks or cracks in the flange or wax seal.
Proper installation of a 16″ rough toilet flange also ensures that the toilet is flush with the floor, which provides a stable base for the toilet. This is important not only for aesthetics but also for functionality. A toilet that’s not flush with the floor can put additional strain on the flange and the wax seal, potentially causing leaks or other damage.
How to Install a 16″ Rough Toilet Flange
If you’re considering installing a 16″ rough toilet flange, here are the steps to take:
1. Shut off the water supply to the toilet: The first step in installing a 16″ rough toilet flange is to shut the water supply off to the toilet. You should locate the shut-off valve behind the toilet and turn it off clockwise.
2. Remove the old toilet: Remove the old toilet by loosening the bolts with a wrench and tilting it forward. You should have a bucket or rags to catch any remaining water or debris.
3. Remove the old wax ring: Once the toilet is out of the way, remove the old wax ring from the flange and dispose of it.
4. Clean the flange: Clean the flange and the surrounding area with a disinfectant and a scraper.
5. Install the new toilet flange: Place the new 16″ rough toilet flange into the existing flange. Secure it in place by screwing it into the floor or using a mounting bracket.
6. Install the new wax ring: Place the new wax ring onto the flange, making sure it’s centered on the flange.
7. Install the toilet: Lift the toilet and carefully place it onto the flange, making sure the bolts align. Sit on the toilet, rocking it back and forth, until it settles into place. Tighten the bolts by hand, making sure not to over-tighten them.
8. Reconnect the water supply: Turn the water supply back on, and make sure there are no leaks or other issues.
Now that you know what a 16″ rough toilet flange is, why it’s essential, and how to install it, you’re ready to tackle this plumbing project with confidence. The flange is an essential component of any toilet installation or replacement, and it’s crucial to select the correct rough-in size for your bathroom. Whether you’re a DIY homeowner or a professional plumber, following these steps will ensure that your toilet installation is successful and secure. Remember, always invest in quality products and take all necessary precautions to stay safe when working with plumbing systems. Visit aceplumbingrepair.com or give us a call at (844) 711-1590 for all your plumbing needs.
by Brandon | Apr 8, 2023 | Maintenance
Bathtubs are an essential part of any home, providing a relaxing space to unwind after a long day at work or a strenuous exercise routine. However, like any other feature in your home, it can sometimes develop issues, leaving you with a less functional bathtub.
One common issue that homeowners face with their bathtubs is a problem with the bathtub mortar. Bathtub mortar refers to the concrete-like material used to hold a bathtub in place and ensure that it stays level. A problem with the bathtub mortar can lead to various issues, ranging from leakages to a bathtub that can no longer hold weight.
In this article, we will look at the causes and solutions for bathtub mortar problems.
Causes of Bathtub Mortar Problems
Here are some of the common causes of bathtub mortar issues:
1. Improper installation: Bathtub mortar is used to hold the bathtub in place and ensure that it stays level. When it is installed incorrectly, it can lead to various issues, including a bathtub that is not level and excessive movement, leading to cracks in the mortar.
2. Water damage: Over time, water can seep through the edges of the bathtub and settle under it. When this happens, it can cause the mortar to weaken and crack. The buildup of moisture in the area can also promote bacterial growth, leading to mold and mildew.
3. Ageing: Bathtub mortar is made of a mixture of concrete-like materials, sand, and water. As it ages, it dries out and becomes brittle, leading to cracks, crumbling, and even breakage.
Solutions for Bathtub Mortar Problems
Here are some solutions for bathtub mortar problems:
1. Replacing the damaged mortar: If your bathtub mortar is damaged, you can repair or replace it. The process involves demolishing the old mortar and installing a new one, ensuring that it is properly installed, level, and waterproofed. This solution requires the help of a professional plumber as it needs precise measurements and expertise.
2. Reducing weight on the tub: Another solution to bathtub mortar issues is to reduce the weight put on the tub. This can be achieved by using lighter materials for bath products and avoiding storing heavy items on the rim of the tub.
3. Regular maintenance: To prevent bathtub mortar issues, it is essential to conduct regular bathtub maintenance. This includes cleaning the edges of the tub to prevent water buildup, checking for signs of mold or mildew, and repairing any cracks in the mortar.
Bathtub mortar problems can be a significant inconvenience for homeowners, leading to a less functional bathtub. Identifying the causes and solutions for bathtub mortar issues can help restore your bathtub to its original state. If you are experiencing a bathtub mortar issue, it is essential to reach out to a professional plumber for assistance. At Ace Plumbing Repair, we are dedicated to providing high-quality plumbing services and ensuring that our clients’ needs are met. Call us at (844) 711-1590 or visit aceplumbingrepair.com today for all your plumbing needs.
by Brandon | Apr 6, 2023 | Maintenance
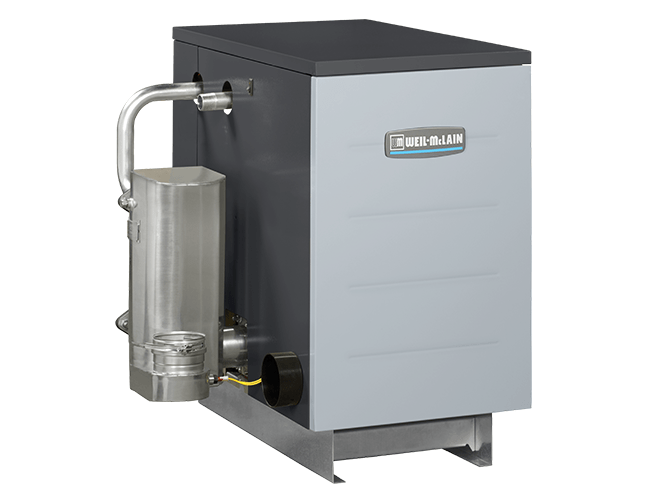
Your boiler is one of the most crucial components in your plumbing system. It’s the heart of your heating system, keeping your home warm and comfortable during the cold months. However, just like any mechanical device, a boiler can suffer from various issues that can hinder its performance and efficiency. In this article, we’ll discuss some common boiler problems and what you can do to resolve them.
Low Pressure
Low pressure is a prevalent issue with boilers. If your boiler’s pressure gauge drops below the recommended level of 1.0 bar, it can lead to poor heating performance or even cause your boiler to breakdown. Fortunately, it’s relatively easy to fix.
You can increase your boiler’s pressure by using the filling loop, which can usually be found near the boiler. It’s a simple process that involves opening the valves on both ends of the filling loop and allowing water to flow into the system. Make sure you monitor the pressure closely and never let it exceed 1.5 bar.
Strange Noises
Boilers can produce various sounds, from whistling to gurgling, but when you hear unusual noises that are out of the ordinary, it’s a clear sign that something is not right. Whistling sounds, for instance, could indicate that there’s an issue with your boiler’s heat exchanger. Gurgling sounds, on the other hand, could mean that there’s air trapped inside your system.
To resolve these issues, it’s best to call in a professional plumber. Trying to diagnose and fix the problem yourself could be dangerous, and you could end up causing more harm than good.
Leaking
A leaking boiler can be a severe problem that can lead to water damage in your home. Leaks can occur when the internal components of your boiler become worn or damaged. Depending on the severity of the leak, you may need to turn off your boiler immediately and call a professional.
In some cases, leaks can be resolved by tightening connections or replacing damaged seals. However, if the damage is significant, you may need to replace your boiler entirely. Regular maintenance can prevent leaks and other issues from occurring in the first place.
Frozen Condensate Pipe
During winter, it’s not uncommon for condensate pipes to freeze over, causing your boiler to shut down. A frozen condensate pipe can be recognized by a gurgling sound coming from your boiler, or an error code on your boiler’s display.
To fix the issue, you can pour warm water over the pipe to thaw it out. You may also want to insulate the pipe to prevent it from freezing again in the future. However, it’s best to contact a professional if you’re unsure about how to safely thaw the pipe.
No Hot Water or Heating
If you’re not getting any hot water or heating from your boiler, it’s likely due to a fault with the system. A lack of hot water could mean that your boiler’s motorized valve is stuck open, or there’s an issue with your thermostat. On the other hand, a lack of heating could mean that there’s a problem with your boiler’s pump or diverter valve.
To remedy these issues, you may need to replace faulty components or seek professional assistance. Sometimes, a simple reset of your boiler can fix these problems, so it’s always worth trying that first.
In conclusion, boiler issues can be stressful and frustrating, but if you stay vigilant and carry out regular maintenance, you can avoid the majority of problems that might arise. If you do experience any boiler issues, it’s always best to contact a qualified plumber to help you resolve the problem. Don’t take any chances with your boiler – it’s an essential component in your home, and you need to keep it functioning correctly to ensure the safety and comfort of everyone in your household. Remember to always reach out to Ace Plumbing Repair if you need any assistance with your plumbing system, reach us at our website aceplumbingrepair.com or give us a call at (844) 711-1590.
by Brandon | Apr 5, 2023 | Maintenance
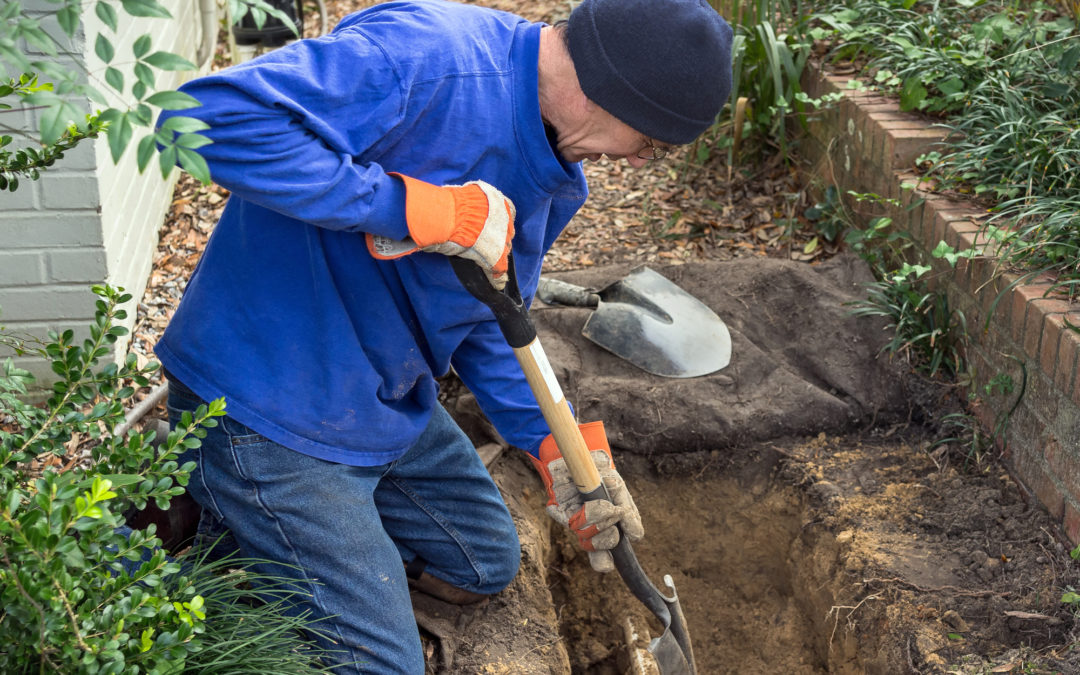
As a homeowner, there are various forms of maintenance you will need to consider to ensure that all aspects of your household are functioning properly. When it comes to plumbing, it is essential to take action before a small problem becomes a significant issue. One such problem that requires immediate attention is when tree roots infiltrate your home’s plumbing system. Tree roots can damage pipes and block water flow, leading to backups in your home’s plumbing system.
To resolve the issue, you often need root-cutting services to help remove all the roots that have infiltrated your plumbing system. In this blog post, we will discuss the importance of root-cutting and its benefits in plumbing services.
What is Root Cutter, and Why Do You Need It?
A root cutter is an essential tool used by plumbing experts to remove any tree roots that have infiltrated your plumbing system. This tool is designed to handle various types of pipes, such as corrugated pipes, PVC pipes, and cast iron pipes. Plumbing experts use root cutters to remove roots and other debris that may cause clogs, affecting the flow of water in your plumbing system.
Root cutters are designed to eliminate the problem without having to remove the affected pipe and replacing it. This procedure makes the service more cost-effective, faster, and requires less intrusive work compared to replacing an entire pipeline. Therefore, root cutting is essential to prevent sewer line backups and clogs in your home.
Benefits of Root Cutting in Plumbing Services
1. Saves You Money
Root cutting is often a more cost-effective solution compared to pipeline replacement. Root cutting is often done in a few hours to remove all the roots in your pipes and get your plumbing system up and running in no time. On the other hand, pipe replacement means digging up the affected pipe and replacing it with a new one, which may require more time and labor, and it can be more expensive.
2. Reduces the Chance of Pipe Damage
Roots are invasive, and when they infiltrate your plumbing system, they can cause severe damage to your pipes. These damages can lead to leaks or complete pipe failure, which can cause severe water damage to your home. Root cutting helps remove all the roots in your pipes, saving you from costly water damage repair services.
3. Prevents Clogs
Tree roots flourishing in your pipes can cause severe clogs that affect the flow of water in your plumbing system. Root cutters help remove the roots and debris that cause clogging, ensuring that your plumbing system’s water flow returns to its normal state. Furthermore, regular root cutting services help maintain your pipes, preventing severe clogs in the future.
4. Extends the Life of Your Plumbing System
Root cutting services help eliminate the cause of pipe damage and clogging, which can extend the life of your plumbing system. By eliminating invasive roots and debris inside your pipes, you extend the lifespan of the pipes, improving the overall function of your plumbing system.
Root cutting is an essential plumbing service that you should consider to ensure the optimal function of your plumbing system. It saves you money, reduces the chance of pipe damage, prevents clogs, and extends the life of your plumbing system. When there is a severe root issue in your home’s plumbing system, it requires attention from a licensed plumbing expert. Contact Ace Plumbing to schedule a root cutting appointment or any plumbing service, and visit our website acerepairplumbing.com to learn more about our full range of plumbing services. You can also call us at (844) 711-1590 and speak to one of our plumbing experts.
by Brandon | Feb 3, 2020 | Cleaning, Maintenance
Spring has finally arrived, and it’s time to start your annual spring cleaning. In addition to the usual deep-cleaning tasks like dusting, vacuuming, and organizing, don’t forget about your plumbing system. Over time, pipes, faucets, and drains can accumulate buildup, rust, and other debris that can cause clogs or slow drainage. To ensure your plumbing system is in top shape, here’s a spring cleaning plumbing checklist to help you get started.
1. Inspect Faucets
Check all faucets inside and outside your home for leaks or drips. If you find a leak, replace the washer or call in a plumber to fix the issue. Inspect your showerheads for mineral buildup and clean them with white vinegar or replace them if necessary.
2. Check for Hidden Leaks
Look for any signs of water damage on your walls or ceiling, including discoloration, bulging, or cracks. Check under your sinks and behind your toilets for any leaks. A damp or musty smell could indicate hidden leaks, so be sure to investigate thoroughly.
3. Clean Drains
Hair, soap scum, and other debris can clog your drains, making it harder for water to flow freely. Remove the drain cover and clean the area around it. Pour a mixture of vinegar and baking soda down the drain, then flush it with hot water to clear the buildup.
4. Test Your Sump Pump
If you have a sump pump in your basement, it’s important to make sure it’s working correctly. Pour a bucket of water into the sump pit, and if the pump doesn’t turn on, call a plumber. Also, consider adding a battery backup in case of a power outage.
5. Check Your Water Heater
Inspect your water heater for signs of corrosion, leaks, or rust. Check the pressure relief valve to ensure it’s working correctly. If you notice any issues, call a plumber to replace or repair the unit.
6. Install Water Softener
Hard water can cause mineral buildup in your pipes, faucets, and appliances. Consider installing a water softener to reduce the effects of hard water on your plumbing system. A water softener will remove minerals such as calcium and magnesium from your water and prevent buildup and corrosion.
7. Clean Your Gutters and Downspouts
Clean your gutters and downspouts to prevent water from overflowing and causing damage to your home’s foundation. Ensure downspouts are directing water away from your home, and check for any blockages.
8. Inspect Outdoor Plumbing
Check outdoor faucets, hoses, and sprinkler systems for leaks or damage. Replace any damaged hoses or fittings, and make sure your sprinkler system is working correctly.
Regular maintenance is key to keeping your plumbing system in top shape. The above spring cleaning plumbing checklist is a great starting point, but don’t forget to schedule regular maintenance with a professional plumber to catch any potential problems early. By keeping up with maintenance and inspections, you’ll ensure your plumbing system continues to function smoothly for years to come.
Don’t forget that spring cleaning is also an excellent time for a general plumbing inspection. Call the plumbing experts at Ace Plumbing Repair today at (844) 711-1590 or check out our website at aceplumbingrepair.com to schedule a plumbing inspection or maintenance appointment.


