
by avi | May 25, 2024 | Tips
Gas lines are critical components of our house utility system. Which is responsible for delivering natural gas and propane to our fire appliances. Working on a gas line is a risky task because of many dangerous accidents. Due to professional expertise, one can face lead poisoning, explosions, gas leaks, etc. Here a detailed info on who works on gas lines and the type of services they provide.
Individuals who work on gas lines
Licensed Plumbers
Many licensed plumbers are trained and certified in terms of installation, repair, and replacement of lines. They have the knowledge and experience to handle any gas piping task safely. Their work is also boosted heavily as they know the local codes and regulations.
Gas fitter
Gas fitters are gas pipe specialists who are trained to work on gas lines and gas appliances. They are often part of plumbing companies or independent contractors. They must be licensed and adhere to strict safety standards.
HVAC Technicians
Heating, ventilation, and air conditioner (HVAC) technicians often work on gas lines as part of their job. In terms of installing and repairing gas-powered heating systems, they showcase their true ability. They have specialized training in handling gas connections and safe operation.
General Contractors
General contractors mostly handle general contractors and other major remodeling projects. In their overall project management, they try to handle all kinds of difficulties. So, as they are not working themselves rest assured they will pick the right person for your task.
Conclusion
Working on a gas line requires a certain level of skills and certifications. As a gas worker, I inherit the highest level of danger in terms of working. To truly answer the question of who works on gas lines certain answers are licensed plumbers, gas fitters, HVAC technicians, and general contractors. They play a vital role in terms of working installation, repair, and maintenance. So make sure to hire someone who is capable of working on projects safely and effectively.
Why Choose Ace Plumbing Repair for Your Gas Line Needs?
At Ace Plumbing Repair, we have a team of certified professionals who specialize in gas piping services. Our technicians are experienced, reliable and dedicated to the safe and efficient installation and repair of gas lines. Whether you need a new who works on gas line or a line repaired, you can trust us with professionalism and care.
by avi | May 23, 2024 | Tips
Capping off the dishwasher drain on a garbage disposal is a straightforward process. The truth is the whole process is easier until you know the proper way how to cap off the dishwasher drain on the garbage disposal. This guide will provide you with step-by-step instructions to ensure the job is done properly.
Tools and Materials You Will Need
- Flathead Screwdriver,
- Hammer,
- Hose Clamp,
- Dishwasher Drain,
- Adjustable Wrench,
- Towels,
- Bucket.
Step-by-step process on how to cap off dishwasher drain on garbage disposal
Safety First
Ensure both devices are turned off. So carefully unplug or turn off the power at the circuit breaker. Place a bucket under the sink and catch any unnecessary water.
Disconnect The Dishwasher Drain Hose
Locate the washer drain hose connected to the garbage disposal. Normally it’s attached to a small nozzle on the side of the unit. Use a flathead screwdriver to loosen up the clamp that secures the hose to the disposal unit. Slide the hose clamp away from the nozzle.
Carefully pull the drain hose off the nozzle. Also, be ready as some water may overflow from the drain while going along the process. So this is why you need to have.
Prepare To Cap The Dishwasher Drain
Once the drain hose is removed inspect the nozzle on the disposal. If it’s dirty and has debris, Clean it to ensure a proper seal or cap. If your garbage disposal comes with a knockout plug, locate it. Alternatively, you can purchase a dishwasher drain plug from a hardware store.
Cap The Dishwasher Drain
Place the dishwasher drain cap or plug over the nozzle where the hose was connected. If you are using a plug that requires a hose clamp, slide the hose clamp over the cap and tight it up securely. Use a flathead screwdriver to prevent leaks. Some plugs may require you to tap them into place with a hammer. If so gently avoid damaging the garbage disposal.
Checks for Leaks
Once the cap is placed turn it on power back on and run some water to test for leaks. If water leaks from the capped nozzle, close the hose clamp further or ensure the cap is seated correctly.
Re-Secure Everything
Ensure that all connections and clamps are secure. Clean up any remaining water debris around the work area. Double-check both units and restore them.
Tips and Troubleshooting
Hose Clamp
Ensure the hose clamp is tight enough to prevent any leaks but not very tight so that it could damage the cap and plug.
Proper Fit
Make sure the cap or plug is the correct size for the nozzle for the disposal unit. An improper fit can lead to leaks.
Testing
Always run water and test the capped area to confirm there are no leaks before finishing the job.
Conclusion
Capping off a dishwasher drain on a garbage disposal is simple and can be completed with a few basic tools and careful attention to detail. By following the proper steps how to cap off dishwasher drain on garbage disposal you can make sure you can do your job correctly. This will also help you avoid potential leaks and issues. Whether you’re temporarily unclogging your dishwasher or eradicating it, this guide will help you effectively seal the drain.

by avi | May 23, 2024 | Tips
Removing an InSinkErator sink flange may seem like a difficult job. But ultimately it’s not that of a big deal if one knows the right process. Using the right tools and knowing the right process on How to Remove the InSinkErator Sink Flange is necessary. Whether you need to replace a garbage disposal or repair a leak, this comprehensive guide will help you dispose of a sink safely and efficiently.
Tools and Materials You Will Need
- Adjustable Wrench,
- Screwdriver,
- Putty,
- Hammer,
- Pilers,
- Bucket,
- Towel and rags.
Step-By-Step Guide on How To Remove InSinkErator Sink Flange
Safety First
Before you start make sure the power to the disposal is turned off. So unplug the unit or turn off the circuit breaker. Clear out the area under the sink to get yourself a lot of open space.
Disconnect Garbage Disposal
Place a bucket under the sink to catch any water and debris that is bound to fall during the process. Use the wrench to disconnect the pipe from the unit.
Remove The Garbage Disposal Unit
Most InSinkErator models have a quick-lock ring mounting system. Use a Screwdriver to loosen up the lock system. Once the ring is loosened, you will be able to detach the sink flange. While doing so carefully lower the unit and set it aside.
Remove The Sink Flange
Use the screwdriver to lose and remove the screw. The sink flange is usually held in place by a snap ring. Now use the pliers to remove the snap ring from the flange. Once the snap is removed push the flange through the sinkhole from underneath. In a matter of stuck simply just hit it with a hammer to loosen it up.
Clean the Sink Area
After removing the flange, clean the area around the sink. Remove any old plumber putty or debris to ensure a smooth surface for the new flange.
Tips for Reinstallation Replacement
Applying Plumbers Putty
If you are reinstalling the same flange or installing a new one, apply the plumber’s compound to the underside of the flange before inserting it into the sink. This helps create a watertight seal.
Reattach the Disposal Unit
Follow the manufacturer’s instructions and reattach the garbage disposal unit with the new one. Ensure all the connections are secure and there are no leaks after restoring power.
Conclusion
Removing an InSinkErator is not a difficult task or challenging. By following simple steps and a few steps you can also learn how to remove InSinkErator sink flange safely and easily. Whether it’s replacing removing, or fixing leaks a proper guide is necessary and very affordable. While fixing if you see or face any difficulties you can talk to our professionals at Ace Plumbing Repair. Contact our expert for solutions or major difficulties you can make a schedule as well.
by avi | May 13, 2024 | Cleaning
In every home, the kitchen is the heart. It is a place where you need to prepare meals and maintain cleanliness. But not just in the kitchen another handy place is your bathroom. With the combination of the two places, we get a dishwasher and garbage disposal. They work together to make our daily chores a bit easier.
But, a common question arises: can you run dishwasher if garbage disposal broken? Let’s dive into the topic, on how these appliances interact and what to do if you face this issue.
Knowing the Link Between Your Dishwasher and Garbage Disposal
Before we start it’s essential to know why your dishwasher and garbage are companions. These appliances have connections through the same drainage line. The dishwasher drains its water through a hose that feeds into the garbage disposal. This setup is usually efficient but also means a problem with one can affect the other. So, when facing confusion can you run dishwasher if garbage disposal broken? the answer isn’t always straightforward.
Can You Run Dishwasher If Garbage Disposal Broken?
The short answer is, it depends. If your garbage disposal is merely broken in a way that it can not turn on. But water can still pass through it, then your dishwasher should be able to drain properly. If your garbage disposal is not working like it’s not grinding but still allows water to pass through. Your dishwasher should be able to drain without issues. However, the situation gets trickier if the disposal has a clog. A clog can prevent water from escaping, which might lead to water backing up in your dishwasher. This is why when pondering “can you run dishwasher if garbage disposal broken?”. It’s crucial to assess the type of problem at your disposal first.
Steps to Troubleshoot a Clogged Garbage Disposal
Now, let’s talk about what to do if you suspect that your garbage disposal is clogged. Here are some simple steps to troubleshoot the issue and get your kitchen back in working order:
Power Off
First things first, you’ll want to make sure the power is off to the garbage disposal. Locate the circuit breaker or switch controlling the disposal unit and switch it off to avoid any accidents.
Check for Blockages
Grab a flashlight and take a peek into the disposal chamber. Look for any visible blockages, like food particles or debris, that might be causing the clog.
Use a Plunger
If you can’t see any blockages, try using a plunger to dislodge the clog. Fill the sink with enough water to cover the bottom of the plunger, place it over the disposal drain opening, and give it a few good plunges.
Reset the Disposal
Many garbage disposals have a reset button that you can use to clear minor clogs. Find the reset button, usually located on the bottom or side of the unit, and give it a press.
Turn the Power Back On
After you’ve tried troubleshooting, restore power to the garbage disposal and run some cold water to see if the clog has cleared. If the disposal still isn’t working properly, you may need to call in the professionals for further assistance.
DIY Tips: Clearing the Way
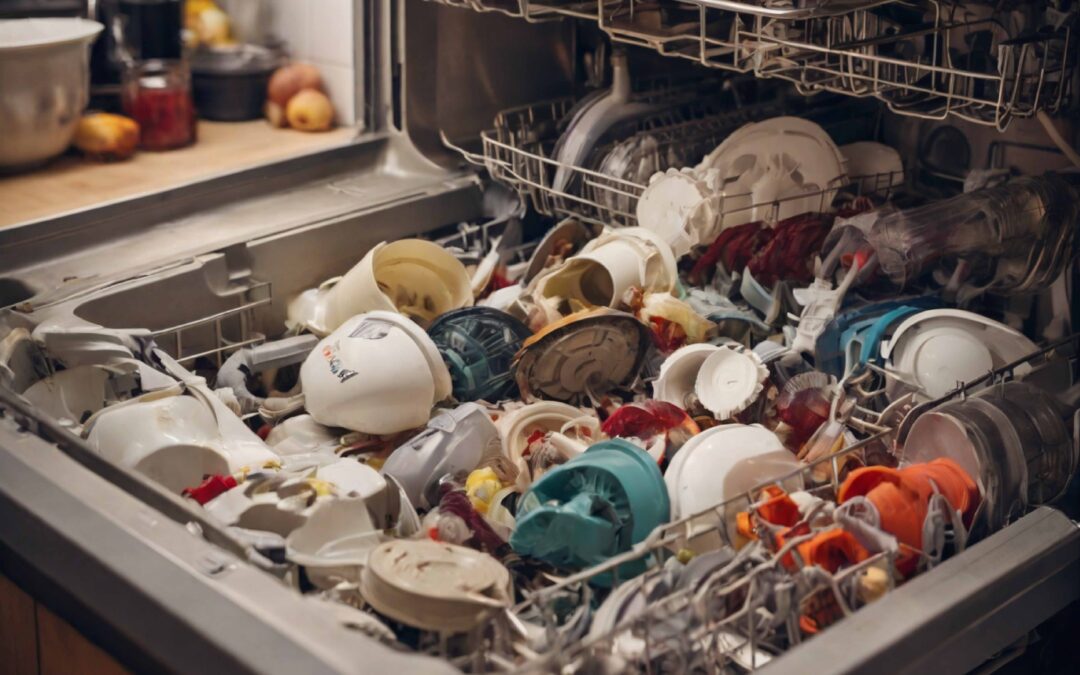
Discovering a clog, especially from something like rocks, can be a hassle. If you’re wondering how those rocks ended up there, well, it could be from a variety of sources, including an unnoticed rock on a plate.
Here’s a gentle reminder and guide on how to tackle this without turning your kitchen into a plumber’s workshop:
- Safety First: Always turn off the power to both your dishwasher and garbage disposal to prevent any accidents.
- Remove Obstructions: Using tools like pliers, carefully remove any rocks or debris. It’s a task that requires patience and a bit of elbow grease.
- Check and Test: After clearing, run the disposal briefly with water to ensure it’s smooth sailing.
The Heart of the Matter: Maintenance and Care
Now, you might have cleared the clog, but maintaining these appliances is key to avoiding the question, “can you run dishwasher if garbage disposal broken?” in the future.
Here are some simple yet effective tips:
- Always use cold water when running the disposal.
- Avoid disposing of hard objects that could lead to clogs or damage.
- Keep greasy substances away from your disposal to prevent buildup.
What Not to Do While Dealing with a Garbage Disposal:
Now, let’s talk about what not to do when you’re dealing with a garbage disposal issue.
Here are some common mistakes to avoid:
Inserting Hands
Never, insert your hand inside the disposal even when it’s off. Those blades are sharp, and you could seriously injure yourself.
Using Harsh Chemicals
Avoid using chemical drain cleaners to unclog the disposal. Not only can they damage the unit, but they can also be harmful to you and the environment.
Overloading the Disposal
Try not to overload the garbage disposal with too much food at once. It’s better to take it slow and let the disposal do its job properly.
Seeking Professional Help vs. DIY
While a bit of DIY can fix minor issues. There comes a time when calling in the experts is the best course of action. Even after a bit of twerking if you are wondering can you run dishwasher if garbage disposal broken? Then you should call for a professional. They can offer a comprehensive check and repair that goes beyond a simple clog removal. Ensuring your kitchen goes back to being the heart of your home, full of life, and free of plumbing woes.
Conclusion,
Navigating the question “can you run dishwasher if garbage disposal broken?” requires a bit of knowledge, a dash of DIY spirit, and sometimes, the help of a professional. By understanding how these appliances work together, you can ensure that a broken garbage disposal doesn’t bring your kitchen to a standstill. Remember, a well-maintained kitchen is a happy kitchen. Your dishwasher and garbage disposal will continue to work in harmony. With just your simple care and patience.
by avi | May 13, 2024 | Tips, Uncategorized
A garbage disposal is a common fixture in modern kitchens. Offering a modern and useful way to dispose of food waste and other particles. It’s a device installed beneath the sink which connects to the drain. These devices use a motor with small blades that help to cut food scrapes into small particles. While it’s a useful device still some may need to figure out how to remove a garbage disposal and return to original sink drain.
Where the main reason can be things like clogs and maintenance. Which is really a serious annoyance for most people. Managing a garbage disposal is hard not just a simple process. This guide will help you walk through the process of how to remove a garbage disposal and return to original sink drain.
What is a garbage disposal?
Before you start it is necessary to figure out how garbage disposal works. As well as how to remove them or replace them. A disposal is an electrical device that fits between the sink drain and the trap. The machine helps to grind the food into small scraps and food waste into tiny pieces. Being a convenient machine they are still prone to jamming, leaks, and other failure. Also, some homeowners don’t prefer to use this unit as they require more electrical usage.
Tools You Need
Before starting the removal process, ensure you have the following tools and materials ready:
- Adjustable wrench
- Phillips and flat-head screwdrivers
- Plumber’s putty
- Bucket or pan (to catch any residual water)
- A new sink drain assembly (if you plan to revert to a traditional sink drain)
- Pipe wrench or Channellock pliers
- Towel or rag
- Wire Nuts and Electrical tapes
- Voltage tester
Step-by-step guide on how to remove a garbage disposal and return to original sink drain
If you are sure about going back to your previous drain system leaving the disposal unit. This will require the right knowledge and way to complete the whole process. To tell the truth, knowing how to remove a garbage disposal and return to original sink drain is a must for DIY individuals. This will not only offer you satisfaction and ideas. It will also help you save some money which you will spend on plumber work.
So, let’s dive into the step-by-step process:
Safety and Precaution
The first and most important step before you start to work is having the correct advancement knowledge. While having safety along the way so it may not inflict any danger.
Electrical Safety
Turn off the breaker to cut off the power for the unit. To ensure the device is off and has no more voltage use the voltage tester. Confirm firmly that the device is indeed off. This will make sure there is no danger or accidental activation while working.
Clear Space
Remove any items you have around the unit or your sink. A clear space for working helps to be fluent in terms of work. Which offers tools to use the force and minimal space they require.
Initial Assessment
Before you start learn how the disposal is connected to your sink. Knowing helps to identify and clarify work methods for better and safer planning. Note the type of connection and plan along the work sequence. If the machine has a hardwire connection and you don’t feel comfortable. You should take consulting or as well hire an electrician.
Detailed Removal Process
Plumbing Connection
Position your bucket under the disposal unit to catch any dripping water. Now use the wrench or the pliers to disconnect the drain pipe from the disposal unit. If there’s a dishwasher drain hose attachment, try to loosen up the clamp and detach the hole.
Electrical Disconnection
If your unit has an out outlet simply just unplug the device. For any unit with a hardwiring connection, remove the plate to expose the wires. Then cut out the wires which gives away connection and secure them. In terms of securing the connection use the electrical tapes and the wire nuts for protection and no further damage.
Garbage Disposal Installation
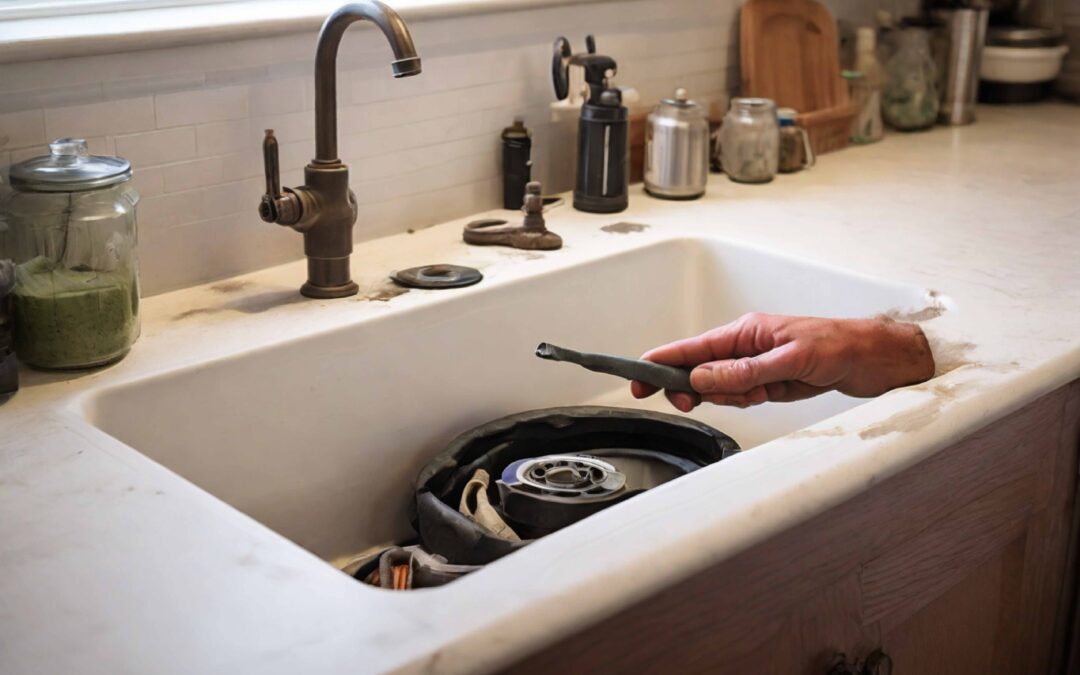
Removing the Garbage Disposal
Loosening the Mounting Ring
For disposal units, they are simply held in a place with the help of a mounting ring. Which can twist off. To do this simply just support the unit and use the other hand to turn the mounting ring. Make sure to turn in the counterclockwise which will loosen up the unit. Then simply just lower the device.
Removing the Assembly
Now the dispola is out you need to loosen up the fitting and mounting assembly. By losing all the screws you will clear all the difficulties then just pry open the assembly. After cleaning off the assembly clean all the dust and putty from the sink opening.
Installing a New Sink Drain
Prepping the New Drain
Take your new sink drain assembly and apply a sum amount of putty. Make sure you have a good amount of putty around the base. Press the drain into the sink opening, ensuring a tight fit.
Securing From Below
Under the sink, place the washer nut the drain into to correct place and tighten up securely. Remove any excess plumber putty that squeezes out around the drain.
Reconnecting Plumbing
Reattach the P-trap and the drainpipe to the new sink drain. Use a wrench to tighten the connection. Make sure the tightening is minimal so it does not damage the pipes.
Final Steps and Troubleshooting
- Leak Testing: Turn on the water and fill the sink, then drain it while checking for leaks under the sink. Tighten any connections if you find drips.
- Electrical Safety Check: If you have to deal with hardwired electrical connections, double-check that all wires are safely capped and secured away from any water sources.
- Cleanup and Storage: Clean up your workspace, dry any spilled water, and store your tools. Dispose of the old garbage disposal according to local regulations. Which may involve recycling or special disposal methods due to its electronic components.
Troubleshooting Common Issues
- Spills at New Channel: Assuming you notice spills, guarantee that the handyman’s clay is perfectly located. Additionally, ensure the association is tight. Once in a while, reapplying the handyman’s clay or fixing the nut a touch more can tackle the issue.
- Inadequate Electrical Separation: Assuming you’re uncertain about electrical disengagement. Particularly on account of designing, counsel an expert circuit repairman to stay away from chances.
- Trouble Eliminating Old Equipment: A few parts might be eroded or firmly fixed. Applying infiltrating oil can assist with slackening them. On the off chance that you’re as yet unfit to eliminate parts, it very well may be an ideal opportunity to call an expert.
Conclusion,
Removing a grange disposal and riveting to a traditional sink is a simple project. It can easily be done by homeowners as well. Just by simply knowing how to remove a garbage disposal and return to original sink drain is enough to do the job. If at any point you feel uneasy and uncomfortable doing the job it’s okay to leave it. Especially dealing with electrical systems we offer no positivity to this. Unless you are a professional first make sure you are safe from any risk. With patience and attention to detail, you will be able to achieve your goal and complete the task.
FAQ
- Do I want extraordinary devices for eliminating waste disposal?
- No, essential instruments like pincers, a screwdriver, and a wrench are ordinarily adequate. A handyman’s wrench can be convenient for difficult associations.
- Might I at any point reuse the current sink channel after eliminating the removal?
- Indeed, you can assume the channel is looking great. Cautiously investigate it, guarantee a legitimate seal, and reconnect it safely during reinstallation.
- Are there explicit moves toward following while detaching the removal?
- Indeed, switch off the power, separate the pipes, release the mounting get-together, and cautiously eliminate the removal. Observe the producer’s rules for your particular model.
- Do I want proficient assistance to eliminate waste disposal? A. While it’s a Do-It-Yourself accommodating errand, if you’re questionable or experience challenges, counseling an expert handyman guarantees a smooth and safe evacuation process.
 Call Now