As a homeowner, you might not spend too much time thinking about your plumbing system until something goes wrong. However, regular maintenance can help you avoid costly repairs and extend the life of your plumbing system. One important component of your plumbing system that you may not be familiar with are angle stops.
Angle stops, also known as shut off valves, are small but very important components of any plumbing system. These valves are typically located under the sinks and toilets in your home, behind the walls and out of sight. They allow you to turn off the water supply to individual fixtures in your home when you need to make repairs or replace a fixture.
There are two main types of angle stops: compression angle stops and ball valve angle stops. Compression angle stops are the older type of valve and work by compressing a rubber washer to stop the flow of water when the valve’s handle is turned. These valves are prone to leaks, as the rubber washer can wear out over time. Ball valve angle stops, on the other hand, use a ball to control the flow of water. These valves are less likely to leak and are more durable than compression angle stops.
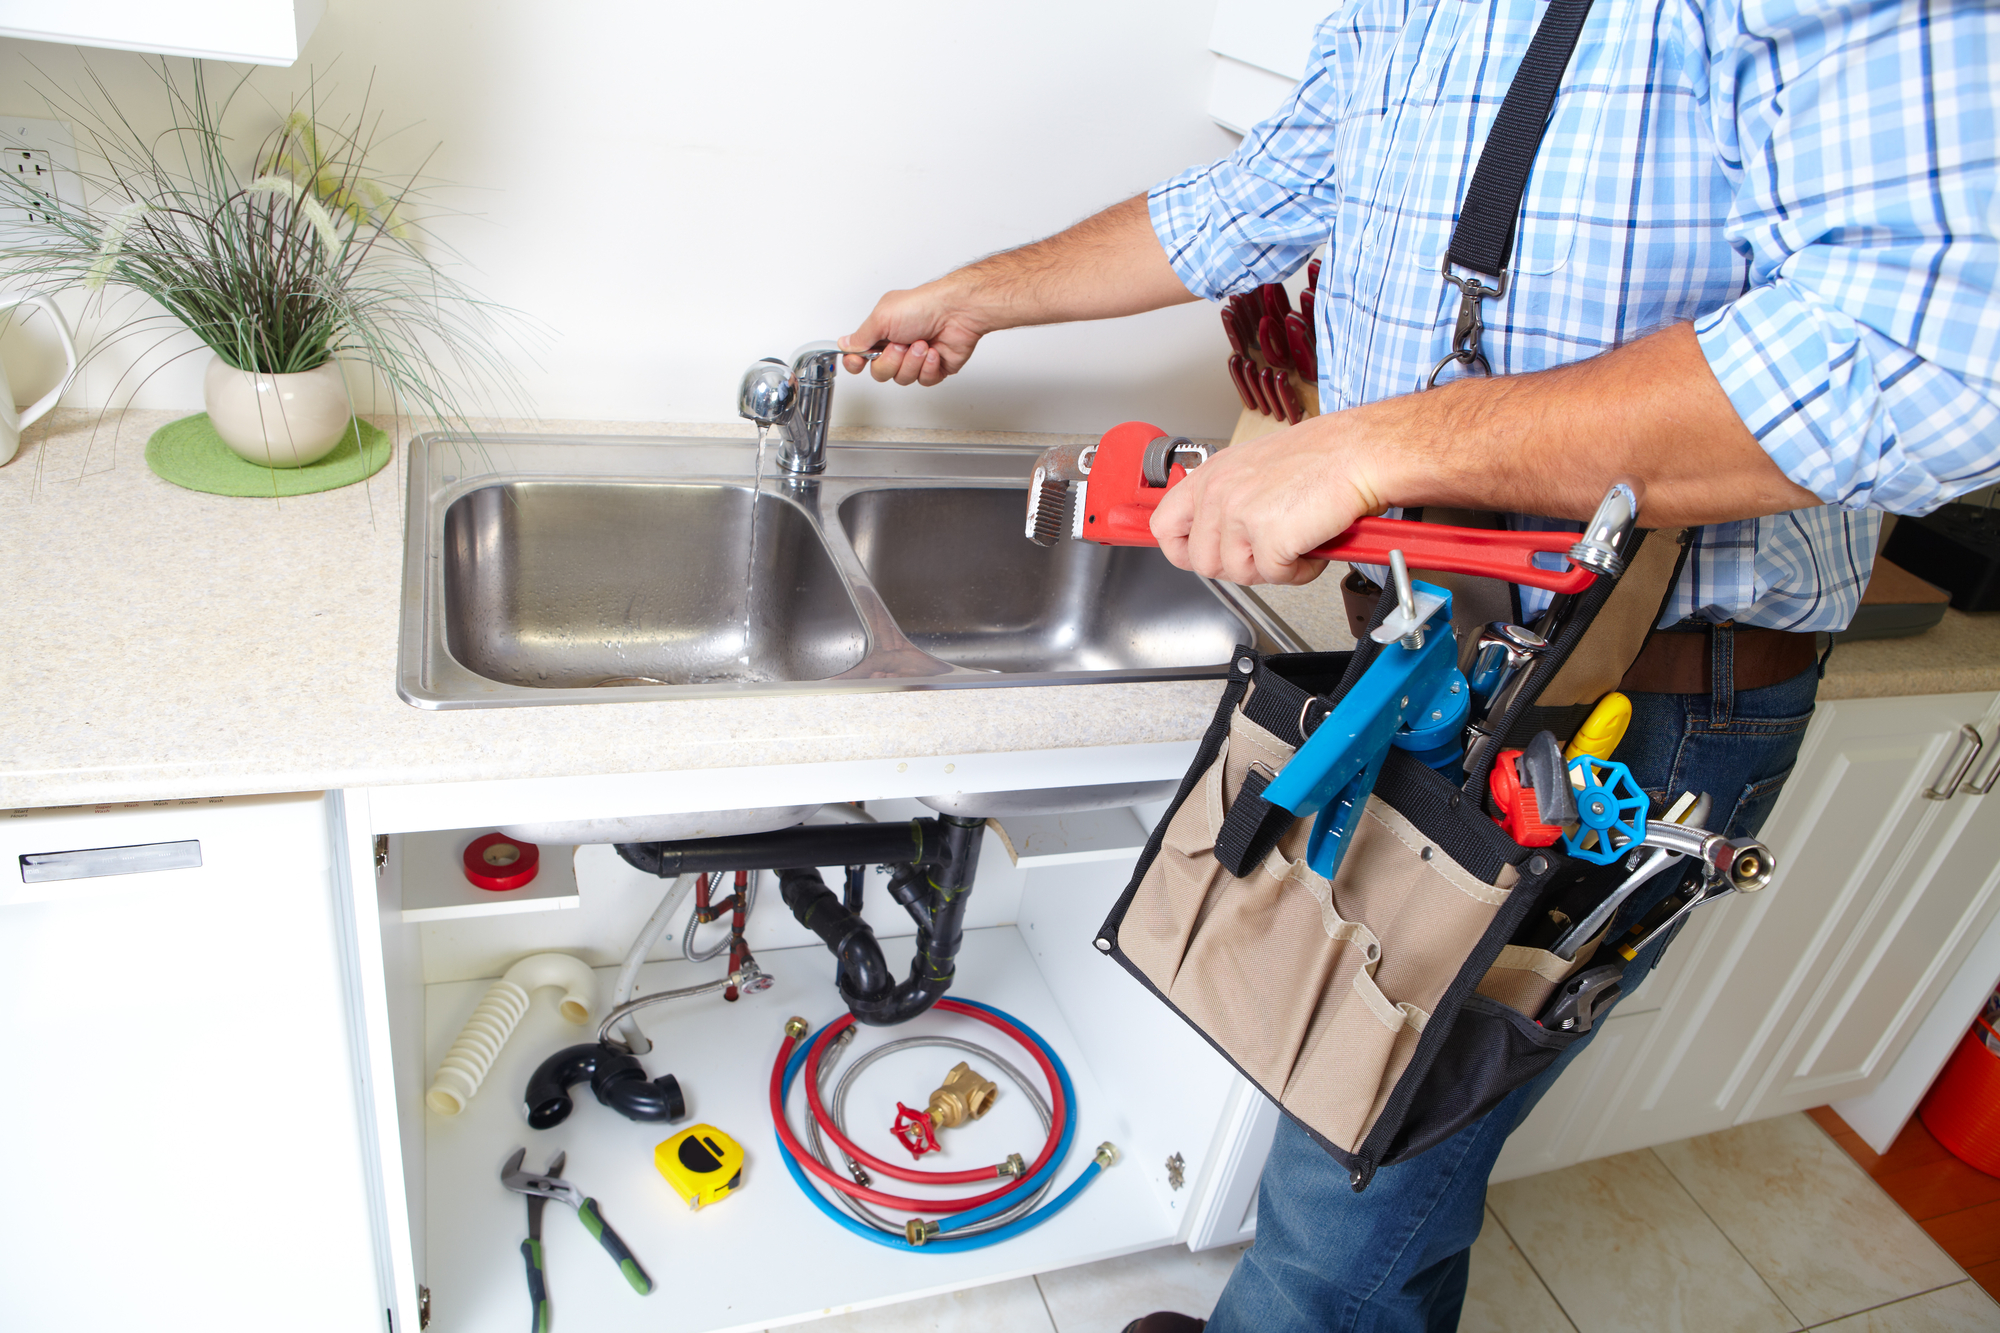
Replacing Angle Stops
If you are experiencing a leak from your angle stop, it is important to have it replaced right away. Leaking angle stops can cause water damage and lead to mold growth, which can be dangerous to your health. Replacing an angle stop is a relatively simple process that can be done by a professional plumber or a handy homeowner. Here are the steps to replace an angle stop:
1. Turn off the water supply: Before you begin any repairs, it’s important to turn off the water supply to the fixture you will be working on. This will prevent any water from flowing while you make the repair.
2. Disconnect the supply line: Once the water supply is turned off, you will need to disconnect the supply line from the angle stop. This is typically done using a wrench or pliers.
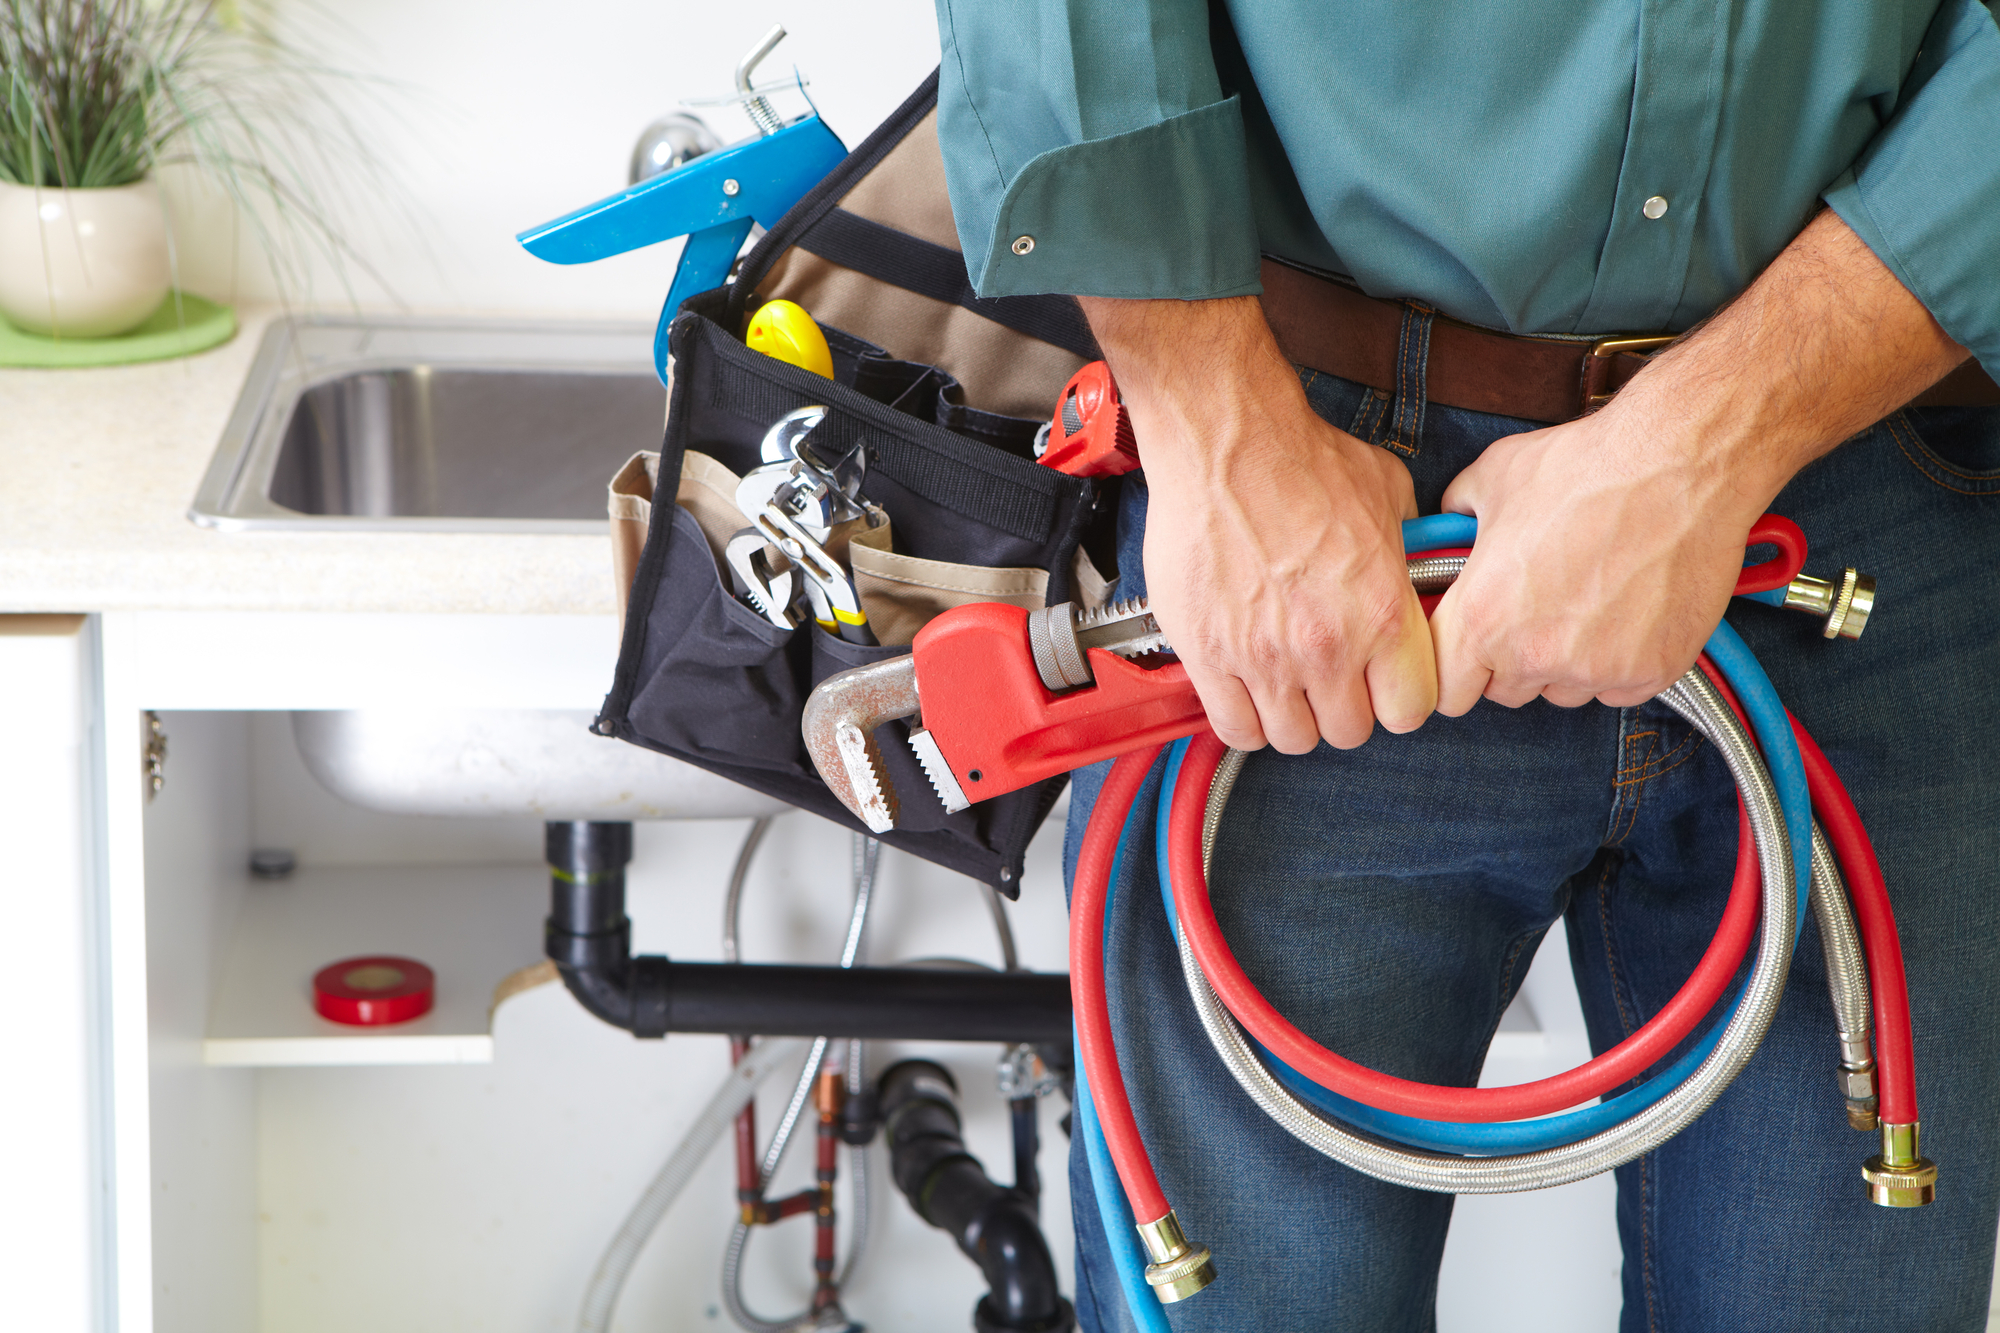
3. Remove the old angle stop: Using a wrench or pliers, remove the old angle stop from the pipe. This should be a simple process, as the angle stop is typically attached to the pipe using a threaded connection.
4. Install the new angle stop: Once the old angle stop is removed, you can install the new angle stop. This is typically done by screwing the new valve onto the pipe.
5. Reconnect the supply line: Once the new angle stop is installed, you can reconnect the supply line to the new valve. Be sure to use a new supply line if the old one is damaged.
6. Turn the water supply back on: Once everything is connected, you can turn the water supply back on and check for leaks. If everything looks good, you’re ready to use the fixture again.
Preventing Angle Stop Leaks
Preventing leaks from angle stops is important to avoid water damage and to extend the life of your plumbing system. Here are a few tips for preventing angle stop leaks:
1. Regularly inspect your angle stops for signs of wear and tear.
2. Replace old angle stops before they begin to leak.
3. If you notice a slow leak from an angle stop, have it repaired right away to prevent further damage.
4. If you live in an area with hard water, consider installing a water softener to reduce the wear and tear on your plumbing system.
Conclusion
Angle stops are an important component of any plumbing system, allowing you to turn off the water supply to individual fixtures when needed. By understanding how they work and taking steps to prevent leaks, you can ensure that your plumbing system stays in good condition for years to come. If you need help replacing an angle stop or repairing a leak, contact the plumbing experts at Ace Plumbing Repair by visiting aceplumbingrepair.com or calling (844) 711-1590.

