If you’re experiencing a leaky Moen kitchen faucet, it might be time to replace the faucet. While it may seem daunting at first, removing a Moen kitchen faucet is not as difficult as it may appear. In this article, we’ll provide a step-by-step guide on how to remove a Moen kitchen faucet so that you can replace your faucet with ease.
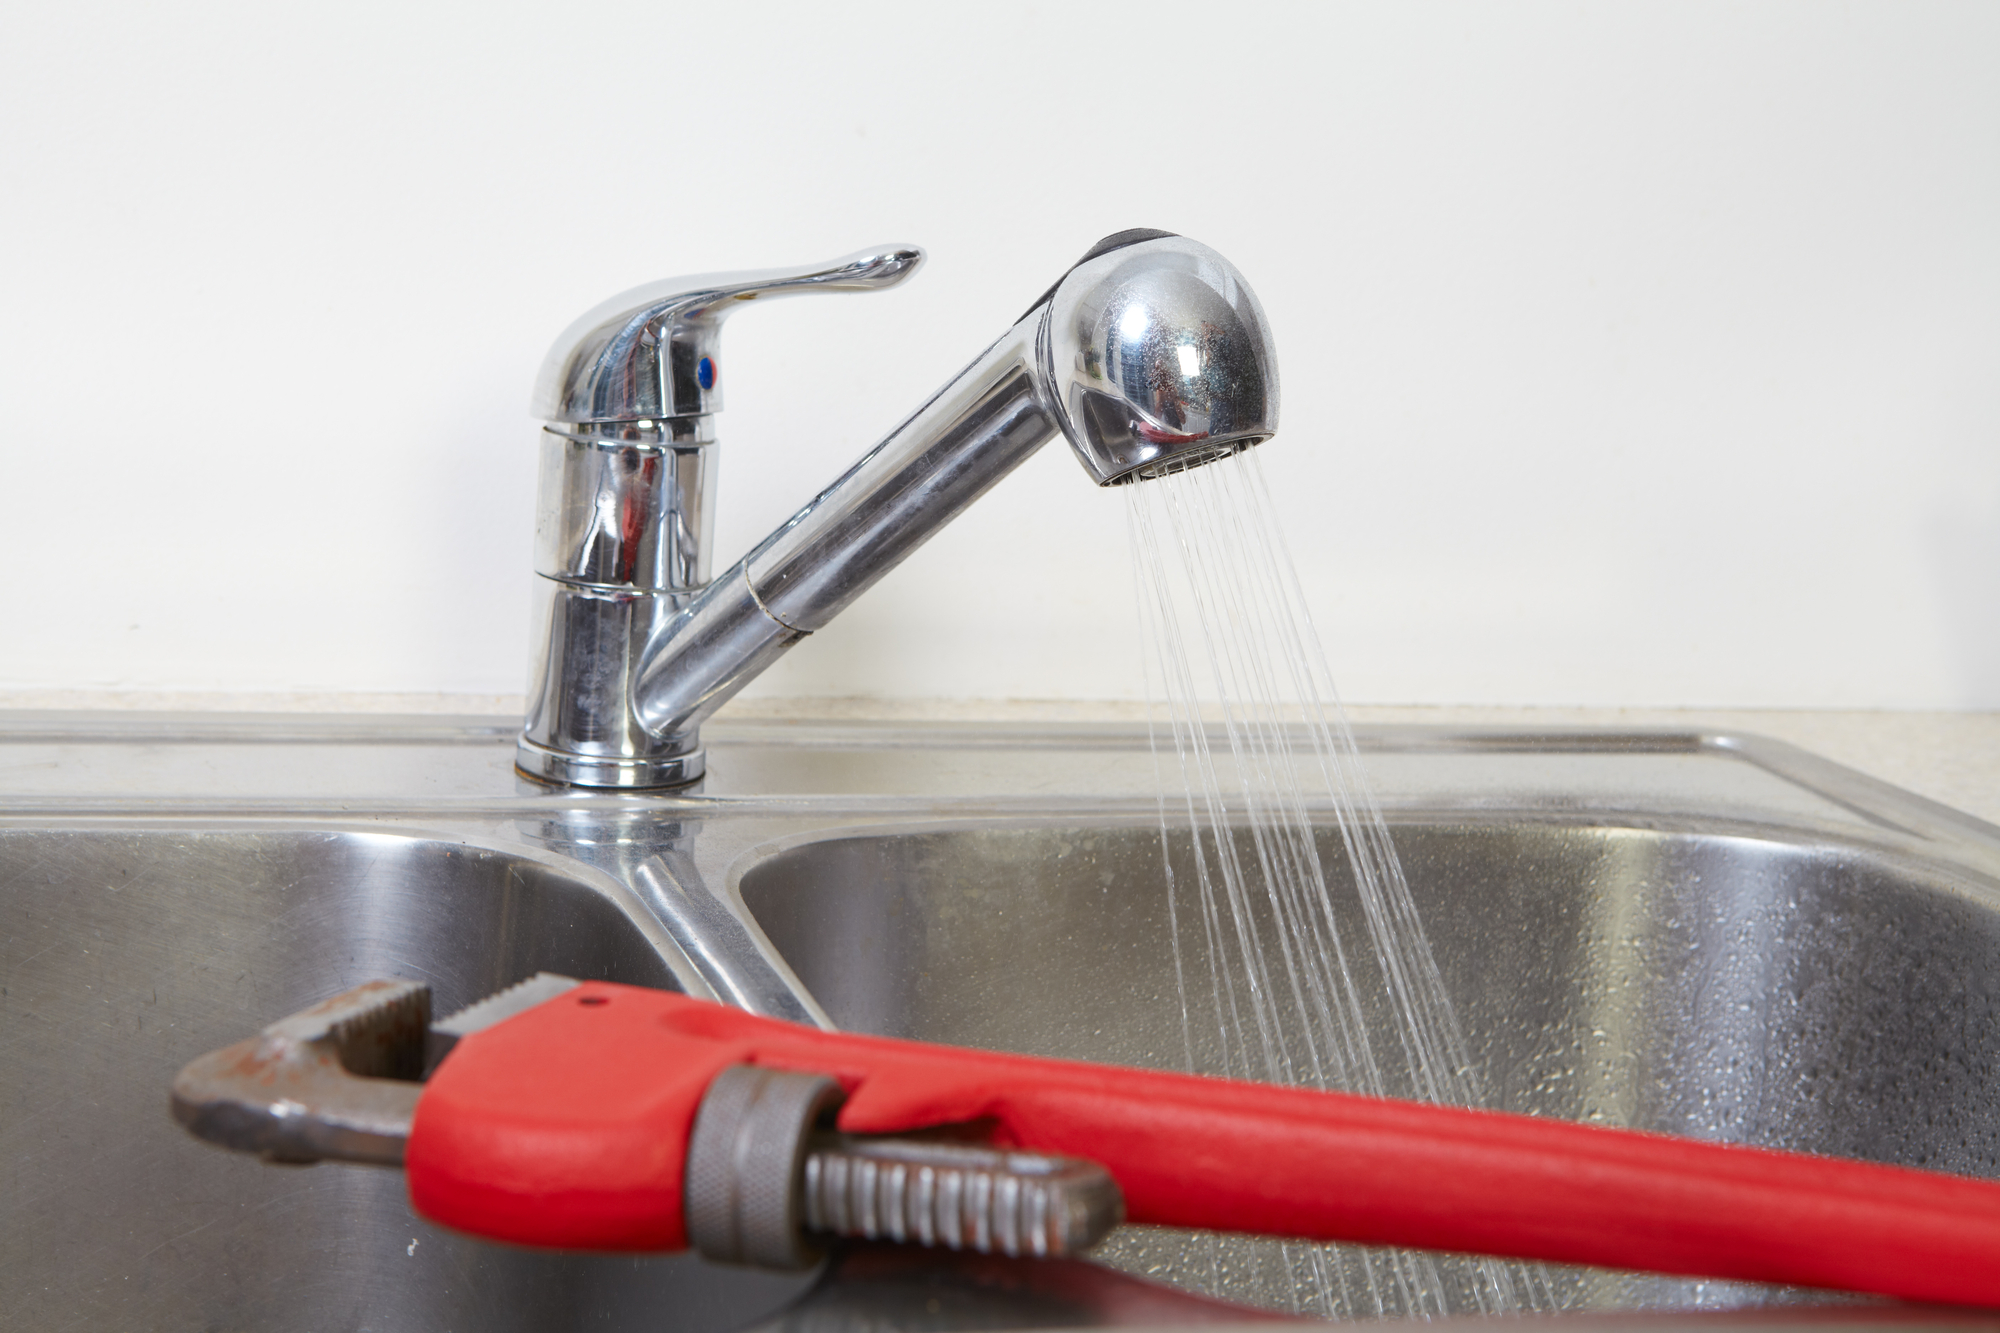
First, let’s take a look at the tools you’ll need for the job. You’ll need a basin wrench, adjustable wrench, pliers, a screwdriver, and a pair of safety glasses.
Step 1: Turn off the Water Supply
Before beginning any plumbing work, it’s important to turn off the water supply to the kitchen faucet. Look for the shutoff valve located under the sink and turn it off. Once the water is turned off, turn on the faucet to release any remaining water in the line.

Step 2: Remove the Handle
Next, we need to remove the handle of the Moen kitchen faucet. This may vary depending on the model of your faucet, but typically you’ll need to remove a screw located underneath the handle to release it. Once the screw is removed, lift the handle off, and set it aside.
Step 3: Remove the Escutcheon
The escutcheon is the metal plate that surrounds the base of the faucet. Remove the screws that hold it in place and set the escutcheon aside.
Step 4: Remove the Mounting Nut
Using a basin wrench, remove the mounting nut at the faucet’s base. Turn the wrench counterclockwise to loosen and remove the mounting nut. If the mounting nut is too tight, you may need to use a pair of pliers to get a better grip.

Step 5: Lift the Faucet Off
Once the mounting nut has been removed, the Moen kitchen faucet should be loose enough to lift off. Pull the faucet straight up to remove it from the sink.
Step 6: Remove the Retaining Clip and Cartridge
Underneath the faucet, you’ll see a retaining clip that holds the cartridge in place. Use a pair of pliers to remove the retaining clip. Once the clip is removed, you can lift the cartridge out of the faucet.
Step 7: Replace the Mounting Hardware
Before installing the new faucet, it’s important to ensure that the mounting hardware is secure and in good condition. If the mounting hardware is worn or damaged, it’s important to replace it before installing the new faucet.
Step 8: Install the New Faucet
Now that the old faucet is removed, it’s time to install the new one. Follow the manufacturer’s instructions for installation and ensure that the mounting hardware is secure.
Step 9: Reattach the Retaining Clip and Cartridge
Once the new faucet is in place, reattach the retaining clip and cartridge.
Step 10: Reinstall the Mounting Nut and Escutcheon
Slide the mounting nut back onto the faucet and tighten it with the basin wrench. Then, reattach the escutcheon and screws that hold it in place.
Step 11: Reattach the Handle
Finally, reattach the handle to the faucet by reinstalling the screw located underneath the handle.
Congratulations! You’ve successfully removed your old Moen kitchen faucet and installed a new one.
While removing a Moen kitchen faucet may seem like a daunting task, following these steps can make the process a lot easier. Remember to always turn off the water supply before beginning any plumbing work, use the proper tools and safety equipment, and follow the manufacturer’s instructions for installation.
If you need help with your Moen kitchen faucet or any other plumbing needs, don’t hesitate to call Ace Plumbing Repair at (844) 711-1590. Our expert plumbers are available 24/7 to address any plumbing emergencies or repairs you may need.


