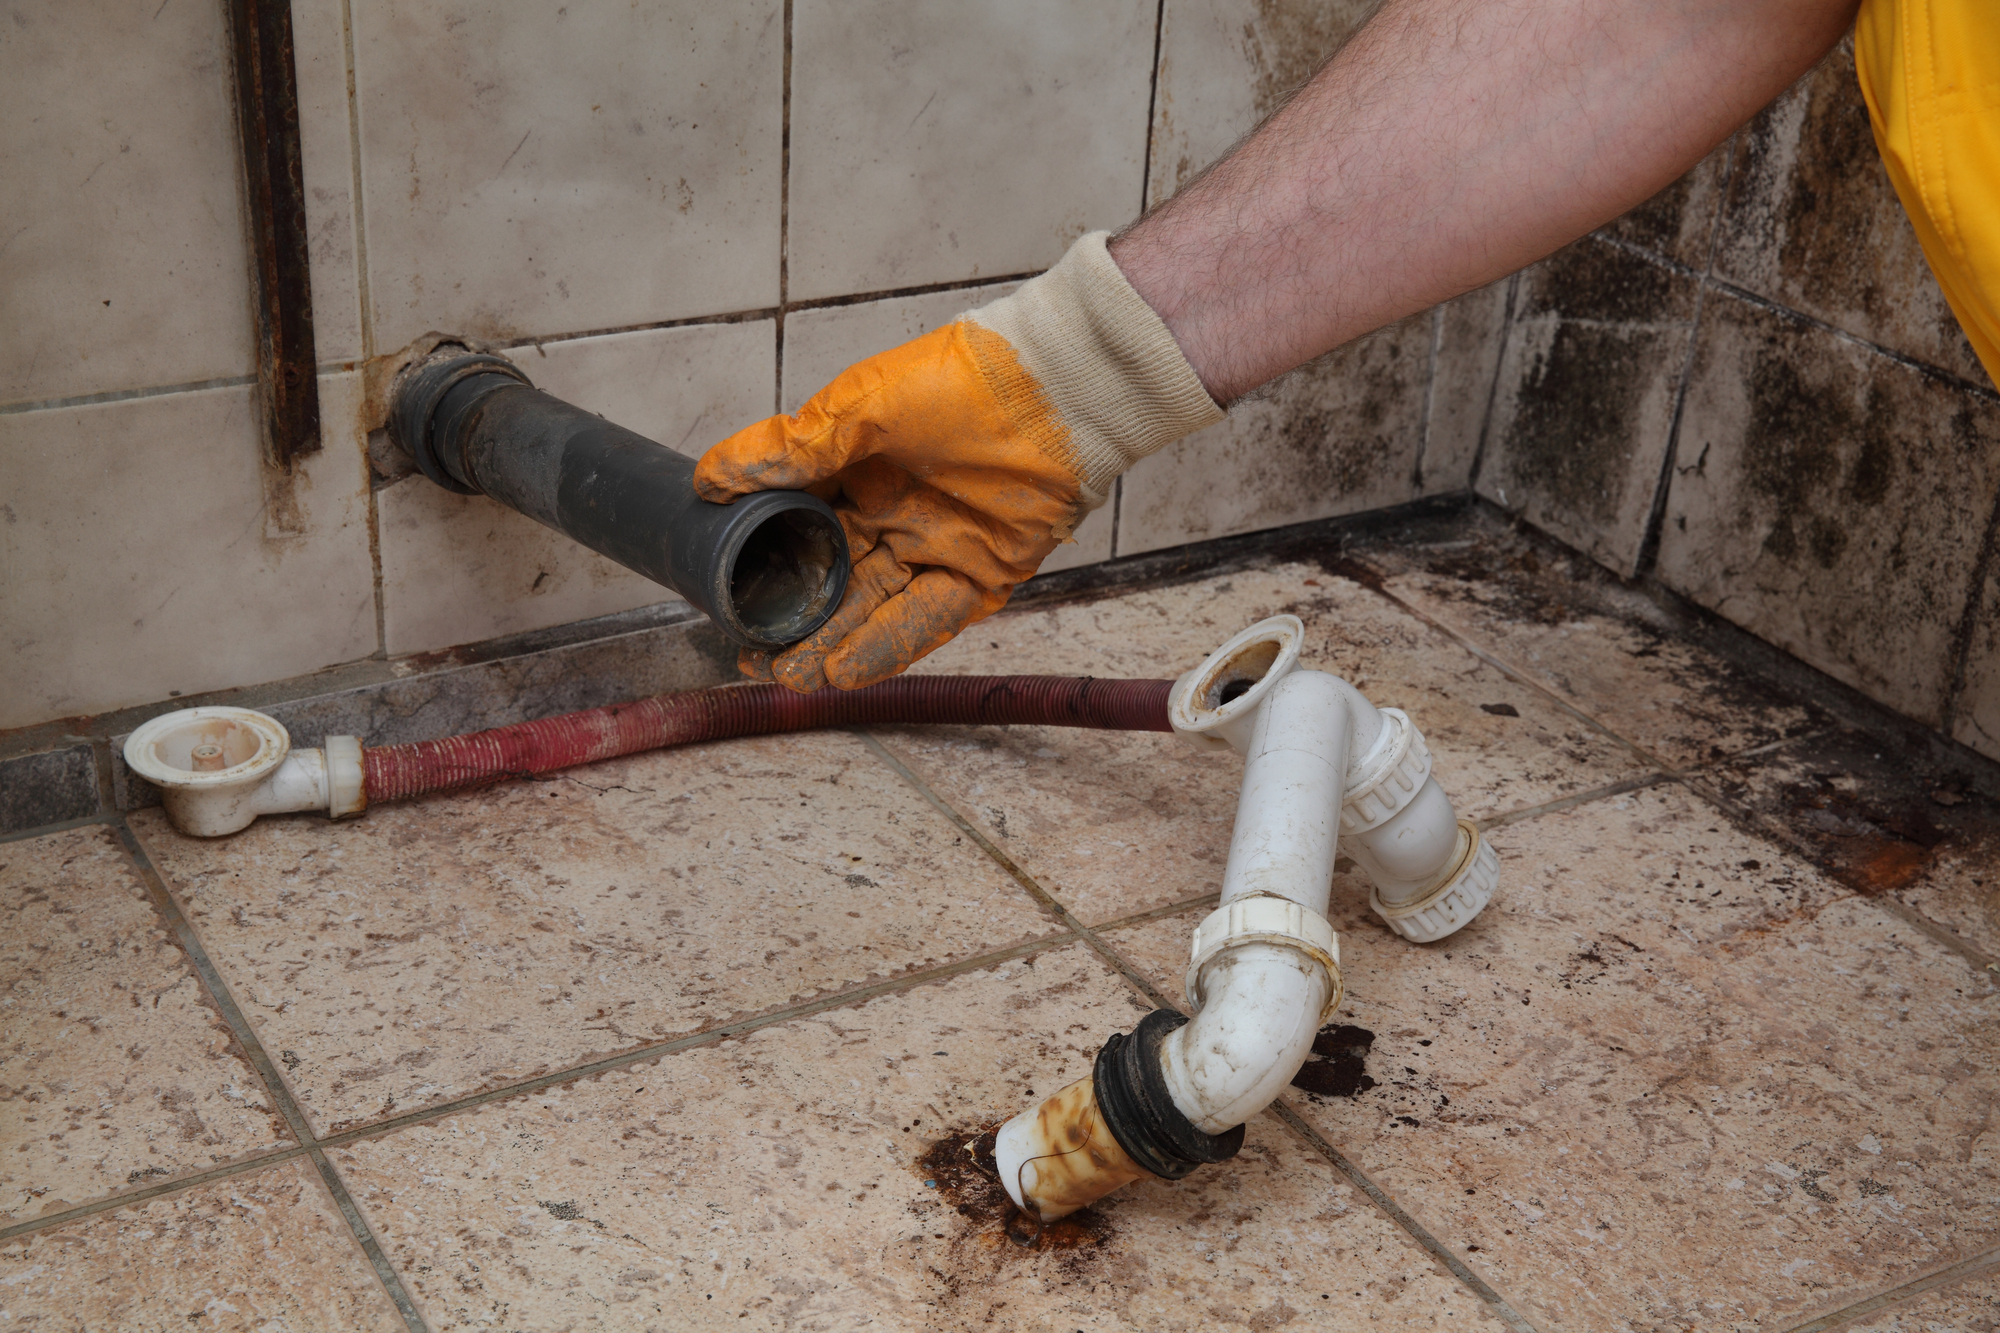
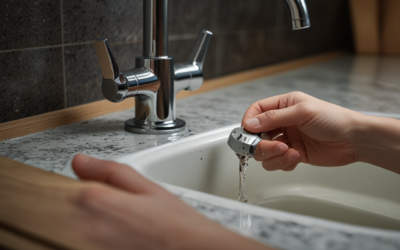
Plumbing issues can strike at any time, causing a wide range of problems for homeowners. One of the biggest concerns is the potential for biohazardous waste to be left behind after plumbing problems, such as sewage backups or burst pipes. This waste can present serious risks to both the health and safety of you and your loved ones. However, with the right approach, cleaning up after plumbing problems can be done with minimal risk and hassle. This guide will provide a step-by-step approach to dealing with biohazardous waste following plumbing issues.
Step 1: Personal Protective Equipment
The first step in dealing with biohazardous waste is to ensure your safety during the cleanup process. You will need to wear personal protective equipment (PPE), such as gloves, goggles, and a face mask, to prevent direct contact with the waste and to ensure that you are not exposed to any harmful particles or bacteria.
Step 2: On-Site Inspection
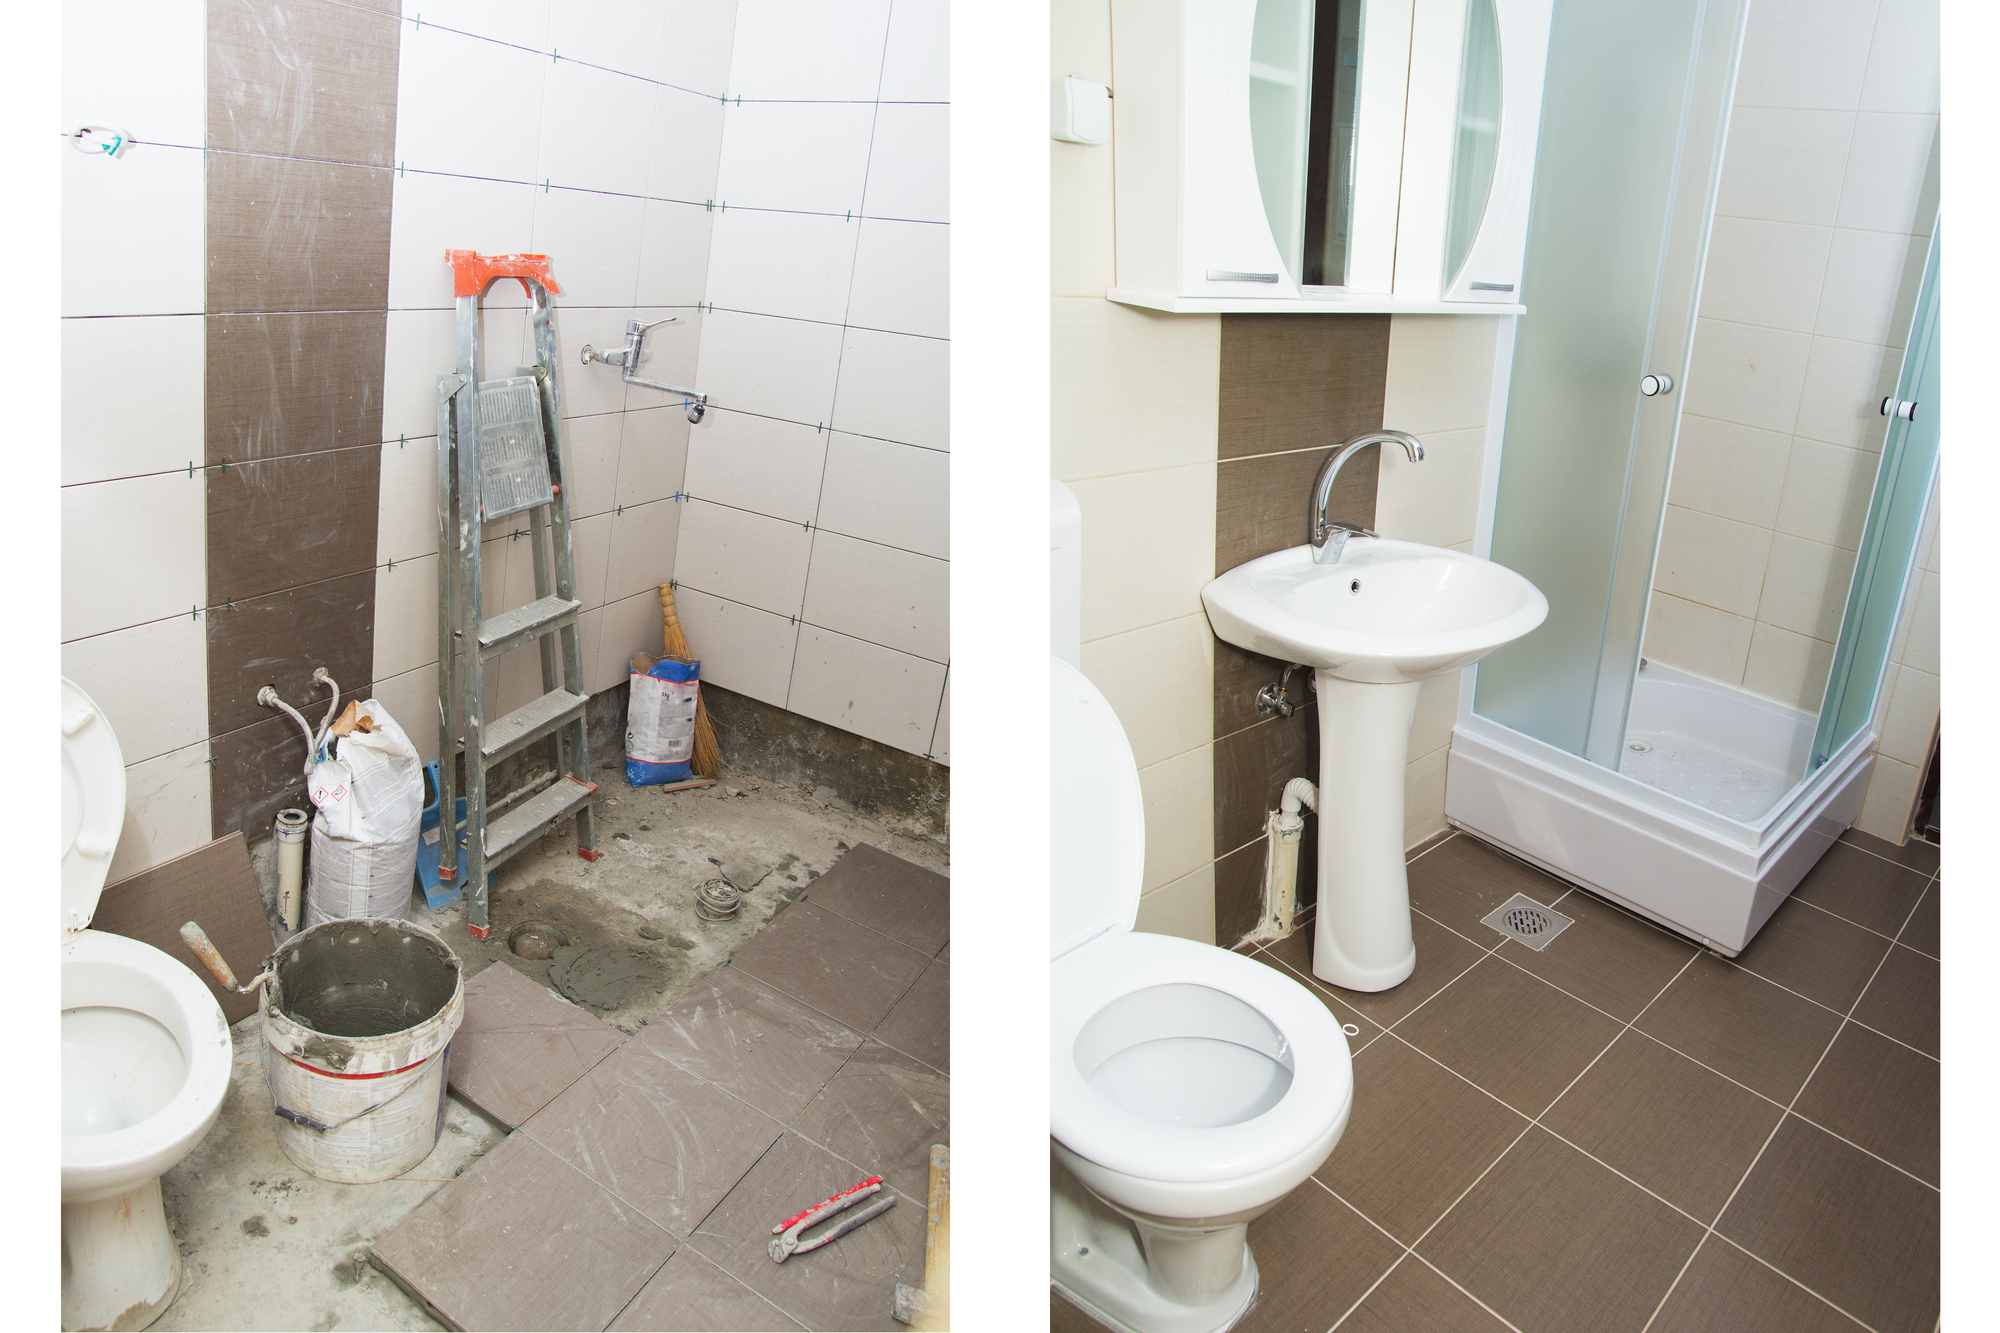
Before you begin cleaning up, you need to assess the extent of the damage caused by the plumbing issue. Inspect the area and determine the source of the problem. If the issue is not resolved, the cleanup effort will be futile, and there will be a higher chance of more waste buildup in the future.
Step 3: Containment
Plumbing issues such as sewage backups can result in contaminated areas with biohazardous waste. It is important to contain these areas to prevent the contamination of other parts of your home. Close off the affected area and use caution tape, warning signs, and other barriers to keep people and pets away. This will also prevent any spread of hazardous contaminants.
Step 4: Remove Standing Water
Once the area is secure, it’s time to remove any standing water. Use a sump pump or wet/dry vacuum cleaner to remove the water. If water has seeped into carpets, furniture, or flooring, you may need to remove these items to prevent further damage and odors.
Step 5: Remove Debris
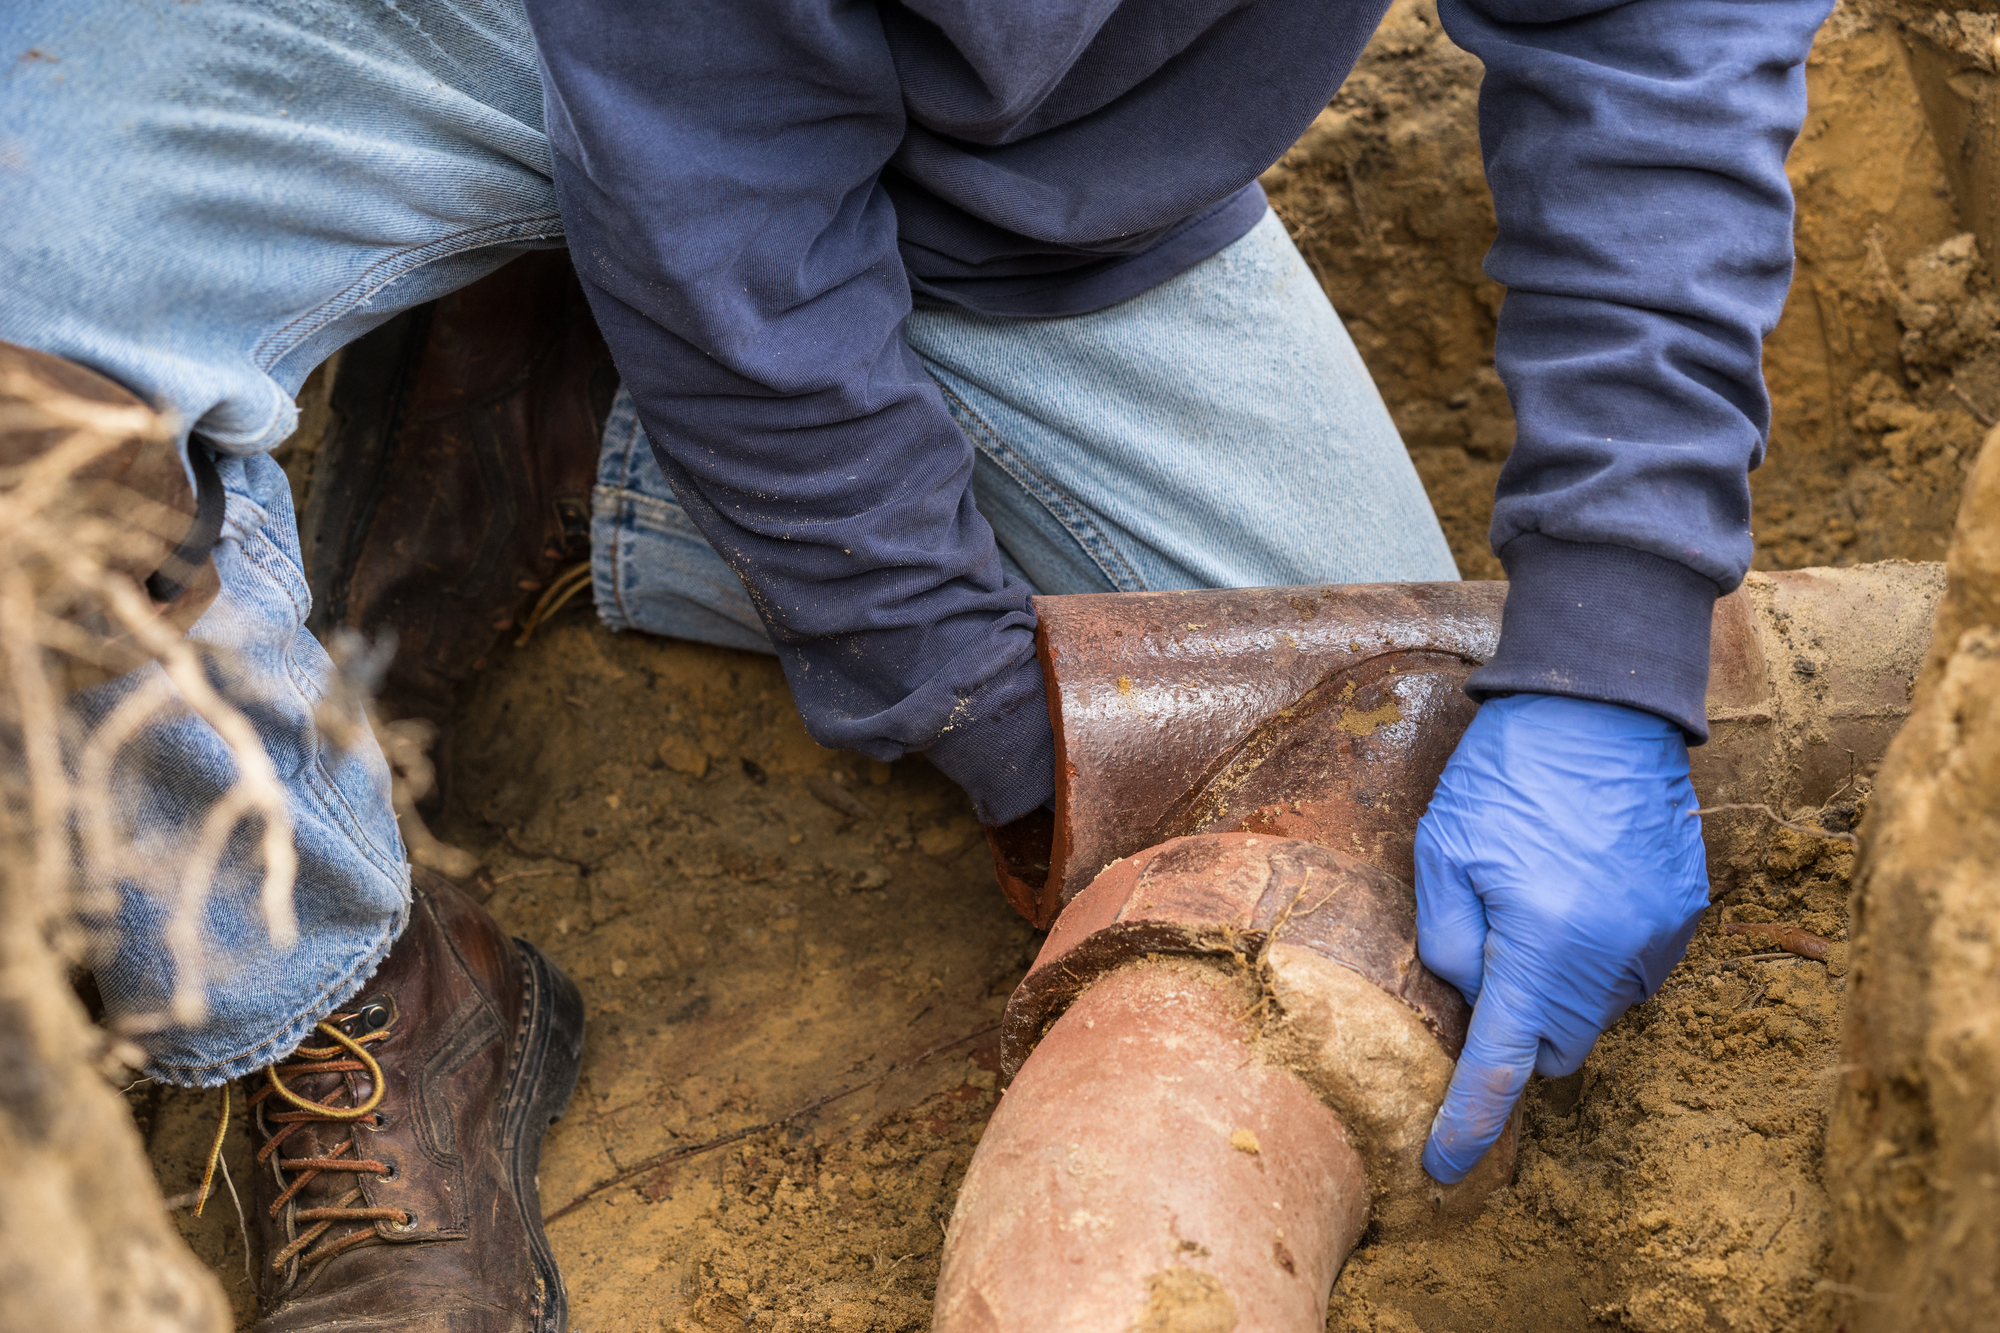
The next step is to remove any debris that may have accumulated in the area. This will include things like larger pieces of waste, toilet paper, and any other objects that may have been caught up in the plumbing problem. Be sure to double-bag all waste in plastic bags to prevent any further contamination. All bags should be properly labeled as biohazardous waste.
Step 6: Clean and Disinfect
Cleaning up the affected area is just as important as removing the waste itself. Firstly, scrub any affected surfaces thoroughly with soap and water. Make sure you use a new scrubbing brush or disposable cloths every time you clean a surface. Once the area is cleaned, apply a disinfectant solution in accordance with the manufacturer’s instructions. Allow the disinfectant to sit for the recommended amount of time before wiping down the surface with a clean, damp cloth.
Step 7: Proper Disposal
Once the area is cleaned and disinfected, dispose of all waste in accordance with local regulations. If you’re not sure what the regulations are in your area, contact your local public health department. Any plastic bags containing waste should be double-bagged and securely sealed before being placed in a garbage bin. In some cases, contaminated items may need to be taken to a special disposal site.
Step 8: Follow-Up
After cleaning up any biohazardous waste due to plumbing issues, it’s important to schedule a follow-up appointment with a professional plumber. A plumber will be able to assess the damage and make appropriate recommendations for repair and prevention, so you don’t have to deal with the same problem again.
Conclusion
Cleaning up after plumbing problems, especially those that involve biohazardous waste, can be challenging. However, by taking the proper precautions, following the appropriate steps, and seeking professional help when necessary, you can ensure that your home is safe, clean, and free from any harmful contaminants. Be sure to keep this guide in mind the next time you face such a situation.

