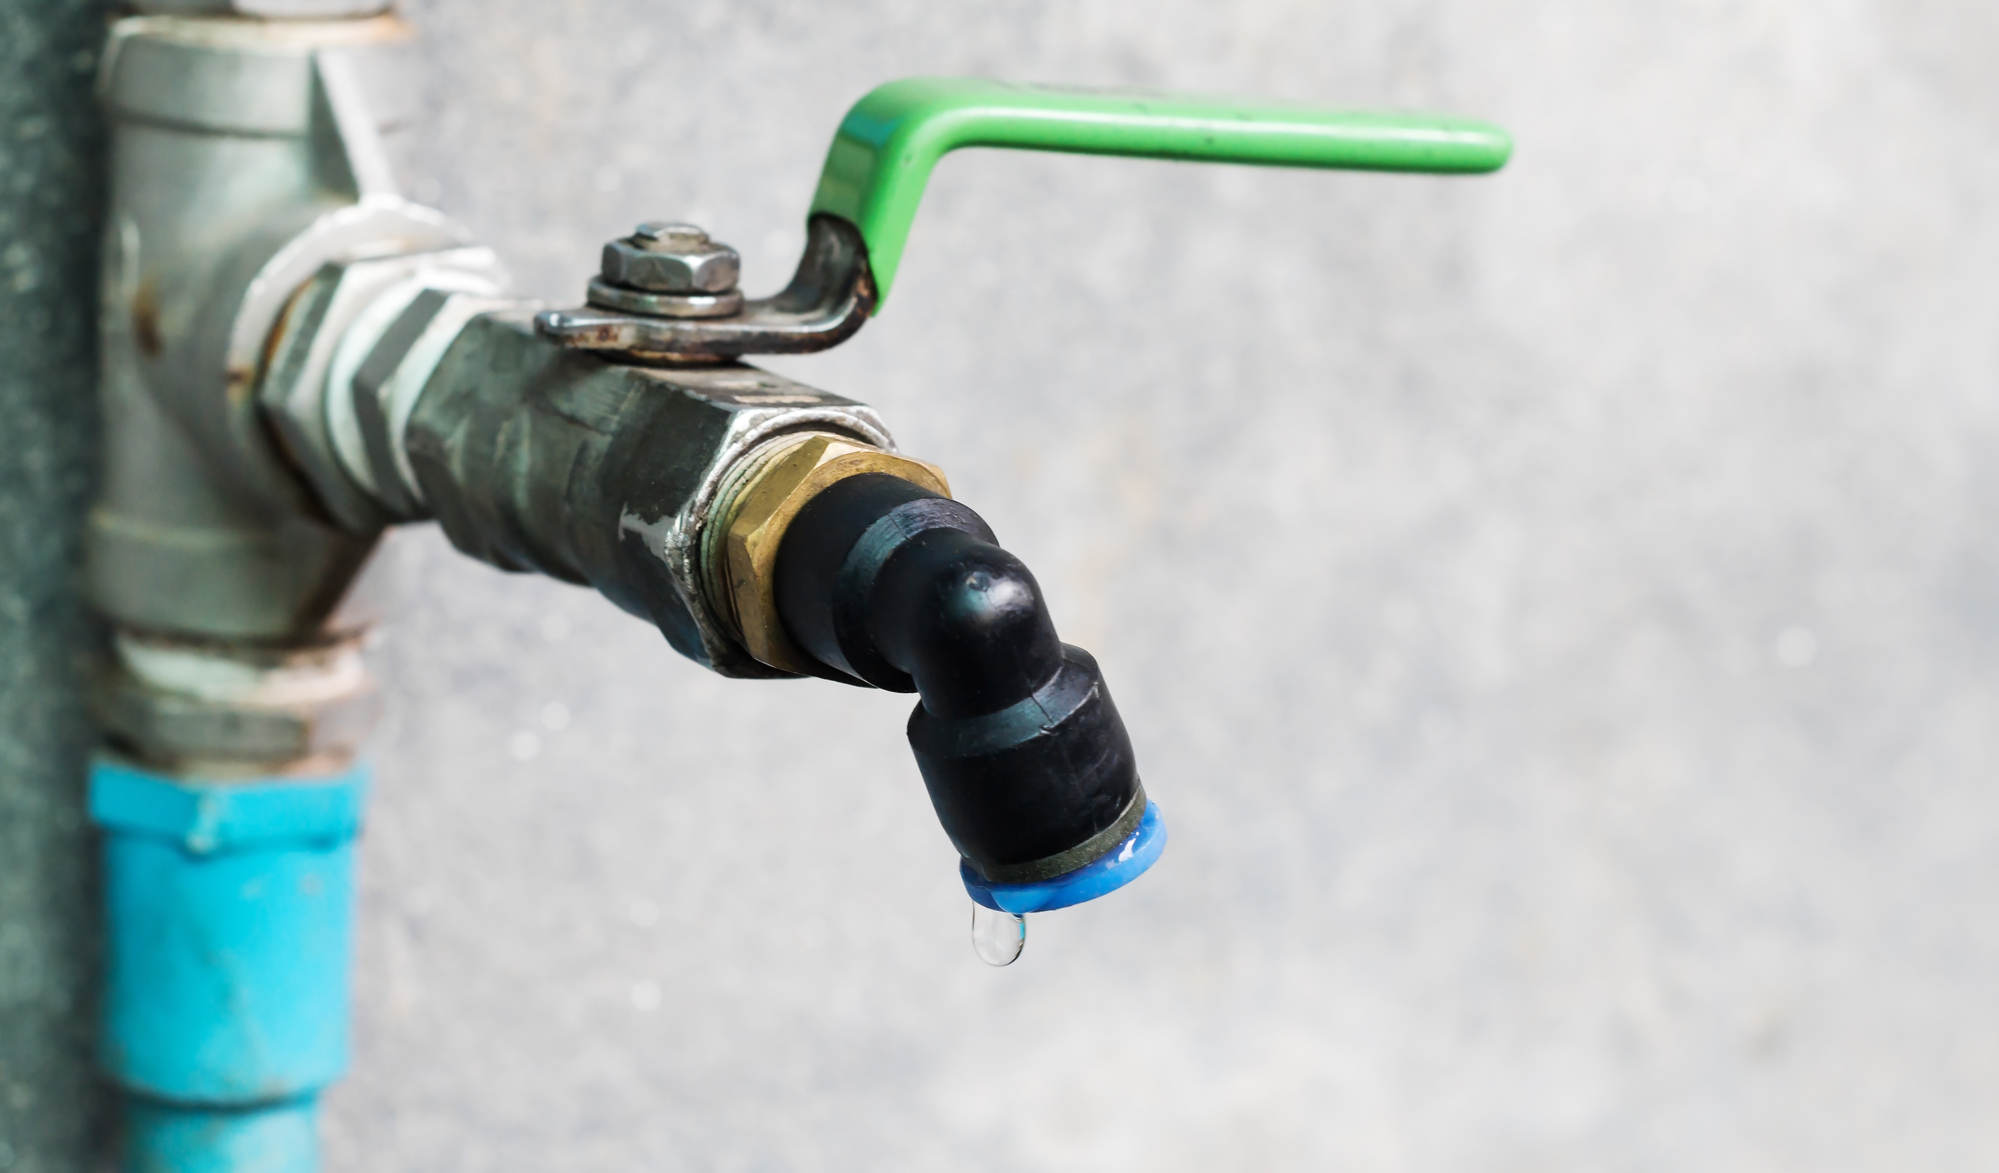
If you’ve noticed a leaking faucet at the base, then you’re not alone. This is a common plumbing problem that affects many homeowners. Fortunately, fixing it isn’t always difficult, and you don’t need to be a plumbing expert to do it. In this article, we’ll give you some handy tips on how to fix a leaking faucet at the base to stop that annoying drip-drip-drip sound and save you some money from water bills.
First and foremost, you need to identify what type of faucet you have. Essentially, there are two types of faucets: compression and non-compression. Compression faucets have washers that can wear out over time, while non-compression faucets use different types of mechanisms to control the flow of water.
If you have a compression faucet, the chances are that the problem is with the washer. To fix it, you’ll need to turn off the water supply to the faucet, remove the handle and stem, and replace the washer.
If you have a non-compression faucet, the issue may be with the O-ring and the cartridge. To fix it, you’ll need to turn off the water supply to the faucet, remove the handle and nut, and replace the O-ring and cartridge. It’s essential to check the manufacturer’s instructions before you start, though, as the process may vary depending on the faucet’s design.
Now that we know what type of faucet you have let’s get our hands dirty and begin fixing the problem. Here’s how to do it:
Step 1: Turn off the water supply
The first and most crucial step to fix any faucet is to turn off the water supply. Otherwise, you could end up with a deluge in your home. Shut off the valve under the sink or, if you can’t find it, turn off the water main.
Step 2: Remove the handle
Remove the handle of the faucet to gain access to the valve stem. Usually, a screw holds the handle in place. Use a Phillips screwdriver to remove it, then set the screw aside in a safe place.
Step 3: Remove the valve stem assembly
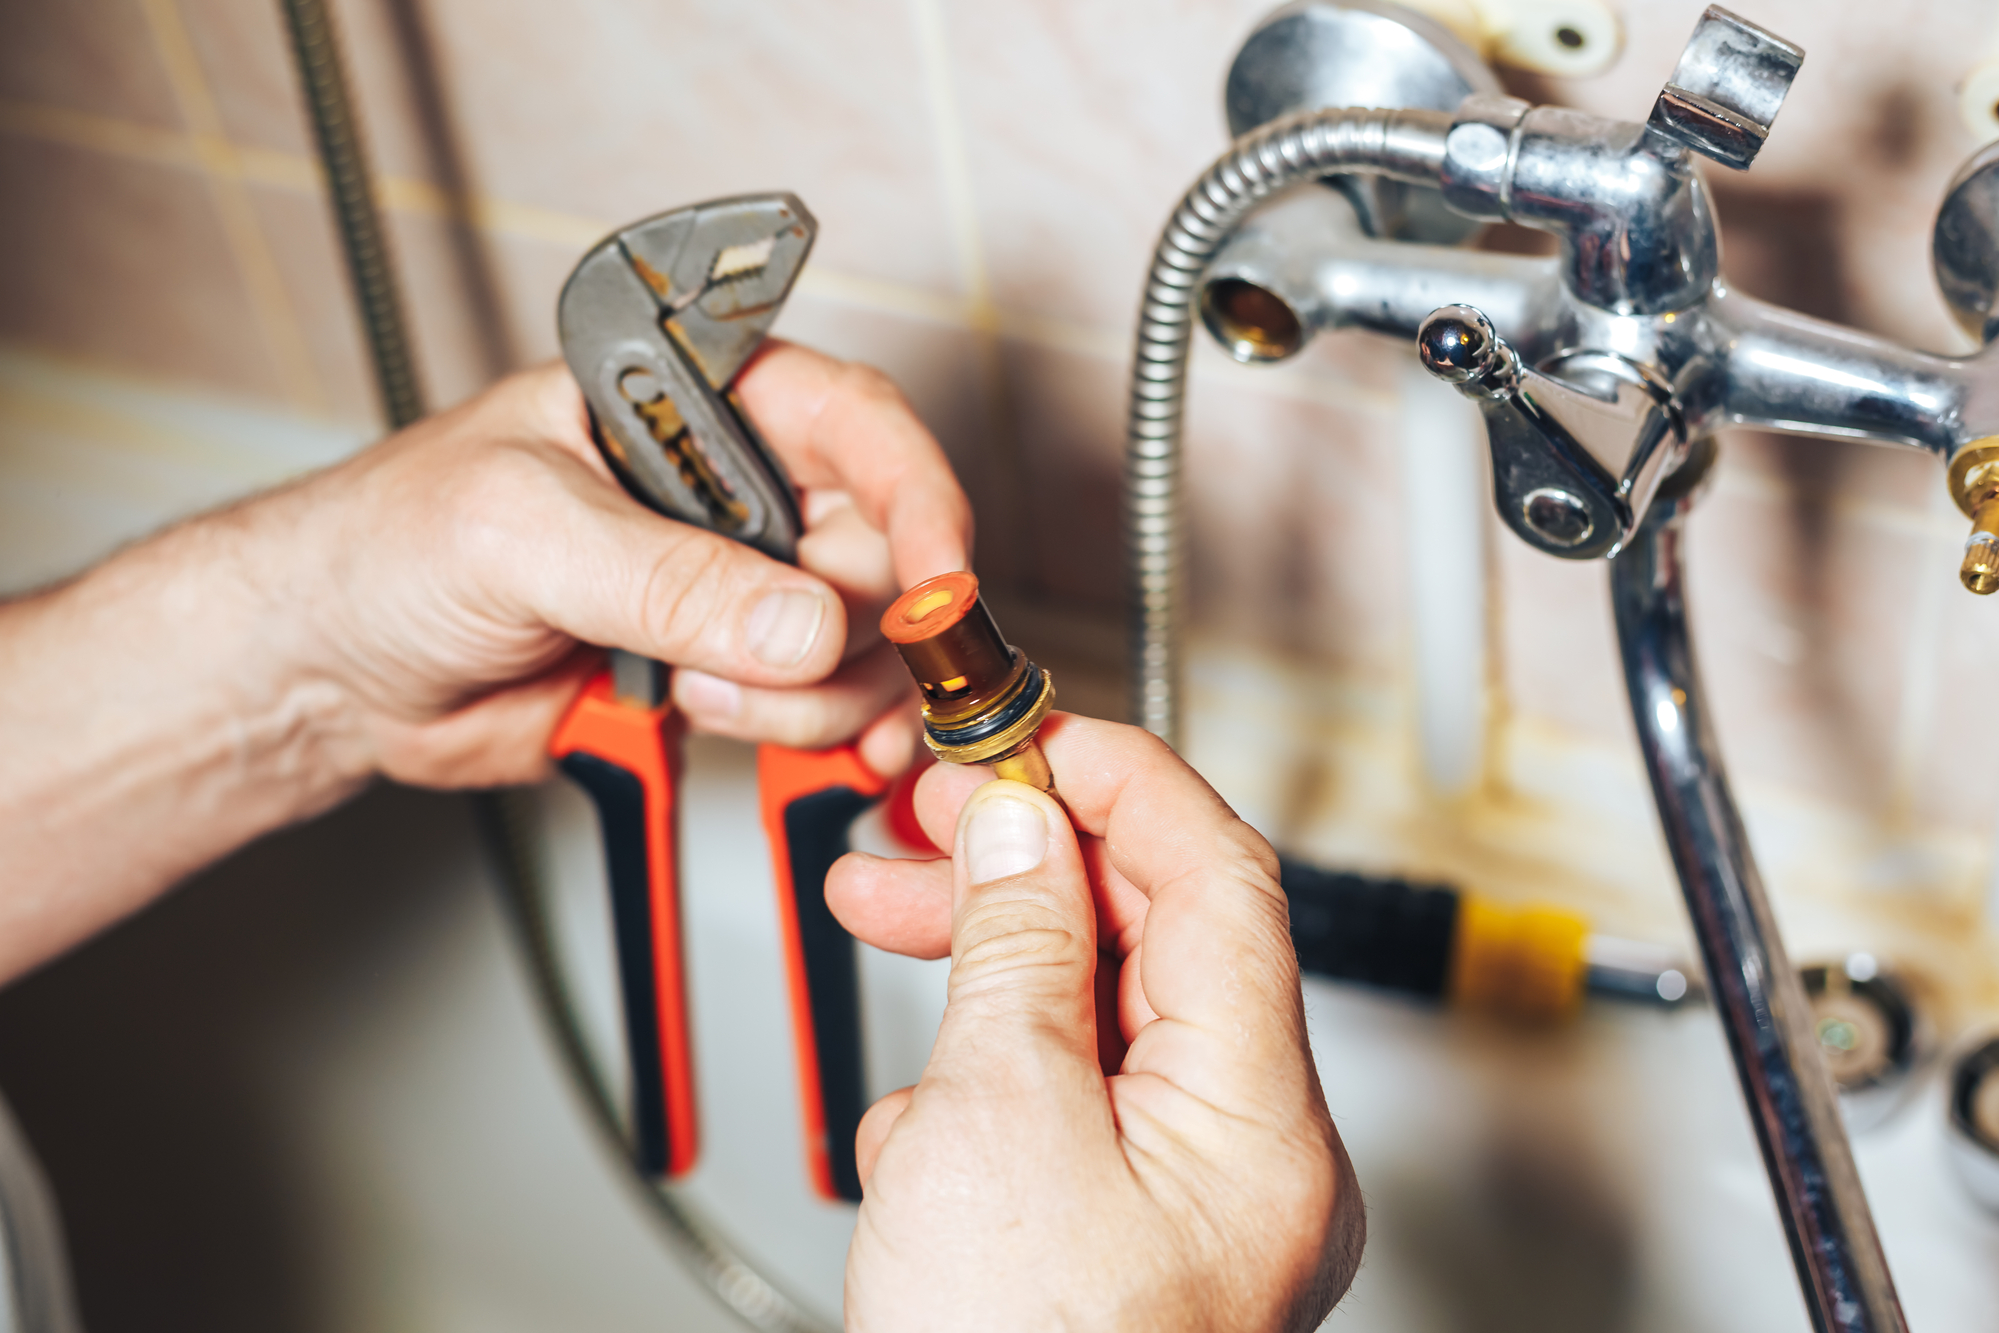
The valve stem assembly controls the flow of water in the faucet. To remove it, unscrew the nut that holds it in place using an adjustable wrench or pliers. Set the nut aside and gently remove the valve stem assembly. You can also use a valve stem wrench if you have one.
Step 4: Inspect the O-ring, washer, and cartridge
Look for any worn-out parts, cracks, or damage around the valve assembly. If there’s any damage, you’ll need to replace the O-ring or washer. If the cartridge is damaged, replace it entirely. Remember, a damaged cartridge can cause leaks at the base of the faucet.
Step 5: Replace the damaged parts
If you see any damaged parts, it’s time to replace them. Take the old parts with you to your nearest hardware store to help you find the right replacement. Install the new parts in the same way as the old ones. If you’ve replaced the cartridge, be sure to lubricate it with silicone grease before reassembling the faucet.
Step 6: Reassemble the faucet
Once you have replaced the damaged parts, it’s time to reassemble the faucet. Turn the water supply back on, and test the faucet to make sure it’s working correctly. If everything is working fine, screw the handle back into place.
In conclusion, fixing a leaking faucet at the base can seem intimidating, but it’s not as difficult as it seems. By following these steps, you can fix the problem quickly and effectively. Remember to turn off the water supply and take your time when removing and replacing parts. If you’re not confident in your abilities or don’t have the right tools, don’t hesitate to call a plumbing expert. In case you are experiencing any plumbing issues in your home, you can always give the plumbing experts at Ace Plumbing Repair a call at (844) 711-1590, or visit their website at aceplumbingrepair.com for more information.

