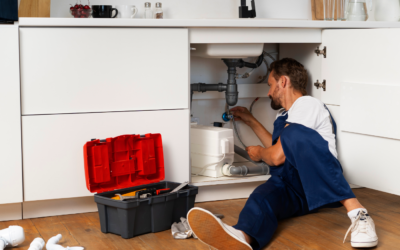
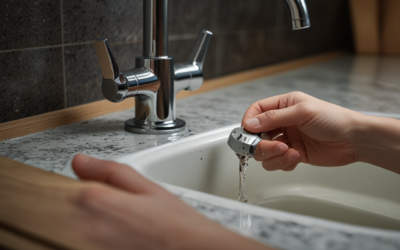
Plumbing issues can strike without warning, and when they do, it’s usually at the most inconvenient times. That’s why having a shut-off valve installed in your plumbing system is a simple and necessary upgrade that can save you time, money, and an unnecessary headache when a plumbing emergency occurs.
What is a Shut-Off Valve?
A shut-off valve is a device installed in your plumbing system that allows you to shut off the flow of water to a specific fixture or area of your home. By turning the valve handle, you can stop water from flowing into a faulty or damaged pipe, preventing further water damage until a plumber can address the issue. Adding a shut-off valve is an upgrade that can bring peace of mind, protecting your home from water damage and helping you avoid expensive plumbing repairs.
Why Install a Shut-Off Valve?
When a plumbing emergency occurs, such as a burst pipe, shutting off the water supply is often the first course of action. Without a shut-off valve, this task can become a difficult challenge, especially if the damage occurs during the night or while you are away from home. That’s when the damage can become worse and more costly.
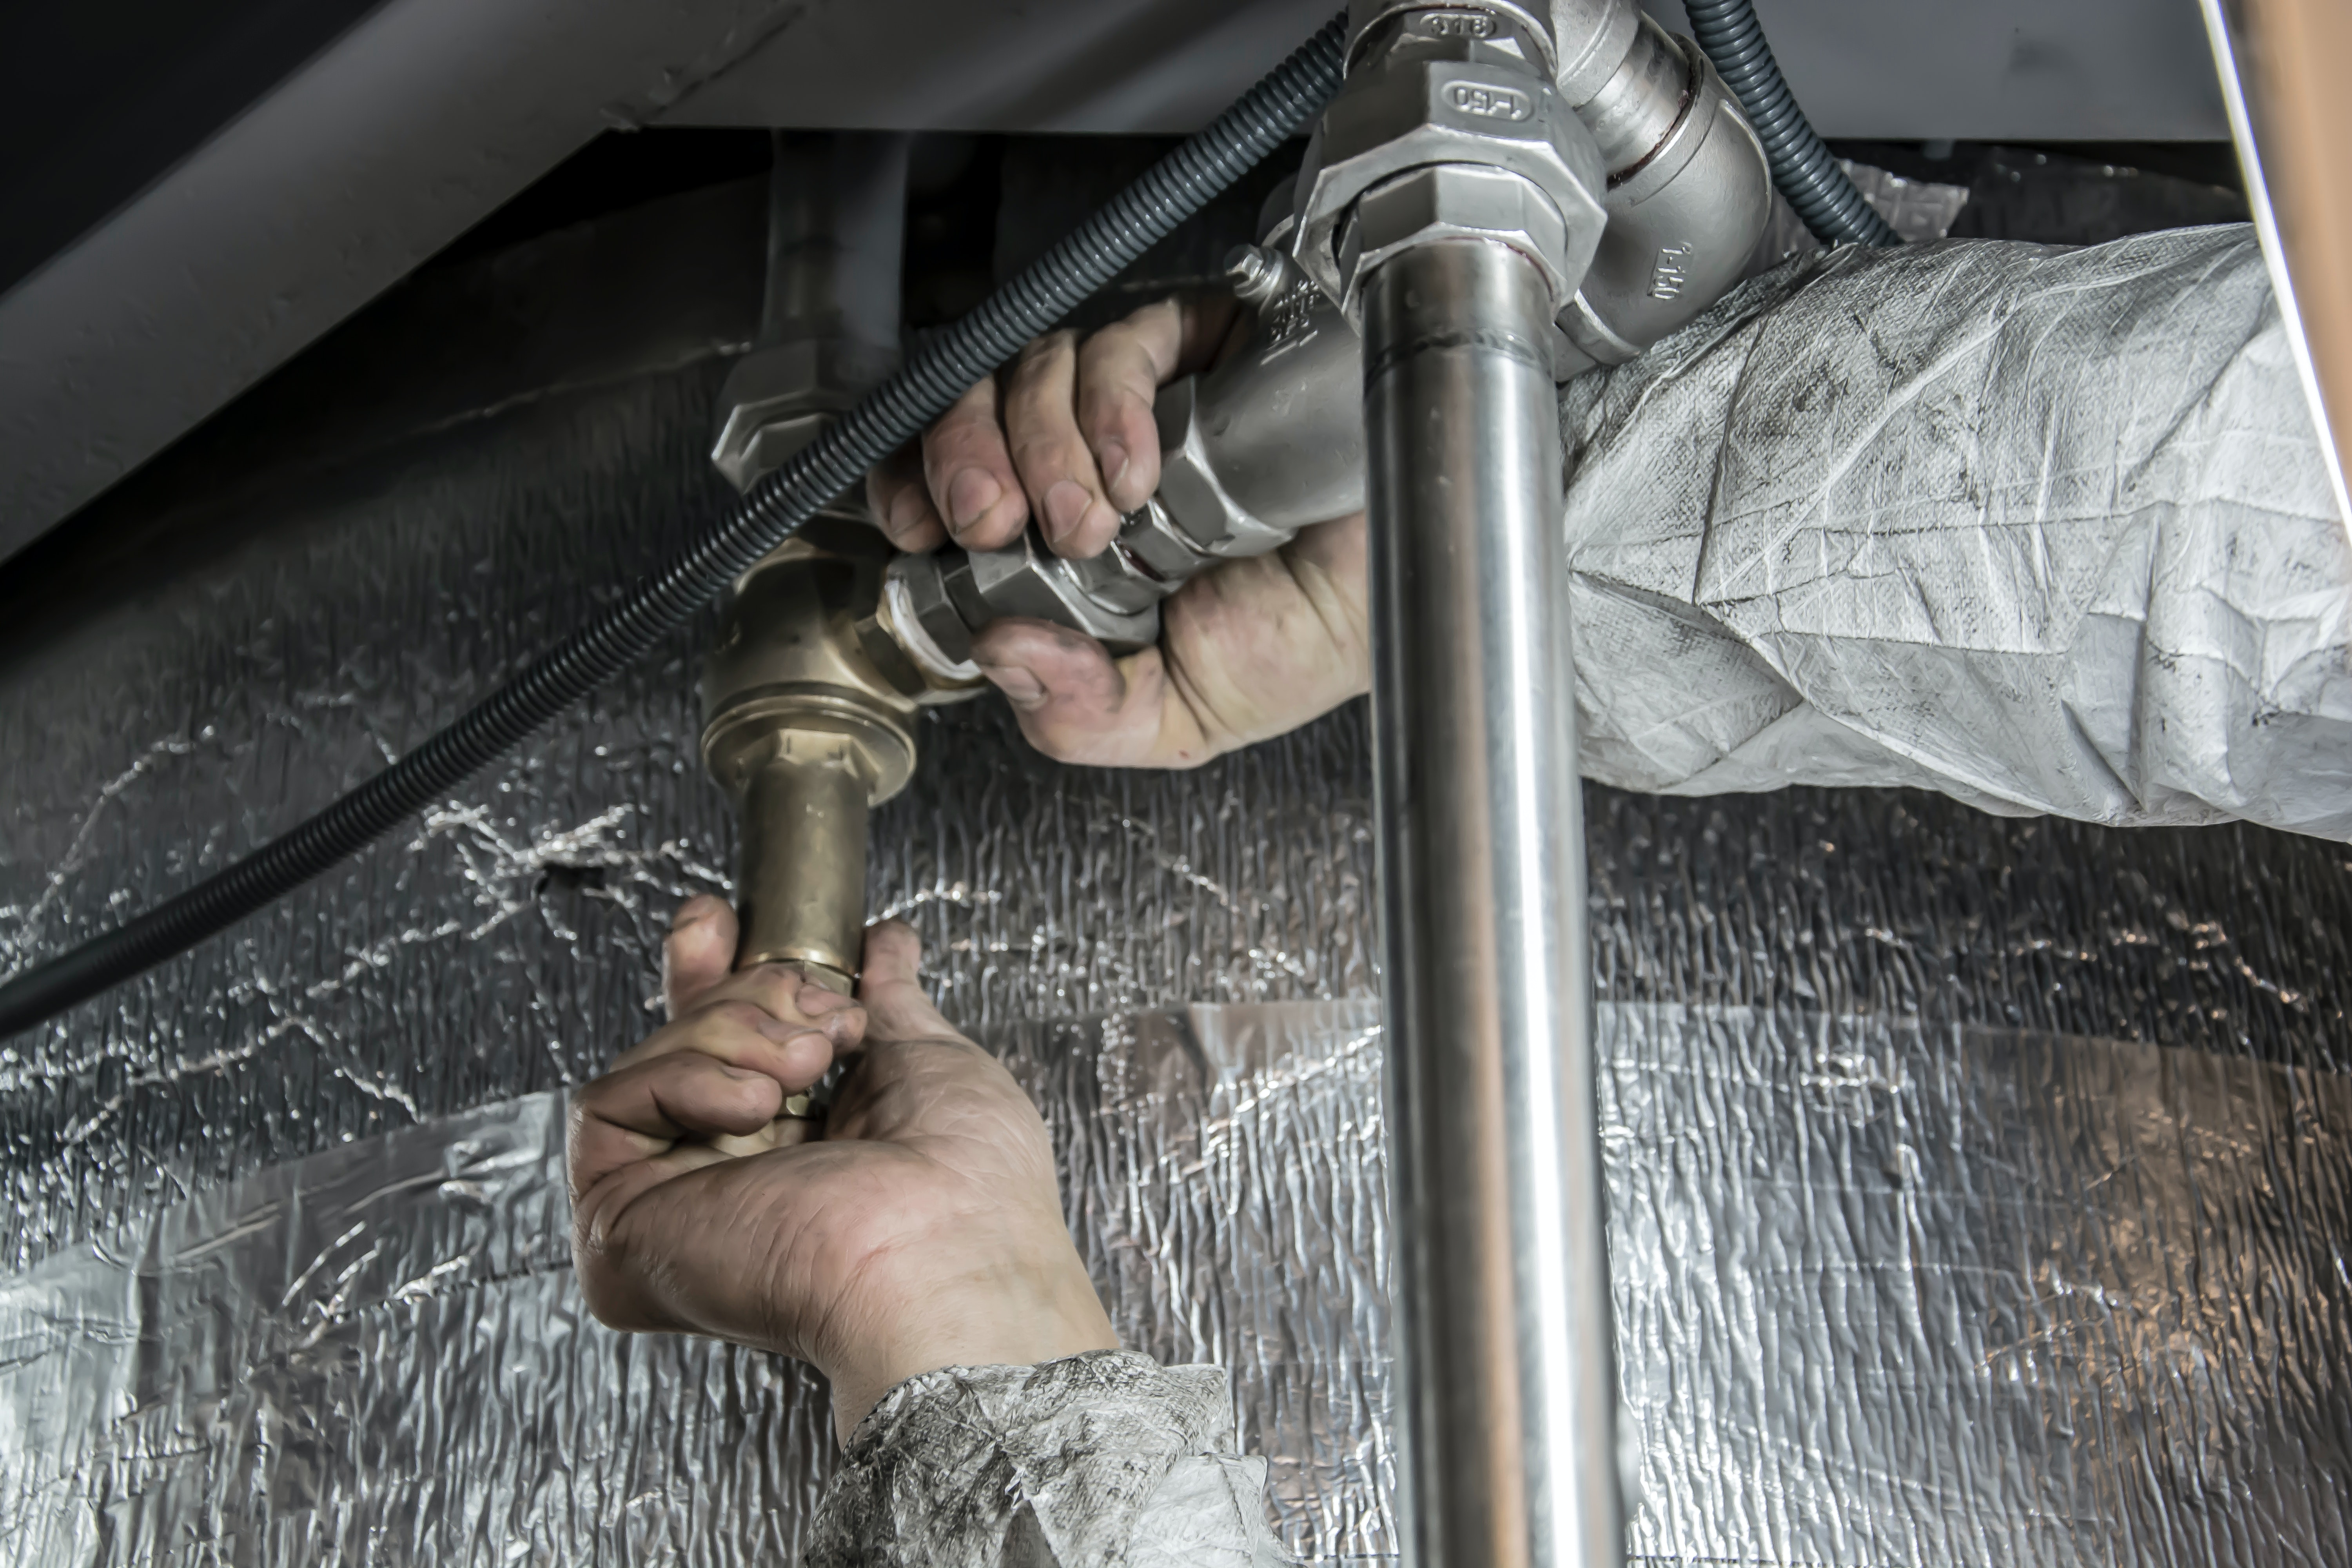
By installing a shut-off valve, you can quickly and easily turn off the water supply to a specific area or fixture when there’s an emergency. This enables you to stop the flow of water, minimizing damage in other areas of your home. Installing shut-off valves, therefore, saves you time, effort, and money in the long run.
Additionally, shut-off valves allow you to isolate the specific problem area. For instance, if you have a leak in your bathroom sink, you can use the valve to shut off the water supply to just that area, and continue using other fixtures in your home without any interruption. This feature is especially beneficial if you have an older plumbing system that requires more frequent repairs.
How to Install a Shut-Off Valve
Although installing a shut-off valve may seem like a daunting task, it is, in fact, a relatively simple process that requires minimal tools and expertise. Here are the basic steps to installing a shut-off valve:
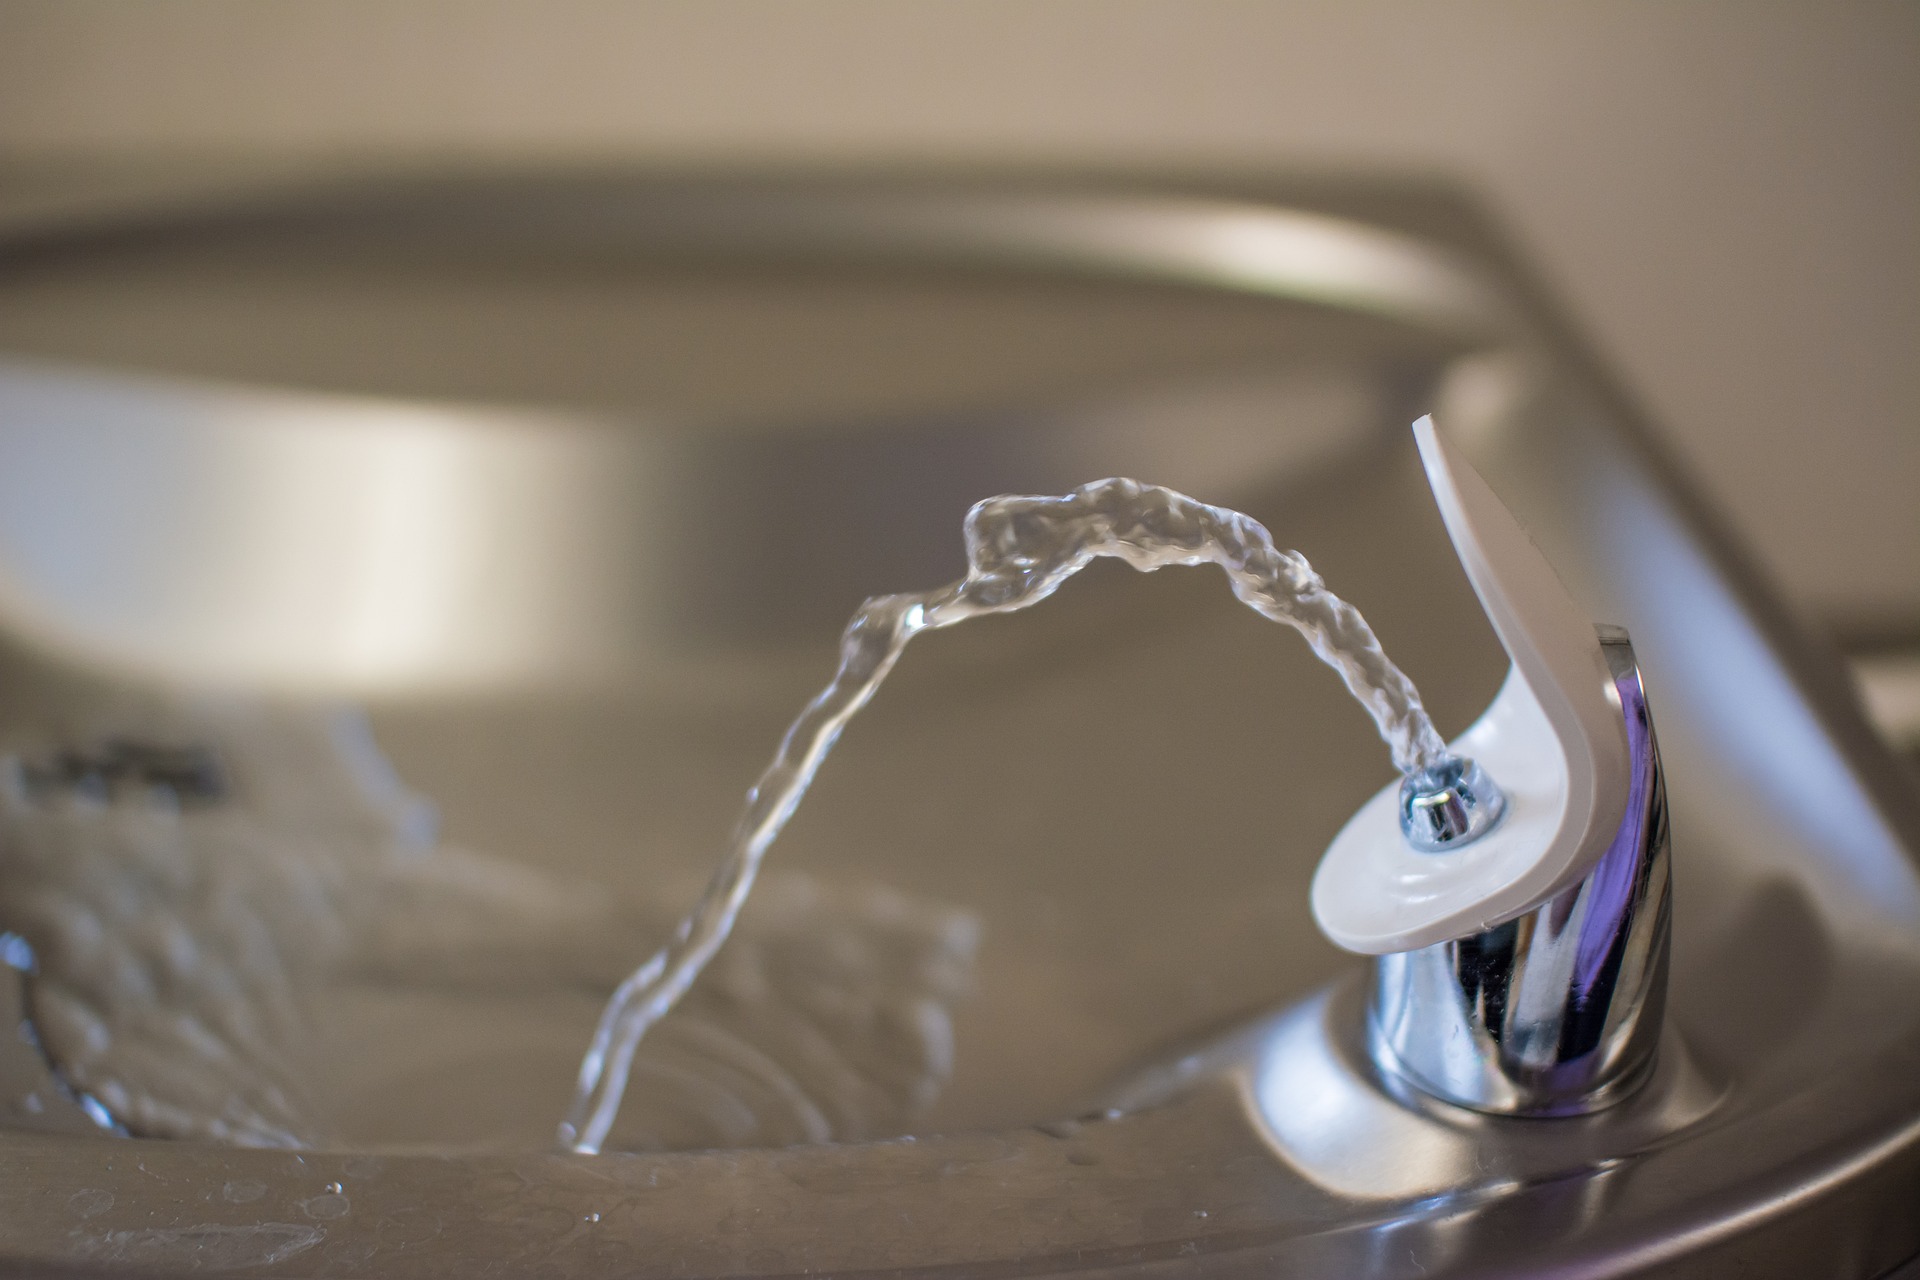
1. Turn off the Water Supply: The first step is to turn off the water supply that leads to the fixture you are installing the valve for.
2. Cut the Pipe: Before installing the valve, you need to cut the pipe where you want to place the valve, using a pipe cutter. Make sure you measure the pipe precisely before making the cut.
3. Dry-fit the Valve: After cutting the pipe, dry-fit the valve onto the pipe, ensuring that the valve fits perfectly into the space left by the removed section of the pipe.
4. Solder the Valve: Once you have the valve in place, use a propane torch and solder to attach the valve to the pipe.
5. Install the Valve Handle: Lastly, install the valve handle, which allows you to open and close the valve.
Although most people can install a shut-off valve without professional assistance, it is still wise to consult a plumber before embarking on this task if you are unsure of what you are doing.
Adding a shut-off valve to your plumbing system is a simple yet necessary upgrade that can save you time, money, and headaches in the event of a plumbing emergency. While it is a task that can be done by most people, it’s important that you ensure you know what you are doing before attempting it. By installing shut-off valves, you can enjoy peace of mind, knowing that you can stop the flow of water quickly and effectively when necessary. Call the plumbing experts at Ace Plumbing Repair for your shut-off valve installation today. Contact us at (844) 711-1590 or visit us at aceplumbingrepair.com, and take the necessary step to protect your home from plumbing emergencies.


