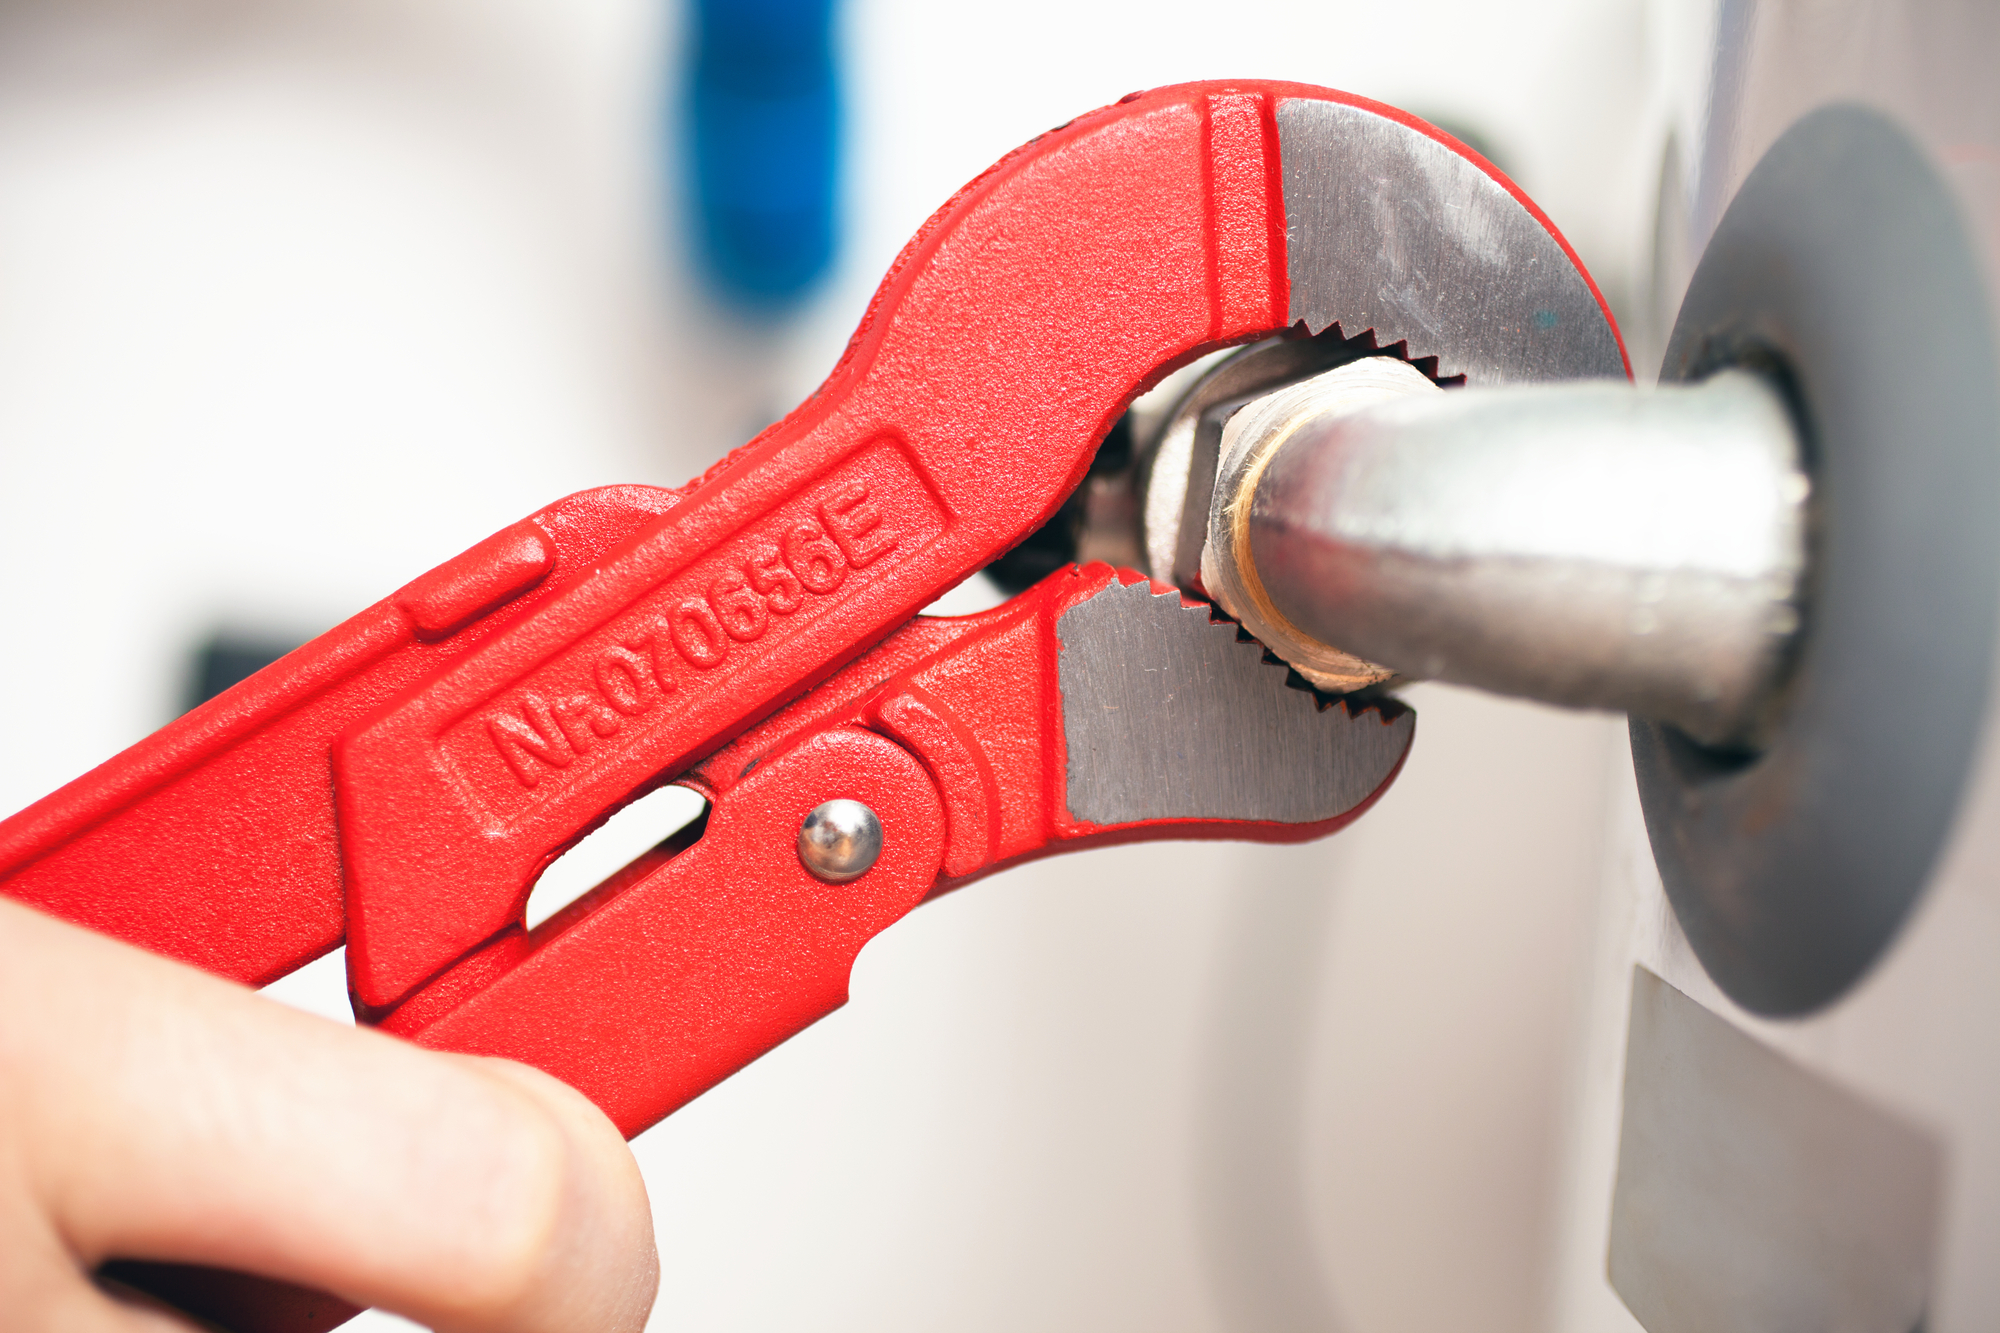
If you’re a homeowner with a plumbing problem, you’ve likely heard of SharkBite fittings. These innovative fittings make it easy to do plumbing repairs without the need for soldering or special tools. But, as with any plumbing technology, problems can occur over time. In this article, we’ll discuss what you need to know about old SharkBite o-rings and how to fix them.
What Are SharkBite Fittings?
First, let’s take a closer look at SharkBite fittings. They are a type of push-to-connect fitting that allows you to quickly and easily join sections of copper, CPVC, or PEX pipe without the need for special tools or soldering. SharkBite fittings are ideal for repairs or for installing new plumbing fixtures, such as sinks and toilets.
SharkBite fittings use a special o-ring to maintain a watertight seal between the fitting and the pipe. The o-ring is made of EPDM rubber, which is resistant to extreme temperatures and most chemicals.
What Happens When O-Rings Fail?
Like all plumbing materials, SharkBite o-rings can deteriorate over time. Exposure to harsh chemicals, temperature changes, and excessive UV light can cause the rubber to degrade, leading to leaks. Over time, an old o-ring can become brittle, cracked, or swollen, causing water to seep through tiny gaps in the seal.
If left unchecked, a leaking o-ring can cause significant water damage to your home, as well as mold and mildew growth. It’s important to detect a leaky o-ring early and repair it before it causes more damage.
How to Detect a Leak
If you suspect you have a leaky SharkBite o-ring, there are a few signs to look for:
1. Wet Spots: If you see wet spots around your SharkBite fittings, it could be a sign of a leak.
2. Dampness: Check for dampness around the fittings, especially if you’ve noticed a musty odor.

3. Low Water Pressure: If your water pressure suddenly drops, it could be a sign that water is escaping through a leak.
4. High Water Bills: Leaks can waste a lot of water, causing your water bill to skyrocket.
How to Fix a Leaky SharkBite O-Ring
The good news is that fixing a leaky SharkBite o-ring is relatively easy. Here are the steps you’ll need to take:
1. Turn Off the Water: Before you start any plumbing repair, it’s important to turn off the water supply to the affected area.
2. Remove the Fitting: Use a pipe cutter to cut the pipe above and below the fitting. Be sure to cut the pipe cleanly, so that you can reattach it later.
3. Remove the O-Ring: Use a pair of pliers to twist and remove the old o-ring from the fitting.
4. Install a New O-Ring: Lubricate a new SharkBite o-ring with a plumbing lubricant, and slide it onto the fitting.
5. Reinstall the Fitting: Push the fitting onto the pipe on either side, making sure to align the pipes properly. Give the fitting a firm push to secure it in place.
6. Turn on the Water: Once you’ve reinstalled the fitting, turn the water supply back on and check for leaks.
It’s important to note that if you have multiple SharkBite fittings that are leaking, it may be time to replace them all. This is especially true if the fittings are old or have been exposed to harsh chemicals or UV light.
In conclusion, SharkBite fittings are a great choice for any DIY plumbing project or repair. However, it’s important to know how to maintain them properly. If you suspect you have a leaky SharkBite fitting, be sure to take action right away to prevent costly water damage and mold growth. And if you’re not comfortable making plumbing repairs yourself, be sure to call a professional plumber who can help. Visit our website, aceplumbingrepair.com, or give us a call at (844) 711-1590 to schedule a plumbing repair appointment today!

