For homeowners, nobody wants to sacrifice their house integrity. Also when the matter consists of water the matter becomes even worse. Among all the preventive methods double check valve is a rising contender. Because of its functionality and top-of-line performance. This is a nice way to prevent water damage to your home. But like everything they also succumb to repair or damage. This is when the necessity of how to test a double check valve becomes too imminent.
To test a double check valve. Starting with inspection externally, and internally, and performing in-line function testing if necessary. These methods ensure the valve is functioning correctly and preventing backflow.
Failing to test and repair or replace a double check valve can lead to future failures. Testing procedures typically involve measuring the differential pressure across the valve. While also checking for any faults or malfunctions. Following these steps ensures the valve operates as you want it to work and maintains proper flow control.
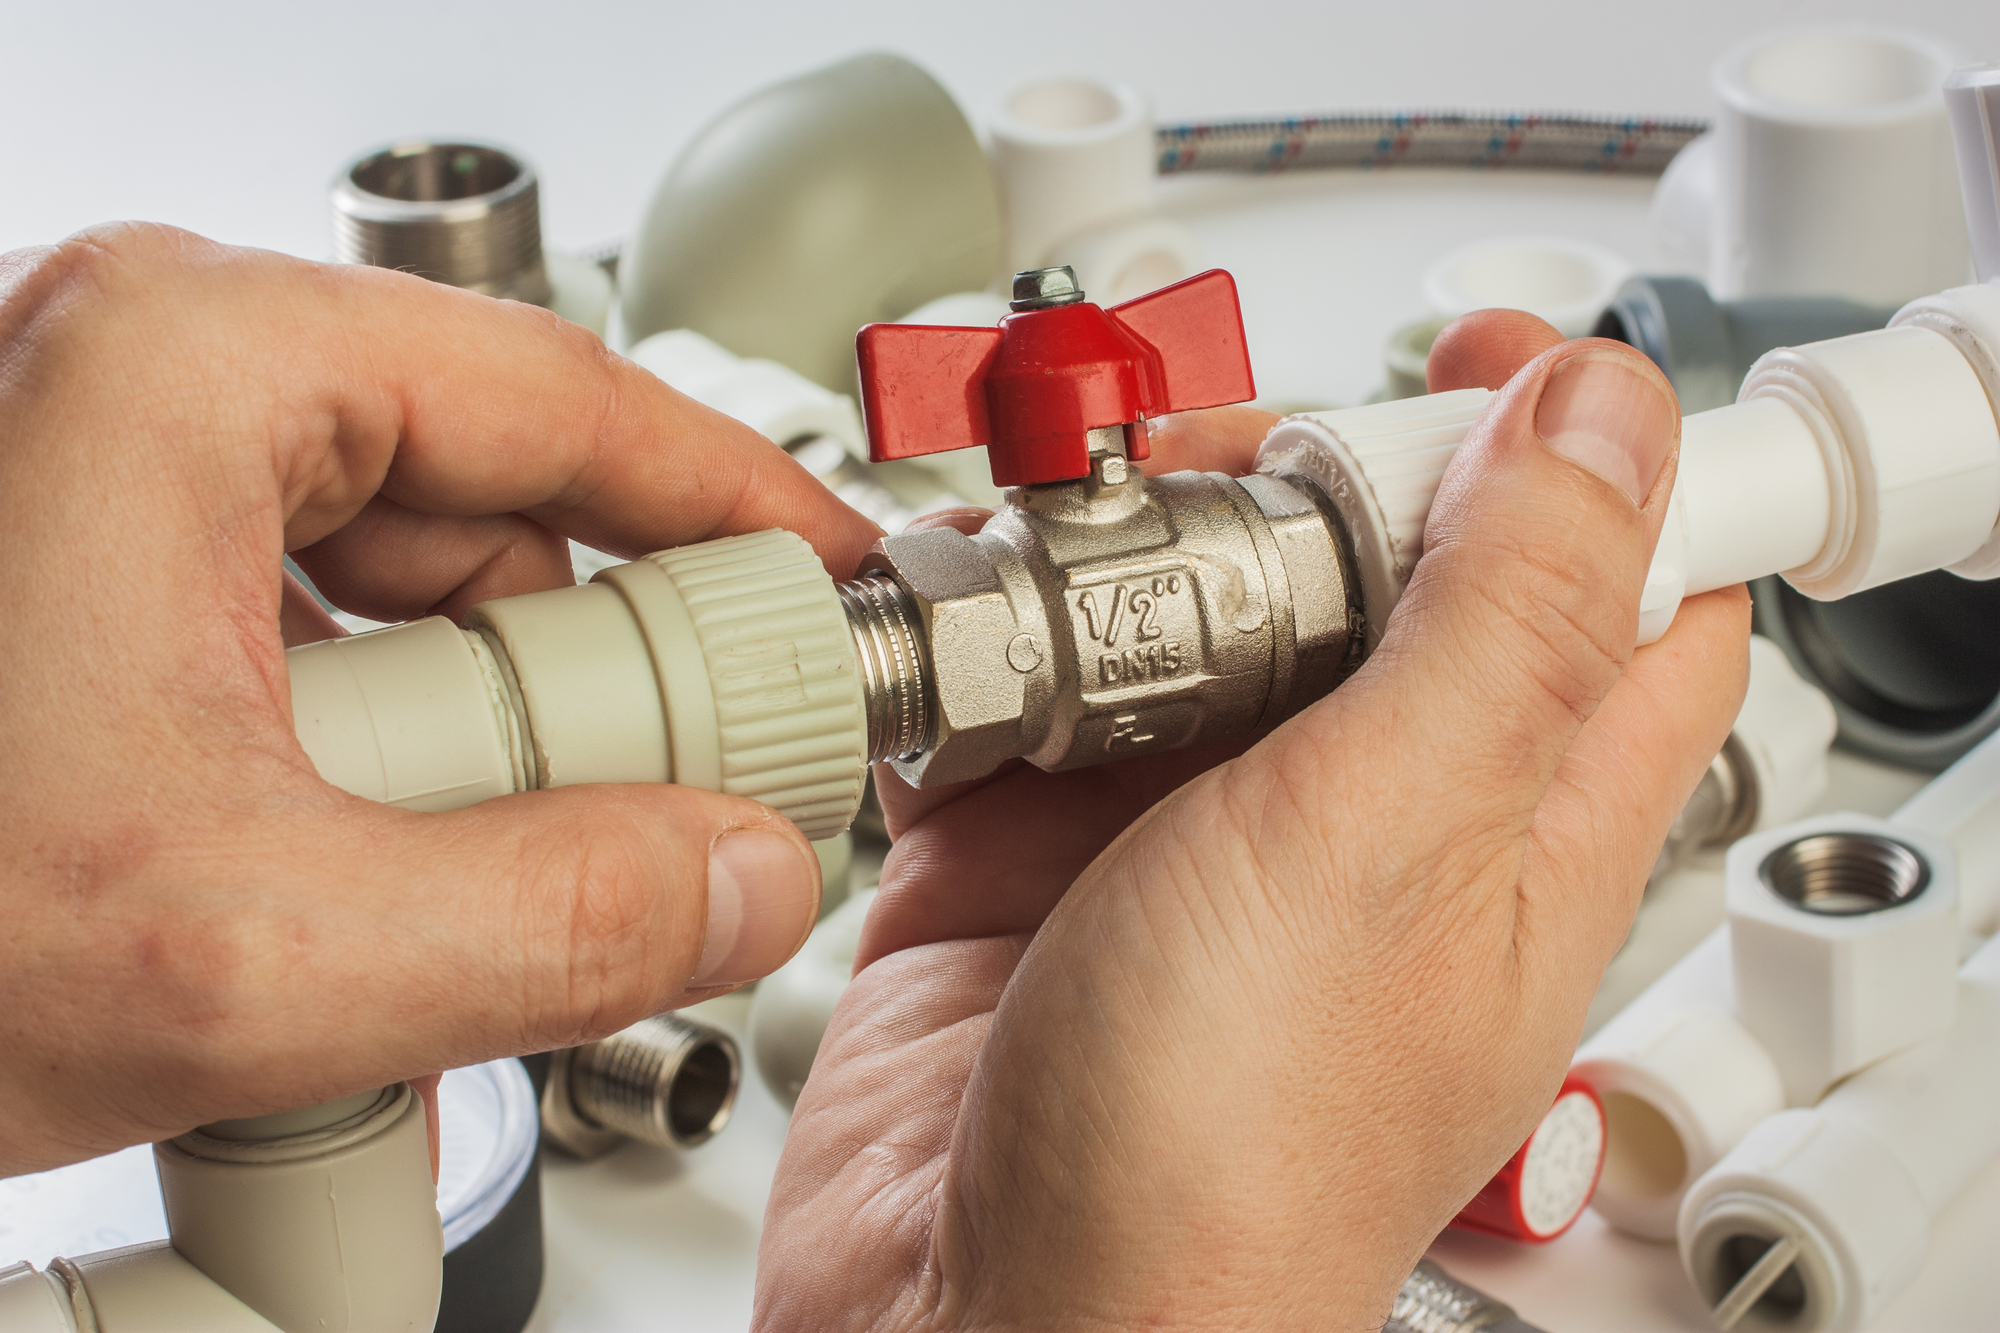
Double Check Valve
A double check valve is an important component. That ensures the safety and functionality of a plumbing system. Its root workflow is to prevent the backflow which causes water contamination. Which is why testing a double check valve is crucial. If you want to ensure its proper functioning and to avoid any potential hazards checking up is essential.
What Is A Double Check Valve
A double check valve is a specific type of backflow prevention device. It consists of two independent check valves. These check valves lie in series. Each check valve provides a redundant layer of protection against backflow. The purpose of the prevention is to keep the water supply.
How To Test A Double Check Valve
Testing a double check valve is a straightforward process that can be done using a few simple steps:
- Close the main water supply to the double check valve.
- Check for any visible signs of damage, such as leaks or cracks, in the valve assembly.
- Inspect the valve for any buildup of debris or sediment. Because they may hinder its proper functioning.
- Use a differential pressure gauge to measure the pressure difference.
- Record the reading on the gauge and compare it to the manufacturer’s specifications.
- If the pressure difference is within the acceptable range. It means the double check valve is functioning properly.
- If the pressure difference is outside the acceptable range. Your system needs further testing or repairs.
- Open the main water supply to the double check valve and observe its operation. Also, look for any signs of leakage or abnormal functionality.
- If any issues are found during the testing process. It is essential to consult a professional plumber for further inspection and repairs.
Regular testing of a double check valve is essential to ensure its reliability. This will comply with local plumbing codes and regulations. By following these steps, you can easily test a double check valve. Which will ensure the safety of your plumbing system.
Common Issues To Look Out For
While regular maintenance can help prevent most problems with double check valves. Some common issues may still arise. Here are a few problems to be aware of:
Leaking
If you notice any signs of leakage, such as water dripping from the valve. It may indicate a faulty seal or worn-out gaskets. These components should have proper inspection and replacements if necessary.
Restricted Flow
A decrease in water flow through the valve may be a cause of debris or sediment accumulation. Cleaning the valve and removing any obstructions can usually resolve this issue.
Internal Damage
Internal damage, such as broken springs or faulty check valves, can occur over time. If the valve fails the testing procedure or exhibits unusual behavior. It may be necessary to disassemble it for a closer inspection and potential repairs.
By following these maintenance and troubleshooting tips. You can keep your double check valve in optimal condition and ensure the safety of your water supply. Regular inspection, cleaning, and replacement of faulty parts will help to minimize potential issues. Also, this will ensure more reliable operation of the valve.
preparation for How to test a double check valve
To ensure accurate testing, it’s crucial to prepare the double check valve properly. This involves turning off the water supply, inspecting the valve, and gathering the necessary tools and equipment. Below, we’ll outline the steps for each of these preparation tasks.
Turn Off the Water Supply
Before testing the double check valve, turn off the water supply to prevent any water leakage. This can be done by locating the main shut-off valve and closing it to stop the water flow.
Inspect The Valve
Inspection of the valve is crucial to identify any visible signs of damage or wear. Inspect the valve for leaks, corrosion, or any obstructions. Because they tend to affect its functionality. It’s important to address any identified issues before proceeding with the testing process.
Gather Necessary Tools And Equipment
Gather the necessary tools and equipment necessary for the testing process. This may include a differential pressure gauge, test kits, and any additional instruments. These are the tools you will to perform the specific testing procedures for the double check valve. Ensuring that everything you need is close to you.
Testing Procedure
To start the testing procedure for a double check valve, begin with a visual inspection. Examine the valve for any signs of damage or wear and tear. Look for cracks, leaks, or corrosion on the valve body. Check the valve fittings and connections for any loose or faulty parts. Ensure that the valve is properly in place and under proper alignment. Take note of any visible issues that may affect the valve’s performance.
Checking for leaks
Next, check for leaks in the double check valve system. This can be done by performing a leak test. Begin by closing all downstream shutoff valves and removing any pressure from the system. Then, pressurize the upstream side of the valve using a test pump or other suitable method. Allow the pressure to stabilize, and then inspect the valve and its connections. If any leaks are present under your notice. Take appropriate action to repair or replace certain components.
Turning on the device
Once the visual inspection and leak test are complete. It’s time to test the functionality of the double check valve. This can be done by verifying the opening, closing, and sealing of the valve. Open the upstream shutoff valve and measure the differential pressure across the valve. If you want try using a suitable pressure gauge. Make sure that the pressure does not drop significantly over time. If this happens it means there is still a leakage or malfunction inside the valve. Additionally, check the valve’s ability to prevent backflow by introducing a reverse flow. Also, ensure that the valve closes properly.
Testing the flow of water
Finally, measure the water flow through the double check valve to ensure its proper operation. Use a flow meter or other appropriate measuring device to determine the flow rate. Compare the flow rate to the expectational flow rate depending on the system. Any significant deviation may indicate a restriction or obstruction in the valve. Which may require further investigation or maintenance.
Regular Cleaning And Lubrication
Proper maintenance of your double check valve is essential. As they ensure smoother operation and prevent any potential issues. Regular cleaning and lubrication help to keep the valve functioning optimally. Here are the steps to follow:
- Begin by shutting off the water supply and relieving any built-up pressure in the system.
- Inspect the valve for any visible debris or dirt. Use a soft brush or cloth to gently remove any contaminants.
- Apply a small amount of lubricant to the moving parts of the valve. Such as the hinges and springs. Be sure to use a lubricant that your manufacturer provides.
- Once the valve is clean and functional. Carefully reassemble it and restore the water supply.
- Finally, test the valve to ensure it is functioning properly. This can be done by performing a flow test or using a testing device.
Replacing Faulty Parts
If you encounter any issues with your double check valve during the testing process. It may be necessary to replace certain faulty parts. Here are the steps to follow:
- Identify the specific component that needs to have a replacement. Such as a faulty seal or a malfunctioning spring.
- Refer to the valve’s user manual or consult a professional. To have the correct replacement part.
- Shut off the water supply and relieve any pressure in the system.
- Remove the faulty part using the appropriate tools and install the new component in its place.
- Once the replacement part is securely in place. Reassemble the valve and restore the water supply.
- Perform a thorough test to ensure that the valve is now functioning correctly.
Frequently Asked Questions
What Are 3 Basic Methods Of Testing A Check Valve?
The three basic methods of testing a check valve are external inspection, internal inspection, and in-line function testing. These tests help ensure the proper functioning of critical check valves.
Can A Double Check Valve Fail?
Yes, a double check valve can fail over time if repair or replacement is not done.
What Is The Minimum Pressure For A Double Check Valve?
The minimum pressure for a double check valve is 1. 0 PSID. It’s essential for proper functioning.
Conclusion
In essence, testing a double check valve is crucial to ensure its functionality and safety. By following the appropriate testing procedures, you can identify any potential issues and prevent backflow incidents. Regular testing and maintenance of your double-check valve can safeguard your water supply and uphold the integrity of your plumbing system.

